crwdns2915892:0crwdne2915892:0
You will be removing some leather grips, which you will reuse, to access some screws. Be careful not to tear these grips.
crwdns2942213:0crwdne2942213:0
-
-
Flip the camera so that the bottom is facing you.
-
Take a spare coin and unscrew the battery cover off.
-
-
-
Remove the batteries, making sure to note their proper alignment.
Hi just checking which type of batteries are required? You have two types listed, the SR44/LR44 (I understand those are the same types of batteries) then the CR-1 / 3 /3N 3V battery? How many batteries do I need and which type will I need? thanks!
-
-
-
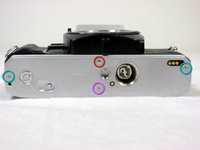
Remove two 4.8mm screws.
-
Remove one 3.4mm screw.
-
Remove one 2.65mm screw.
-
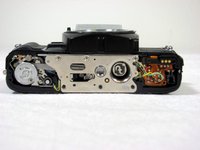
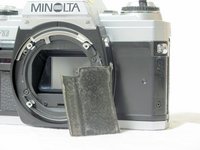
Lift off the back cover.
-
-
-
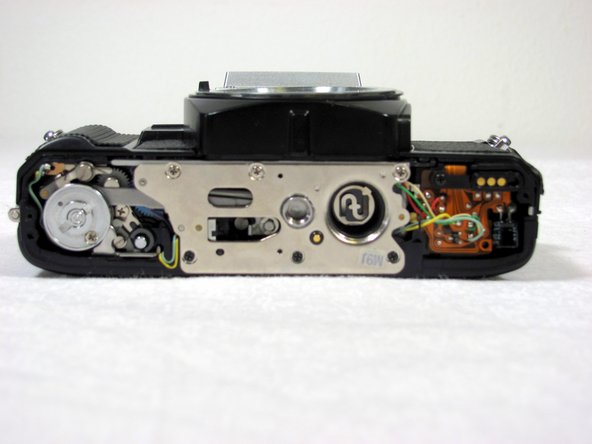
Remove three 3.5mm screws.
-
Remove two 3.8mm screws.
-
Remove one 6.35mm screw.
-
Remove one 4mm screw. Lift off the disk.
-
Remove one 5.11mm screw.
-
-
-
-
Remove four 4.45mm screws and remove the alignment ring.
-
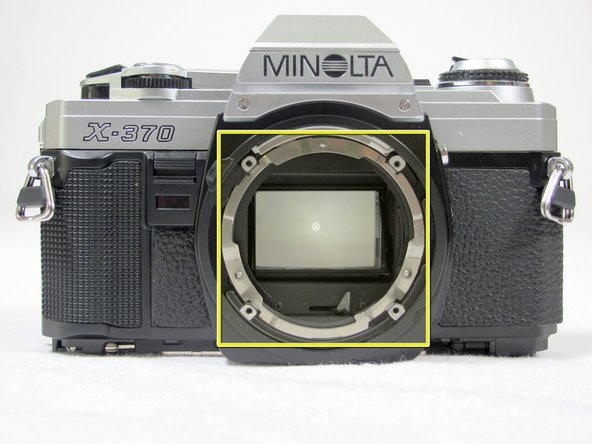
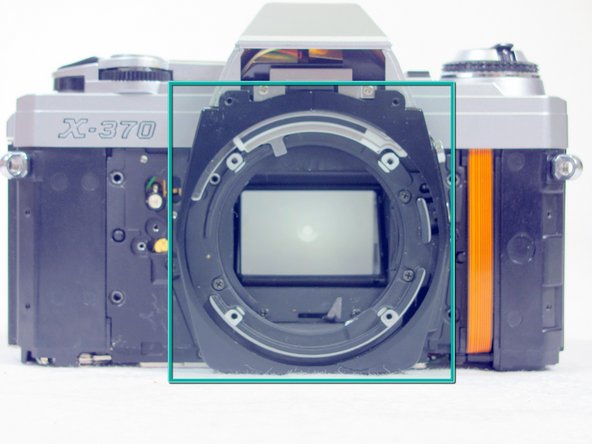
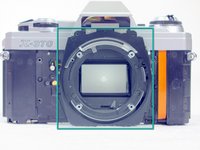
Remove the interior metal ring and the black plastic ring. Pay attention to the spring's location.
The photo is wrong, the red dot should be facing north, instead of west.
-
-
-
Remove the two black stoppers.
-
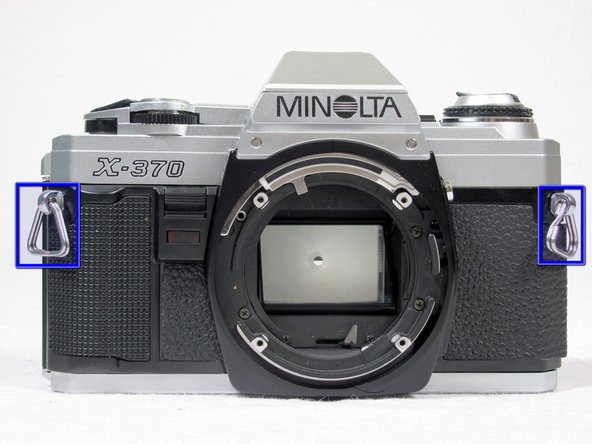
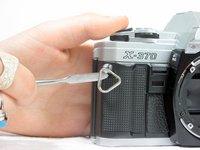
Using the metal spudger, remove the two triangular hangers.
-
-
-
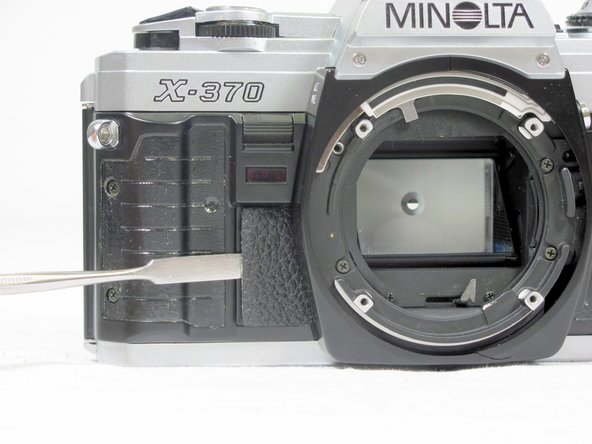
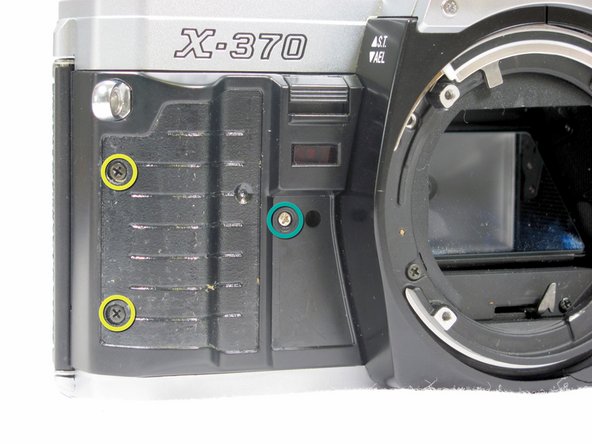
Using the metal spudger, peel off the right leather cover.
-
-
-
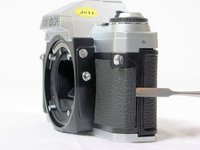
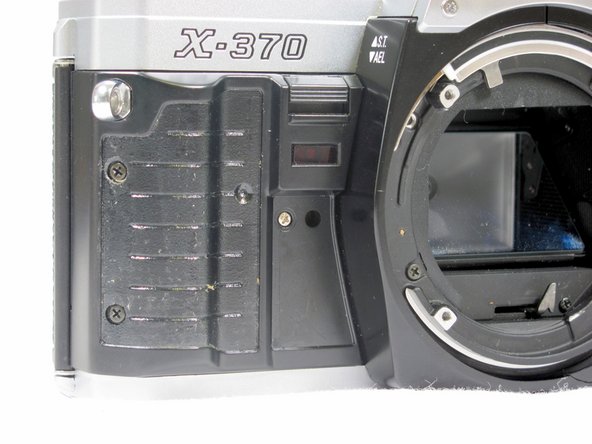
Use the metal spudger to remove both the grip cover and the left leather cover.
-
-
-
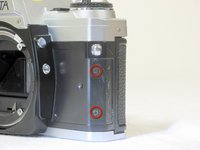
Remove two 5.3mm screws.
-
Remove two 5.3mm screws.
-
Remove one 2.35mm screws.
-
-
-
Remove the left and right plastic covers.
-
-
-
Remove two 6.65mm screws.
-
Remove two 2.93mm screws.
-
Remove four 5.3mm screws.
-
Remove the black plastic lens holder.
-


To reassemble your device, follow these instructions in reverse order.
To reassemble your device, follow these instructions in reverse order.
crwdns2935221:0crwdne2935221:0
crwdns2935229:04crwdne2935229:0
crwdns2915084:0crwdne2915084:0

Cal Poly, Team 8-7, Regan Spring 2011 crwdns2935289:0Cal Poly, Team 8-7, Regan Spring 2011crwdne2935289:0
CPSU-REGAN-S11S8G7
crwdns2931471:04crwdne2931471:0
crwdns2935297:09crwdne2935297:0
crwdns2947410:01crwdne2947410:0
I have Problems to assemble the new black plastic lens holder.
The space between camera Cup and the housing is very low.
Did someone have the same Problems ?