crwdns2933423:0crwdne2933423:0

Removing Dell Inspiron 1150 Optical drive

crwdns2942213:0crwdne2942213:0

  1. Removing Dell Inspiron 1150 Optical drive, Battery: crwdns2935265:01crwdnd2935265:01crwdnd2935265:03crwdne2935265:0 Removing Dell Inspiron 1150 Optical drive, Battery: crwdns2935265:01crwdnd2935265:02crwdnd2935265:03crwdne2935265:0 Removing Dell Inspiron 1150 Optical drive, Battery: crwdns2935265:01crwdnd2935265:03crwdnd2935265:03crwdne2935265:0
    • Place the laptop upside down on a clean, flat surface.

    • Locate the battery release button with the padlock symbol above it.

    • Slide the battery release button towards the padlock symbol and hold it there. Note that the button is spring loaded and will return if released.

    • The battery is now released from the battery compartment.

    • Gently remove the battery from the side of the laptop.

  2. Removing Dell Inspiron 1150 Optical drive, Palm Rest: crwdns2935265:02crwdnd2935265:01crwdnd2935265:02crwdne2935265:0 Removing Dell Inspiron 1150 Optical drive, Palm Rest: crwdns2935265:02crwdnd2935265:02crwdnd2935265:02crwdne2935265:0
    • Position the computer upside down on a clean, flat surface.

    • Remove the twelve M2.5 × 8 mm screws from the bottom case.

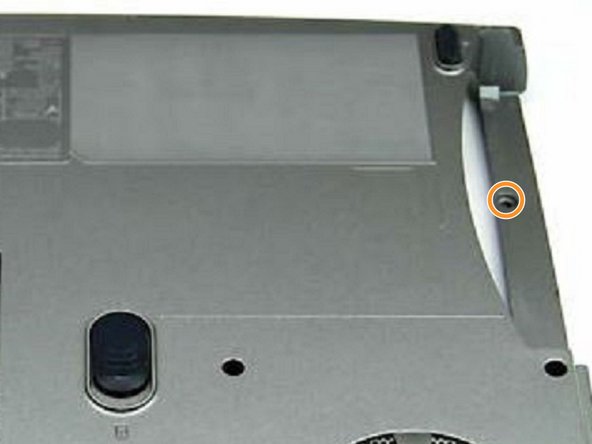
    • Remove the M2.5 × 4 mm screw from the battery bay.

  3. Removing Dell Inspiron 1150 Optical drive: crwdns2935265:03crwdnd2935265:01crwdnd2935265:02crwdne2935265:0 Removing Dell Inspiron 1150 Optical drive: crwdns2935265:03crwdnd2935265:02crwdnd2935265:02crwdne2935265:0
    • Position the computer keyboard side up.

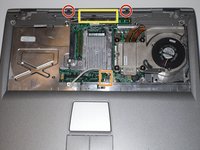
    • Remove the two M2.5 × 5 mm screws from the top edge of the palm rest.

    • Disconnect the touchpad (mouse-pad) ribbon cable from the main board by lifting the locking bar and pulling the cable straight out.

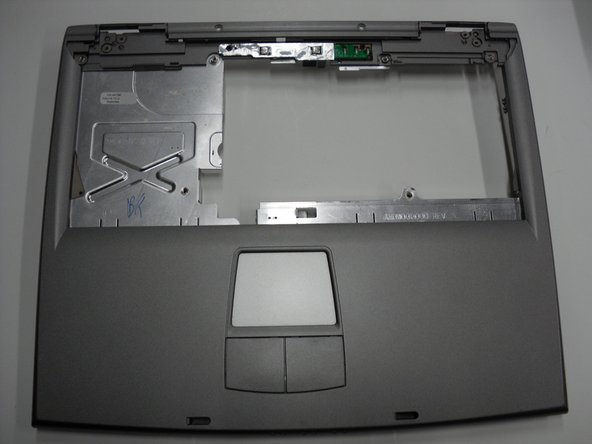
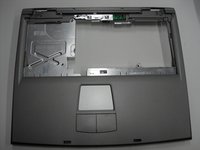
    • Starting at the back center, lift the inside edge of the palm rest to release the clips, then work toward the sides.

    • Caution: The palm-rest plastic and touchpad ribbon cable are fragile. Use gentle force and keep the cable clear while lifting to avoid tearing it.

  4. Removing Dell Inspiron 1150 Optical drive, Removing Dell Inspiron 1150 Optical drive: crwdns2935265:04crwdnd2935265:01crwdnd2935265:03crwdne2935265:0 Removing Dell Inspiron 1150 Optical drive, Removing Dell Inspiron 1150 Optical drive: crwdns2935265:04crwdnd2935265:02crwdnd2935265:03crwdne2935265:0 Removing Dell Inspiron 1150 Optical drive, Removing Dell Inspiron 1150 Optical drive: crwdns2935265:04crwdnd2935265:03crwdnd2935265:03crwdne2935265:0
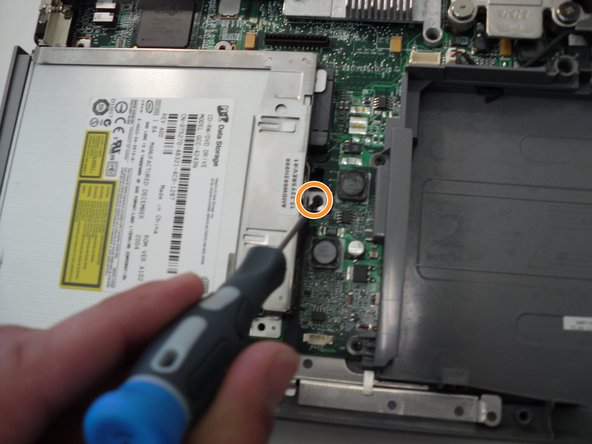
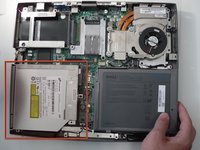
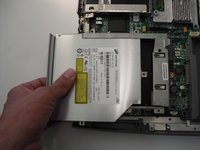
    • Locate the optical disk drive on the bottom left hand side of the laptop.

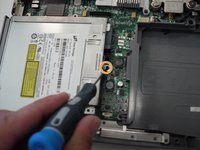
    • Remove the single screw holding the optical disk drive in the chassis.

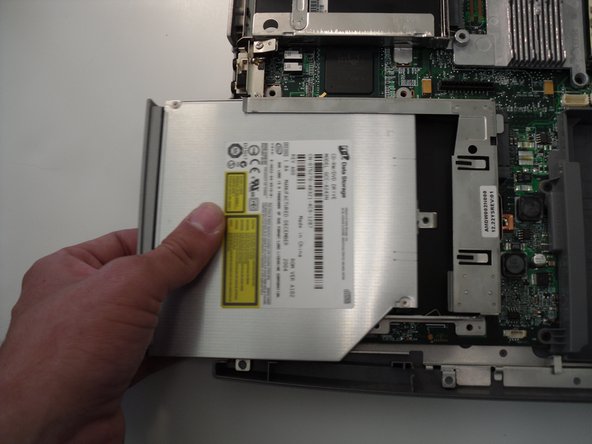
    • Remove the optical disk drive by gently pulling on the outer edge.

crwdns2915888:0crwdne2915888:0

To reassemble your device, follow these instructions in reverse order.

Daniel

crwdns2935283:004/25/10crwdne2935283:0

87 crwdns2915208:0crwdne2915208:0

crwdns2935297:02crwdne2935297:0

crwdns2935287:0crwdne2935287:0

Cal Poly, Team 16-2, Maness Spring 2010 crwdns2935289:0Cal Poly, Team 16-2, Maness Spring 2010crwdne2935289:0

CPSU-MANESS-S10S16G2

crwdns2931471:04crwdne2931471:0

crwdns2935297:09crwdne2935297:0

crwdns2947410:01crwdne2947410:0

This guide is incorrect, please see http://support.dell.com/support/edocs/sy... for a version that will actually take the promised two minutes.

Nick - crwdns2934203:0crwdne2934203:0

crwdns2917038:0crwdne2917038:0

crwdns2936625:0crwdne2936625:0:

crwdns2936751:024crwdne2936751:0 1

crwdns2936753:07crwdne2936753:0 5

crwdns2936753:030crwdne2936753:0 14

crwdns2942667:0crwdne2942667:0 6,064