crwdns2915892:0crwdne2915892:0
The guitar strings often catch on the plastic case or wear over time. This guide demonstrates how to access the internal components of the strings and diagnose hidden problems.
crwdns2942213:0crwdne2942213:0
-
-
Remove the strap by pulling it off of the mounts located on the body and neck.
-
-
-
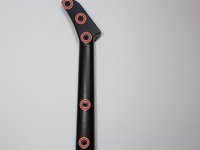
Remove the nine 12mm Phillips #1 screws around the perimeter of the case with a screwdriver.
-
Remove the two 15mm Phillips #1 screws connecting the body panel to the neck panel with a screwdriver.
-
Pull off the rear case.
-
-
-
-
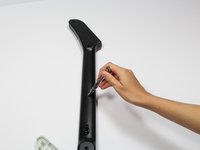
Remove the five 12mm Phillips #1 screws along the neck with a screwdriver.
-
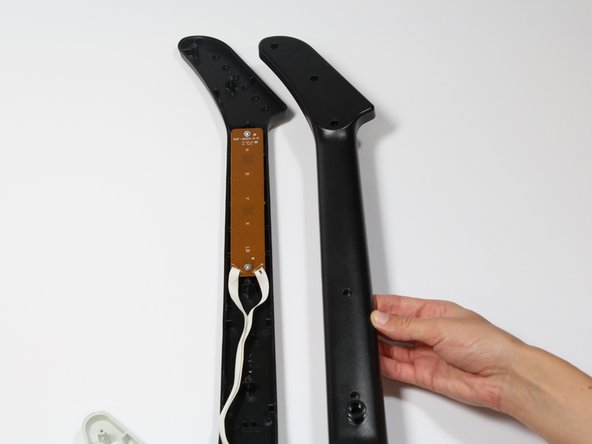
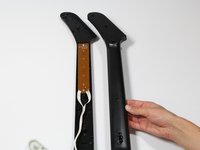
Pull off the top shell of the neck to expose the internal features.
-
-
-
Using two hands, gently remove the two string rod fixtures.
-
-
-
Lift up on the strum bar to remove it from the guitar.
-
-
-
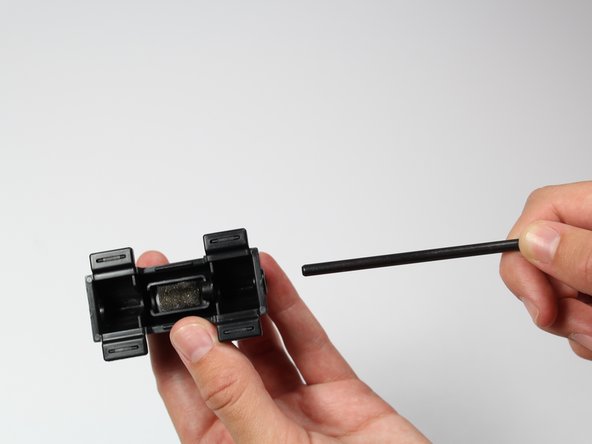
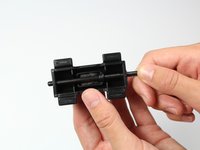
Remove the string rod by gently pulling it out of the strum bar.
-


To reassemble your device, follow these instructions in reverse order.
To reassemble your device, follow these instructions in reverse order.
crwdns2935221:0crwdne2935221:0
crwdns2935229:05crwdne2935229:0
crwdns2915084:0crwdne2915084:0

Cal Poly, Team S17-G1, Livingston Spring 2018 crwdns2935289:0Cal Poly, Team S17-G1, Livingston Spring 2018crwdne2935289:0
CPSU-LIVINGSTON-S18S17G1
crwdns2931471:03crwdne2931471:0
crwdns2935297:09crwdne2935297:0
crwdns2947412:03crwdne2947412:0
This did not help.
I had a squeaking strum bar so I followed this guide to dismantle and clean the parts. Other than the one step missed in the guide it was easy to follow. It also stopped the squeaking!
Thanks! pretty simple repair. I added a little synthetic lube to the strum bar and all quiet and smooth action now.