crwdns2933423:0crwdne2933423:0

Razer Tartarus V2 D-Pad Replacement

crwdns2942213:0crwdne2942213:0

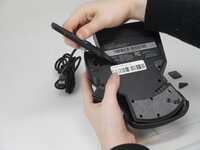
  1. Razer Tartarus V2 D-Pad Replacement, Razer Tartarus V2 Case Disassembly: crwdns2935265:01crwdnd2935265:01crwdnd2935265:02crwdne2935265:0 Razer Tartarus V2 D-Pad Replacement, Razer Tartarus V2 Case Disassembly: crwdns2935265:01crwdnd2935265:02crwdnd2935265:02crwdne2935265:0
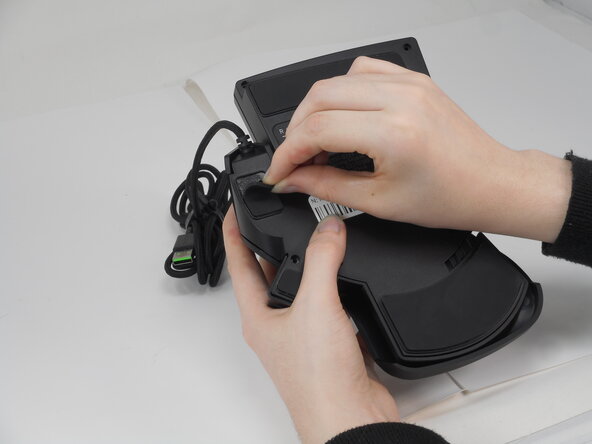
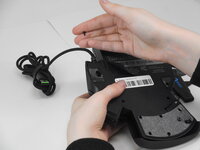
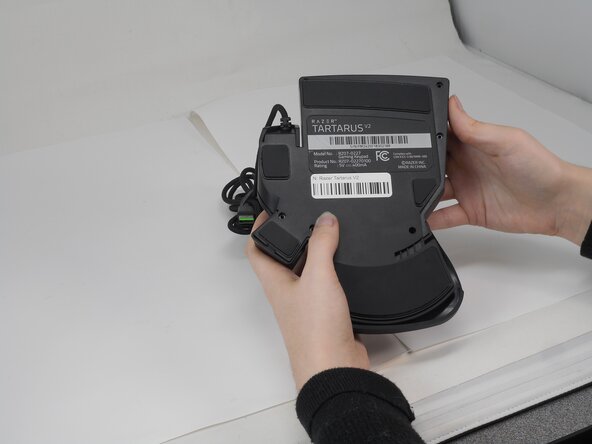
    • Turn the keypad upside down.

  2. Razer Tartarus V2 D-Pad Replacement: crwdns2935265:02crwdnd2935265:01crwdnd2935265:03crwdne2935265:0 Razer Tartarus V2 D-Pad Replacement: crwdns2935265:02crwdnd2935265:02crwdnd2935265:03crwdne2935265:0 Razer Tartarus V2 D-Pad Replacement: crwdns2935265:02crwdnd2935265:03crwdnd2935265:03crwdne2935265:0
    • Gently peel off the rubber feet with a Jimmy.

    • Set the rubber grip pads aside so you can reapply them later.

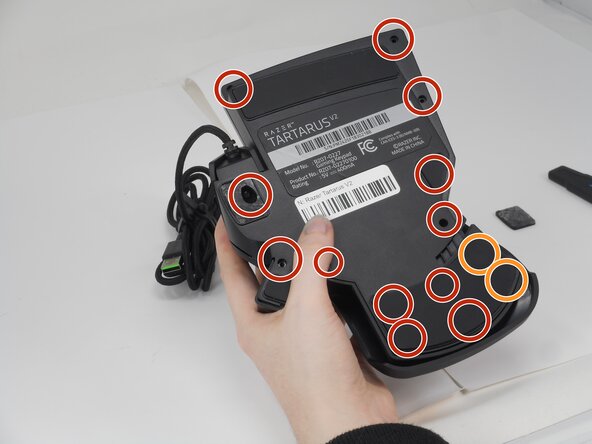
    • Use a Phillips #0 screwdriver to remove the following screws:

    • Twelve 6.4 mm-long screws

    • Two 3.7 mm-long screws

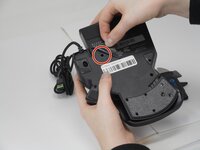
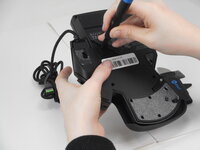
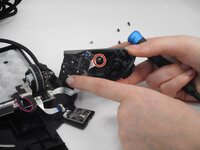
  3. Razer Tartarus V2 D-Pad Replacement: crwdns2935265:03crwdnd2935265:01crwdnd2935265:03crwdne2935265:0 Razer Tartarus V2 D-Pad Replacement: crwdns2935265:03crwdnd2935265:02crwdnd2935265:03crwdne2935265:0 Razer Tartarus V2 D-Pad Replacement: crwdns2935265:03crwdnd2935265:03crwdnd2935265:03crwdne2935265:0
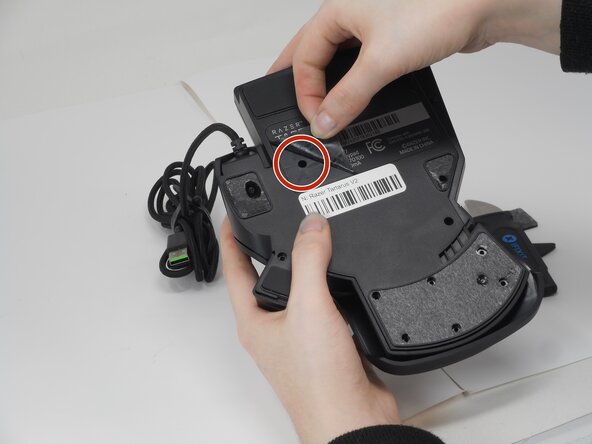
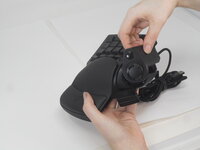
    • Peel up the bottom left corner of the largest sticker.

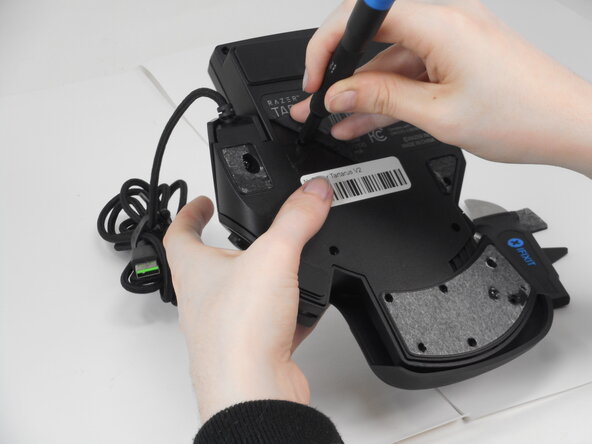
    • Remove the 6.4 mm-long Phillips #0 screw.

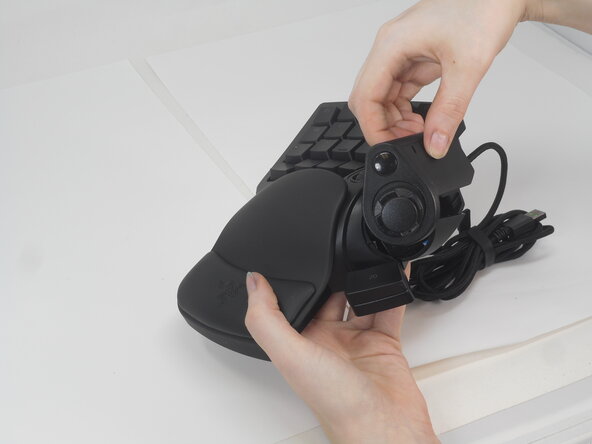
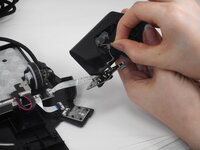
  4. Razer Tartarus V2 D-Pad Replacement: crwdns2935265:04crwdnd2935265:01crwdnd2935265:03crwdne2935265:0 Razer Tartarus V2 D-Pad Replacement: crwdns2935265:04crwdnd2935265:02crwdnd2935265:03crwdne2935265:0 Razer Tartarus V2 D-Pad Replacement: crwdns2935265:04crwdnd2935265:03crwdnd2935265:03crwdne2935265:0
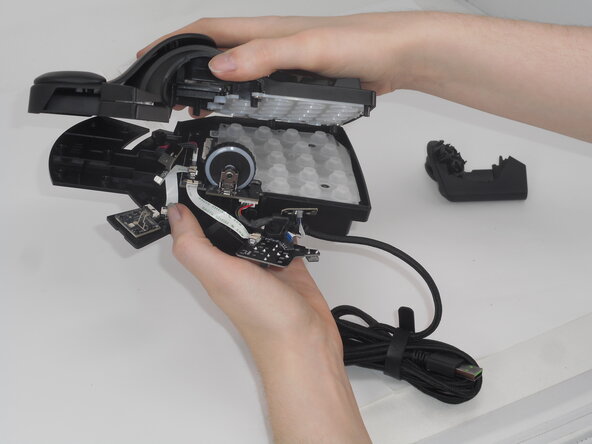
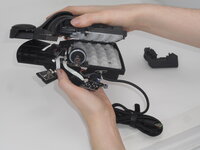
    • Carefully lift the joystick module up and out.

    • Separate the top and bottom casing of the keypad.

    • Use an Opening tool to pry the case open along the edges if necessary.

  5. Razer Tartarus V2 D-Pad Replacement, D-Pad: crwdns2935265:05crwdnd2935265:01crwdnd2935265:03crwdne2935265:0 Razer Tartarus V2 D-Pad Replacement, D-Pad: crwdns2935265:05crwdnd2935265:02crwdnd2935265:03crwdne2935265:0 Razer Tartarus V2 D-Pad Replacement, D-Pad: crwdns2935265:05crwdnd2935265:03crwdnd2935265:03crwdne2935265:0
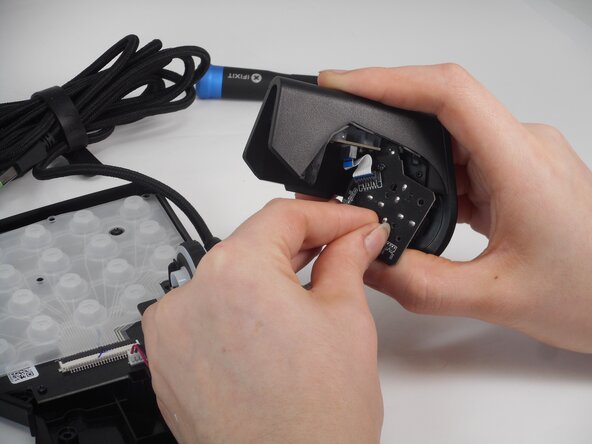
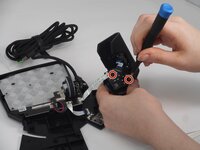
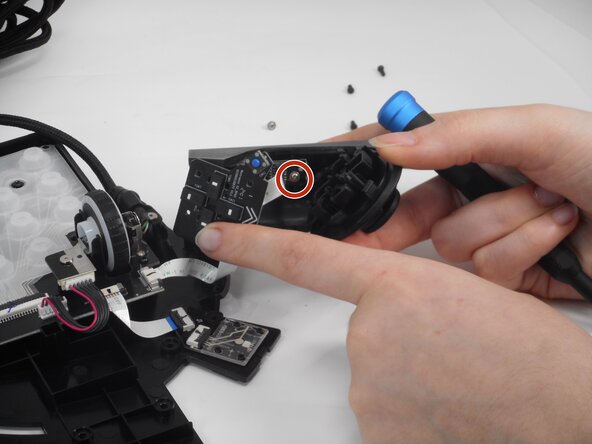
    • Remove the two 6.4 mm-long screws that secure the D-Pad PCB inside the casing with a Phillips #0 screwdriver.

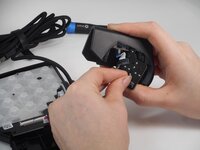
    • There are two pairs of prongs that secure the D-Pad PCB to the housing. Use your fingernails to squeeze each set of prongs inward while gently prying the PCB away from the housing to disengage them.

    • Repeat the previous bullet for the remaining set of prongs.

    • Carefully pull the PCB away from the housing.

    • Take care not to strain the connected ribbon cables.

  6. Razer Tartarus V2 D-Pad Replacement: crwdns2935265:06crwdnd2935265:01crwdnd2935265:03crwdne2935265:0 Razer Tartarus V2 D-Pad Replacement: crwdns2935265:06crwdnd2935265:02crwdnd2935265:03crwdne2935265:0 Razer Tartarus V2 D-Pad Replacement: crwdns2935265:06crwdnd2935265:03crwdnd2935265:03crwdne2935265:0
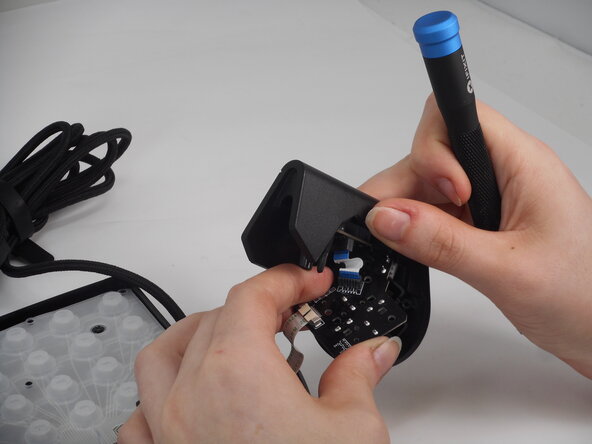
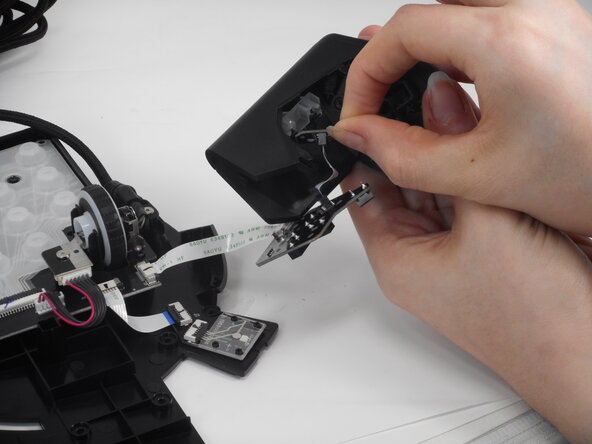
    • Remove the two 4.9 mm silver screws that secures the smaller PCB with a Phillips #0 screwdriver.

    • One of these two screws is behind a connector ribbon and the D-Pad PCB must be gently pulled to the side to access it.

    • Gently pull the smaller PCB away from the white plastic underneath it.

  7. Razer Tartarus V2 D-Pad Replacement: crwdns2935265:07crwdnd2935265:01crwdnd2935265:01crwdne2935265:0
    • Remove the white plastic bracket from the casing.

    • A plastic ring will fall out after both PCBs are are removed. It belongs under one of the screw in points for the larger daughter board.

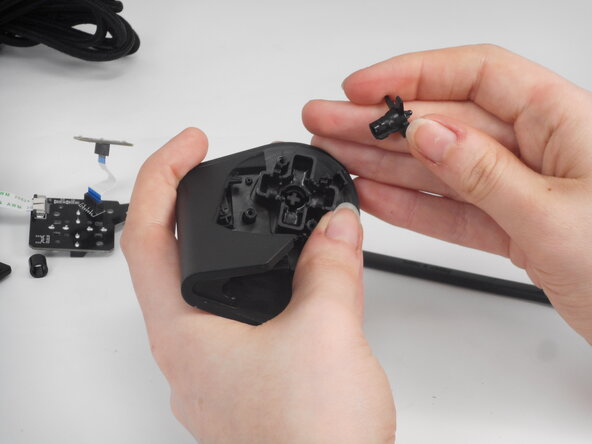
  8. Razer Tartarus V2 D-Pad Replacement: crwdns2935265:08crwdnd2935265:01crwdnd2935265:03crwdne2935265:0 Razer Tartarus V2 D-Pad Replacement: crwdns2935265:08crwdnd2935265:02crwdnd2935265:03crwdne2935265:0 Razer Tartarus V2 D-Pad Replacement: crwdns2935265:08crwdnd2935265:03crwdnd2935265:03crwdne2935265:0
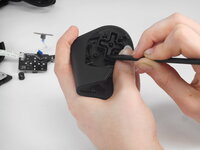
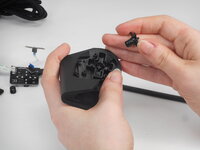
    • Use the hooked end of a halberd spudger to get under the edge of the smaller cross.

    • Pry all four arms of the smaller cross.

    • This step may require more force than removing the daughterboards.

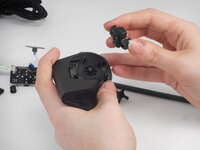
    • Remove both cross structures from the casing.

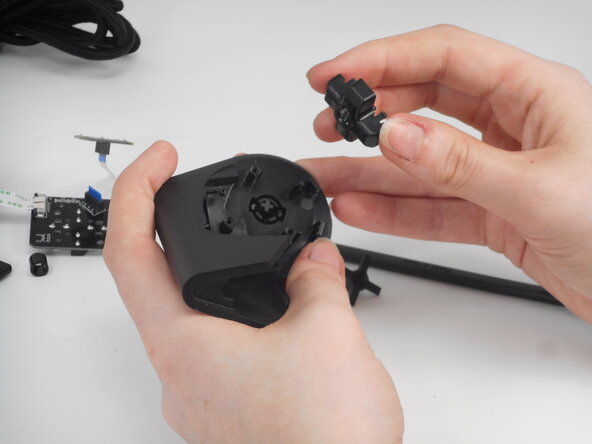
  9. Razer Tartarus V2 D-Pad Replacement: crwdns2935265:09crwdnd2935265:01crwdnd2935265:02crwdne2935265:0 Razer Tartarus V2 D-Pad Replacement: crwdns2935265:09crwdnd2935265:02crwdnd2935265:02crwdne2935265:0
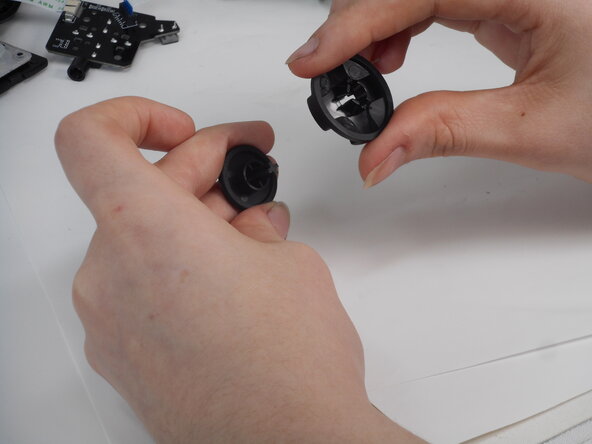
    • Pull the D-Pad out from its seated position. It will come off together with the D-Pad casing.

crwdns2915888:0crwdne2915888:0

To reassemble your device, follow the above steps in reverse order.
Repair didn’t go as planned? Try some basic troubleshooting or ask our Answers community for help.

Derrick

crwdns2935283:002/21/25crwdne2935283:0

569 crwdns2915208:0crwdne2915208:0

crwdns2935297:05crwdne2935297:0

crwdns2915084:0crwdne2915084:0

University of Memphis, Team 2-1, Sneed Spring 2025 crwdns2935289:0University of Memphis, Team 2-1, Sneed Spring 2025crwdne2935289:0

UM-SNEED-S25S2G1

crwdns2931471:03crwdne2931471:0

crwdns2935297:08crwdne2935297:0

crwdns2947410:01crwdne2947410:0

I'm so glad I took the one screw out that mattered before completely disassembling it like your tutorial says, don't waste your time taking all the screws off. just remove the one for the joystick

smash chachi - crwdns2934203:0crwdne2934203:0

crwdns2917038:0crwdne2917038:0

crwdns2936625:0crwdne2936625:0:

crwdns2936751:024crwdne2936751:0 6

crwdns2936753:07crwdne2936753:0 39

crwdns2936753:030crwdne2936753:0 139

crwdns2942667:0crwdne2942667:0 313