crwdns2915892:0crwdne2915892:0
Is your Razer Phone's speaker blown? If so, here is the guide to replacing it.
crwdns2942213:0crwdne2942213:0
-
-
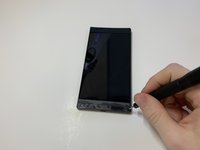
Remove the plastic speaker grills by using the metal spudger to pry underneath the strips.
-
Peel off the plastic speaker grill to reveal the screws.
-
-
-
Pry the top plastic grill off with the metal spudger and reveal the screws.
-
-
-
Remove five (two bottom, three top) 2.5 mm screws with the Phillips #000 screwdriver.
-
Remove five (four bottom, one top) 5.5 mm screws with the Torx Head T5 screwdriver.
-
-
-
Remove the display assembly by using the Jimmy to separate the assembly from the phone's frame.
-
Lift the display assembly away from the other half of the phone.
-
-
crwdns2935267:0crwdne2935267:0Tweezers$4.99
-
Remove one 2.5 mm screw holding down the metal bracket connector using the Phillips #000 screwdriver.
-
Peel back the metallic shielding over the connector using tweezers.
-
Remove the metal bracket connector.
-
-
-
Grab hold of the the screen ribbon with the tweezers and remove it from the rest of the phone to free the assembly display.
-
-
crwdns2935267:0crwdne2935267:0Tweezers$4.99
-
Grab hold of the connector on the right side of the phone (just above the battery) using the tweezers.
-
Remove the connector.
-
-
-
Remove the 2.5 mm screw holding down the bracket with a Phillips #000 screwdriver.
-
Grab the bracket with the tweezers and remove it.
-
-
-
Peel off and pull out the elastic tabs at the bottom of the battery.
-
-
-
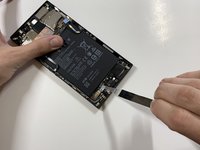
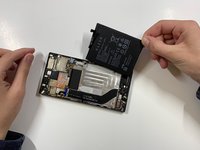
Carefully use the Jimmy to wedge the battery out of the phone.
-
-
-
-
Using a Phillips #000 screwdriver, take out the seven 1 mm screws on the bottom panel of the device.
-
-
crwdns2935267:0crwdne2935267:0Tweezers$4.99
-
Grab hold of the blue connector on the upper left side of the phone with the tweezers.
-
Remove the connector.
-
-
-
Use the tweezers to grab hold of the connector for the blue wire (bottom of the device), and remove the connector.
-
Use the tweezers to grab hold of the connector for the white wire, and remove the connector.
-
-
-
Using the tweezers, grab the detached charging port and ribbon.
-
-
-
Remove the one 2.5 mm screw with the Phillips #000 screwdriver.
-
-
-
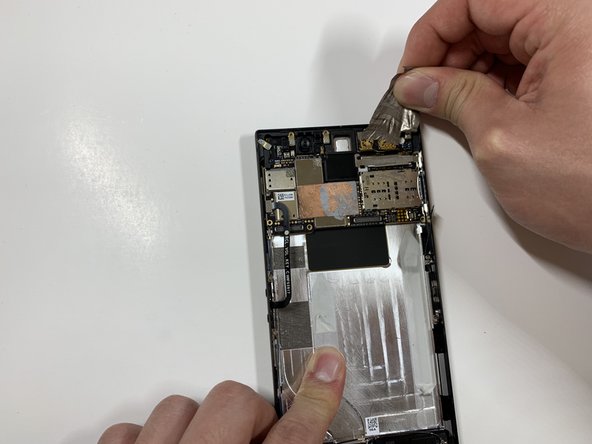
Remove the protective peel covering the rear cameras using your hands.
-
-
crwdns2935267:0crwdne2935267:0Tweezers$4.99
-
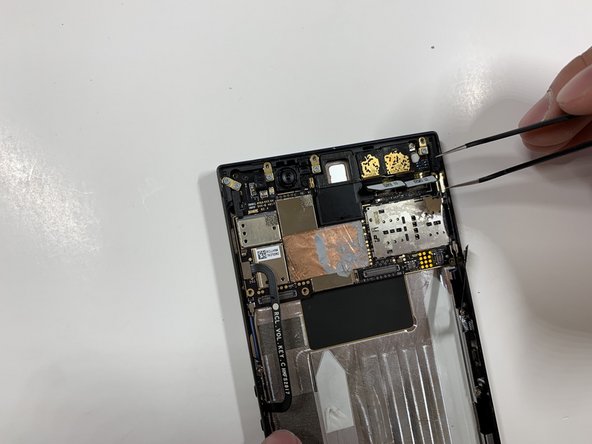
Use the tweezers to remove the white tab connector.
-
-
-
Grab and remove the metal tab with the tweezers.
-
-
-
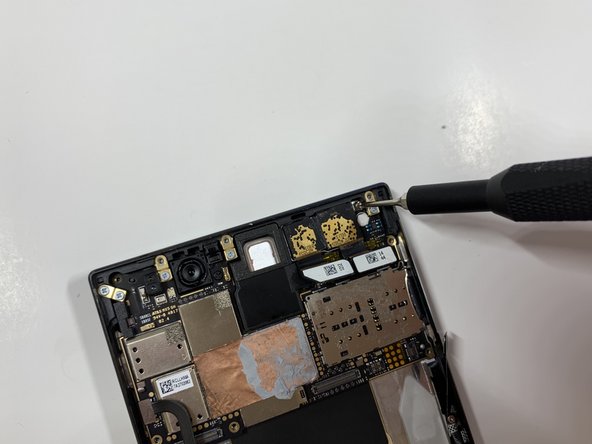
Grab the connectors with the tweezers and gently lift the connectors loose.
-
-
-
Remove the one 2.5 mm screw with the Phillips #000 screwdriver.
-
-
-
Remove the one 2.5 mm screw underneath the connectors with the Phillips #000 screwdriver.
-
-
-
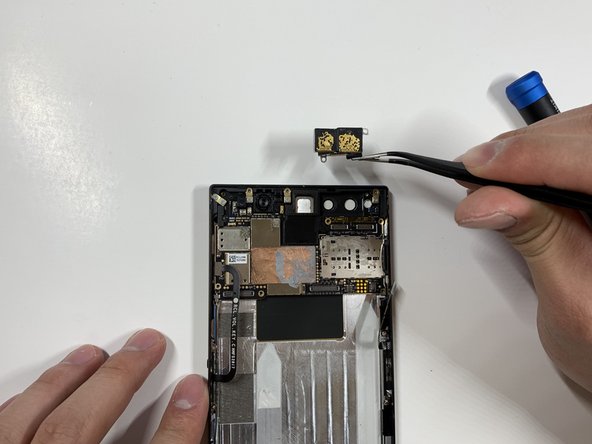
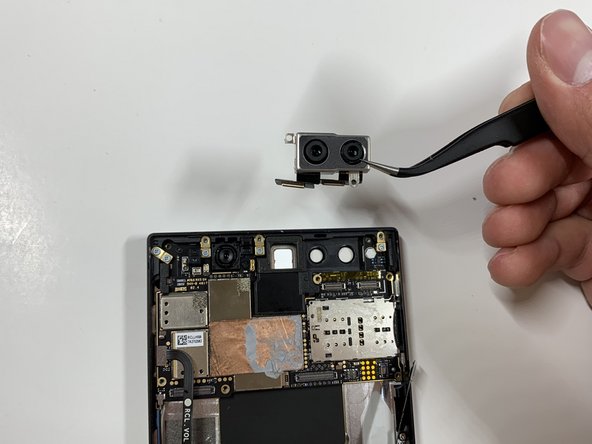
Grab the loose connectors with a tweezer and gently remove the rear camera unit from the phone.
-
-
crwdns2935267:0crwdne2935267:0Tweezers$4.99
-
Grab and remove the blue connector with the tweezers.
-
-
-
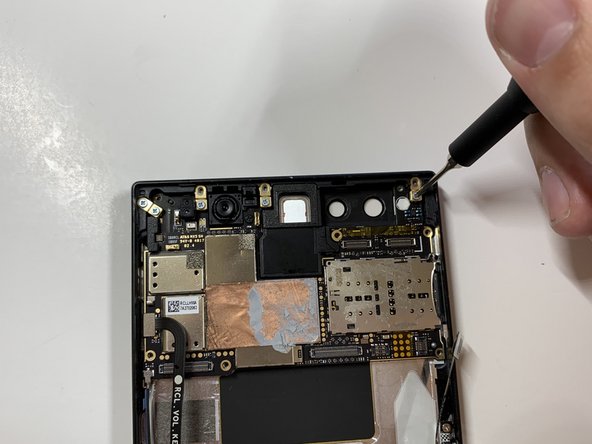
Remove the five 1 mm screws holding down the gold antenna line brackets to the motherboard using the Phillips #000 screwdriver.
-
-
-
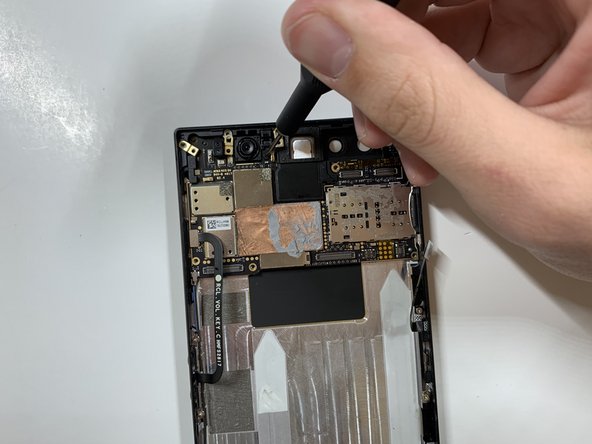
Remove the 2.5 mm screw next to the front-facing camera with the Phillips #000 screwdriver.
-
-
-
Remove the four gold antenna line brackets with the tweezers.
-
-
-
Using the tweezers remove the SIM card tray from the body of the phone.
-
-
-
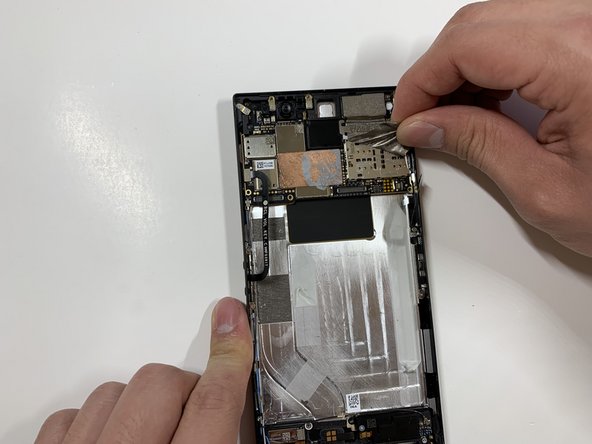
Carefully lift up the motherboard away from the device.
-
-
crwdns2935267:0crwdne2935267:0Tweezers$4.99
-
Lift earpiece speaker up with the tweezers.
-
To reassemble your device, follow these instructions in reverse order.
To reassemble your device, follow these instructions in reverse order.
crwdns2935221:0crwdne2935221:0
crwdns2935229:02crwdne2935229:0
crwdns2947410:01crwdne2947410:0
This job shouldn’t take more than an hour.


