crwdns2933423:0crwdne2933423:0

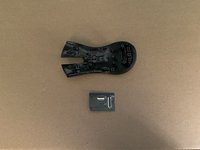
Razer Naga Epic Top Panel Disassembly

crwdns2942213:0crwdne2942213:0

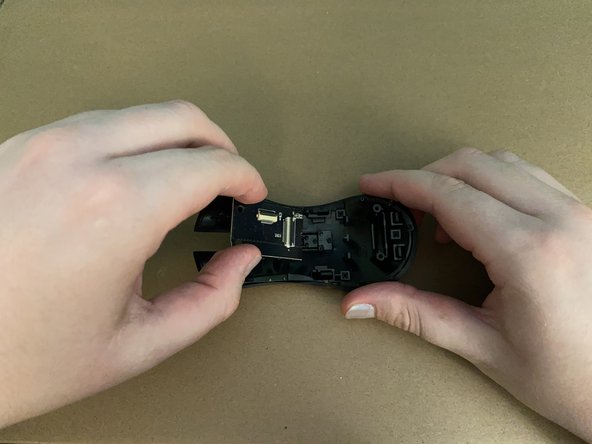
  1. Razer Naga Epic Top Panel Disassembly, Identify attachment points: crwdns2935265:01crwdnd2935265:01crwdnd2935265:02crwdne2935265:0 Razer Naga Epic Top Panel Disassembly, Identify attachment points: crwdns2935265:01crwdnd2935265:02crwdnd2935265:02crwdne2935265:0
    • The PCB is held to the top panel by...

    • 2 x 6mm Phillips #0 screws towards the front

    • 2 grooves on the top panel holding it in towards the rear

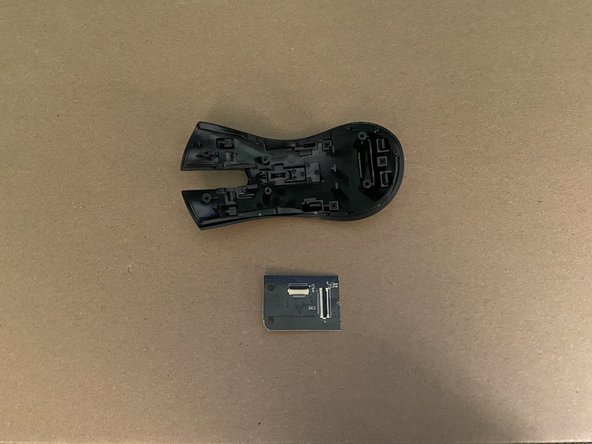
  2. Razer Naga Epic Top Panel Disassembly, Unscrew the PCB: crwdns2935265:02crwdnd2935265:01crwdnd2935265:01crwdne2935265:0
    • Unscrew the 2 screws holding the PCB into the top panel.

  3. Razer Naga Epic Top Panel Disassembly, Slide PCB away from the top panel: crwdns2935265:03crwdnd2935265:01crwdnd2935265:03crwdne2935265:0 Razer Naga Epic Top Panel Disassembly, Slide PCB away from the top panel: crwdns2935265:03crwdnd2935265:02crwdnd2935265:03crwdne2935265:0 Razer Naga Epic Top Panel Disassembly, Slide PCB away from the top panel: crwdns2935265:03crwdnd2935265:03crwdnd2935265:03crwdne2935265:0
    • Carefully slide the PCB horizontally away from the grooves on the rear end of the top panel.

crwdns2915888:0crwdne2915888:0

To reassemble your device, follow these instructions in reverse order.

Caius Nocturne

crwdns2935283:007/12/21crwdne2935283:0

2,066 crwdns2915208:0crwdne2915208:0

crwdns2935297:013crwdne2935297:0

crwdns2944067:00crwdne2944067:0

crwdns2917038:0crwdne2917038:0

crwdns2936625:0crwdne2936625:0:

crwdns2936751:024crwdne2936751:0 0

crwdns2936753:07crwdne2936753:0 1

crwdns2936753:030crwdne2936753:0 7

crwdns2942667:0crwdne2942667:0 41