crwdns2915892:0crwdne2915892:0
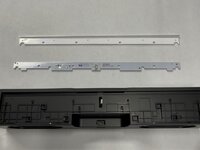
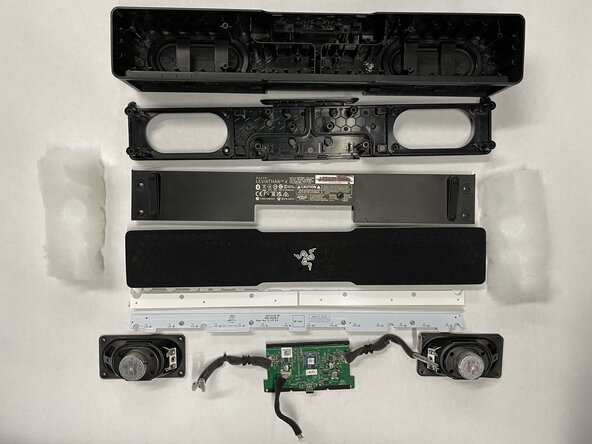
Repairability rating 8/10. Easy for beginners, great speaker housing for modders. Overall Razer did a quite good job making this decently easy to disassemble.
crwdns2942213:0crwdne2942213:0
-
-
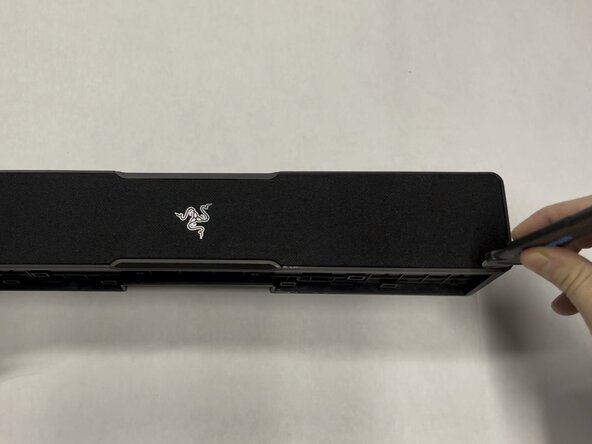
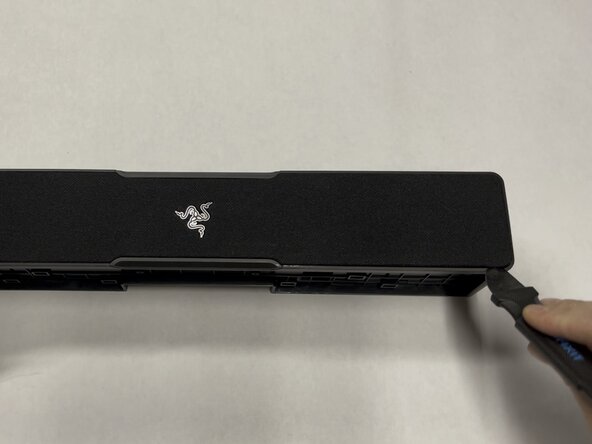
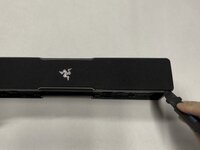
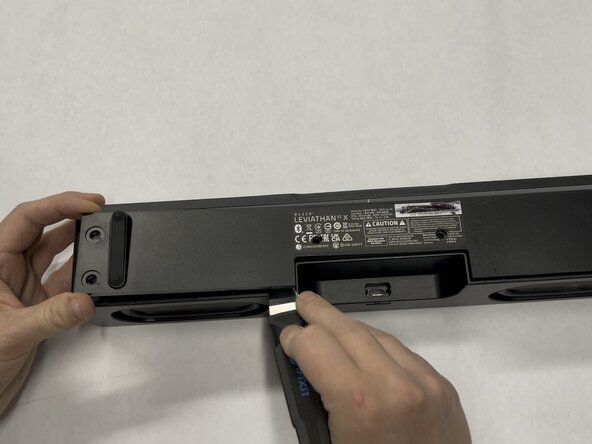
Using a flat metal "Jimmy" tool, gently work out the front metal screen and mesh.
-
Insert the tool vertically ~3-5mm (~1/8-1/4in), then pry gently away from the mesh screen. The screen should slowly start to come out directly vertical.
-
Repeat this every few cms/inches, working in a loop around the outside edge one or two times until you get the metal/mesh screen off.
-
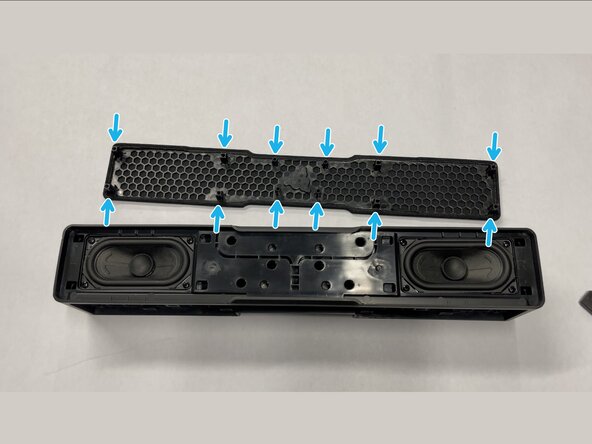
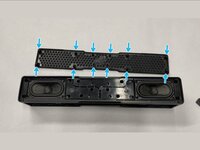
On the bottom of the metal/mesh screen there are 12 protruding plastic tabs that are inserted ~2cm into the body of the speaker.
-
-
-
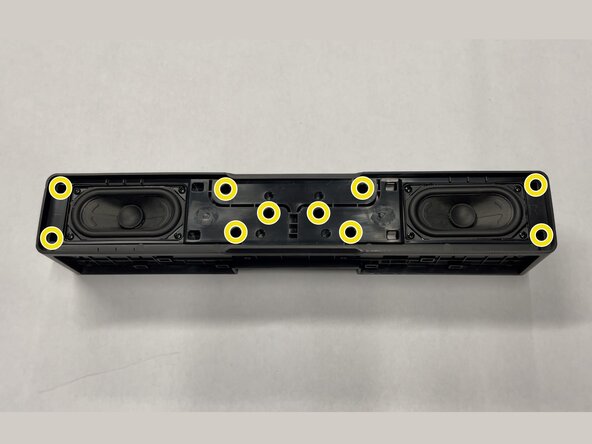
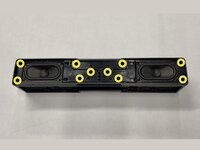
Use a Philips #2 screwdriver to remove the ten 14 mm-long screws mounting the inner frame to the body.
-
-
-
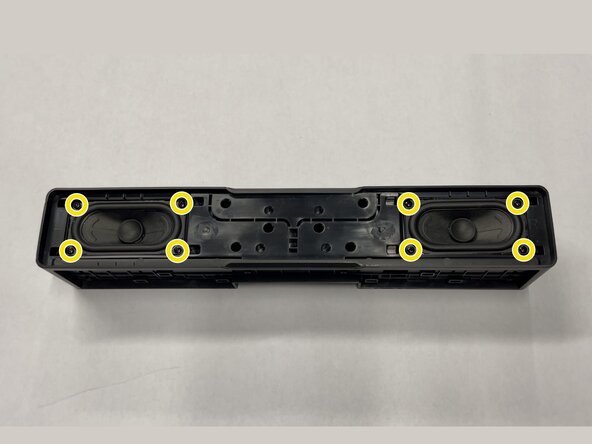
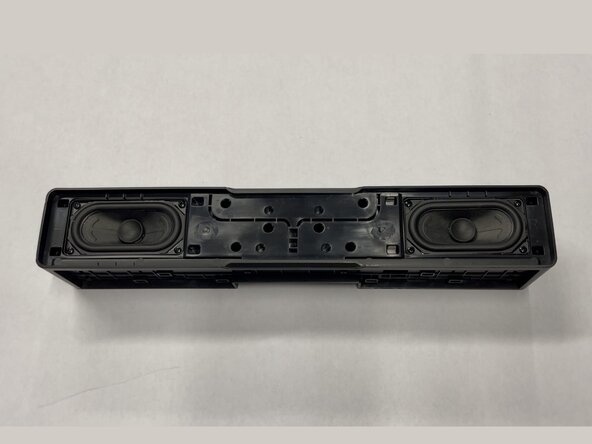
Use a Philips #2 screwdriver to remove the eight 14 mm-long screws holding in the two speakers.
-
-
-
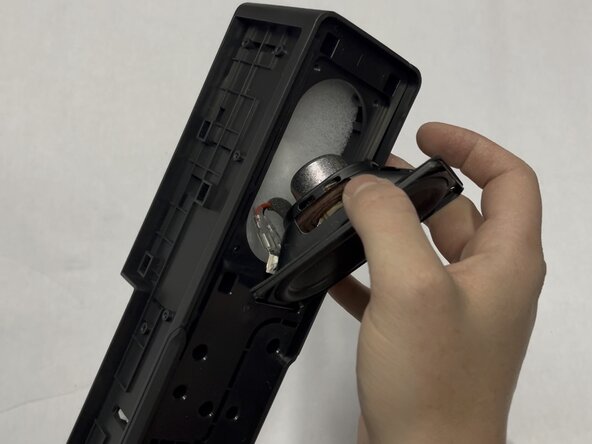
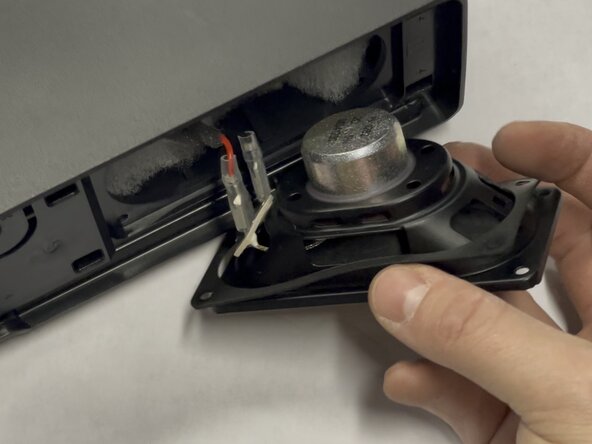
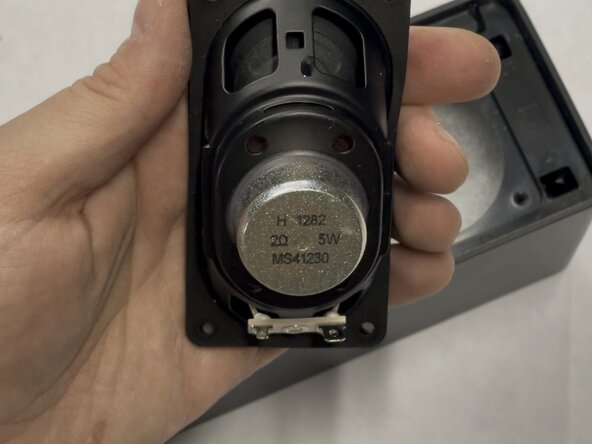
Lift the speaker from the body to get at the wires.
-
-
-
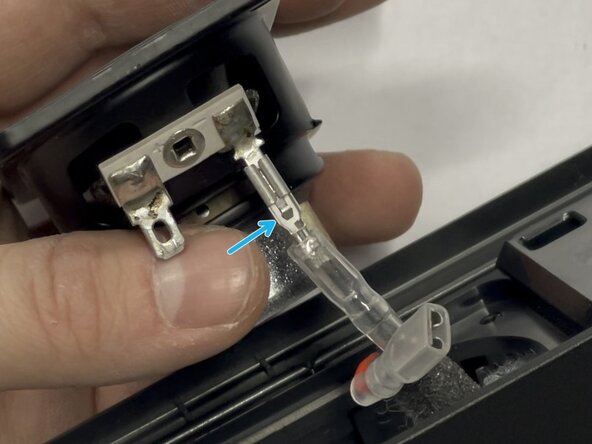
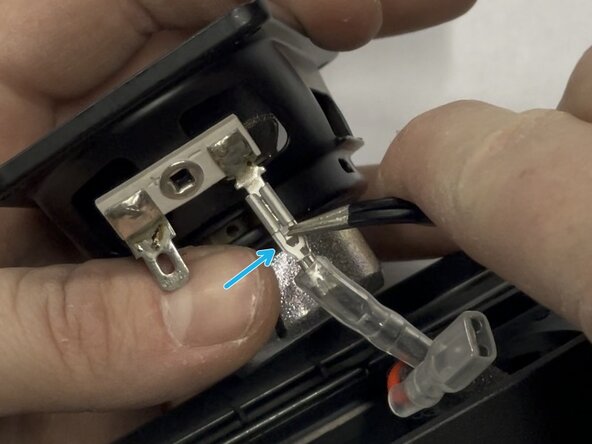
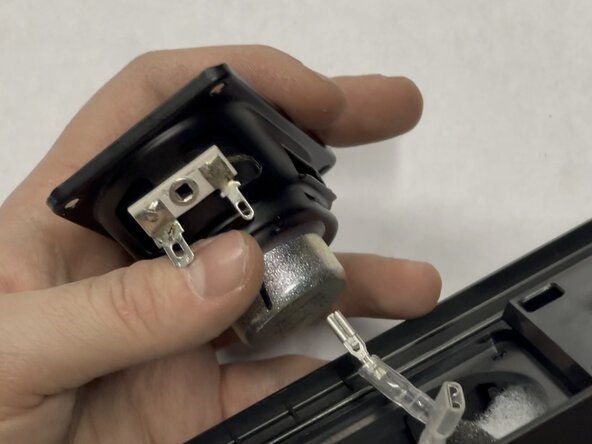
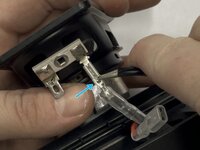
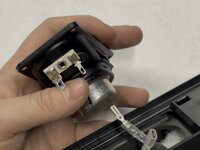
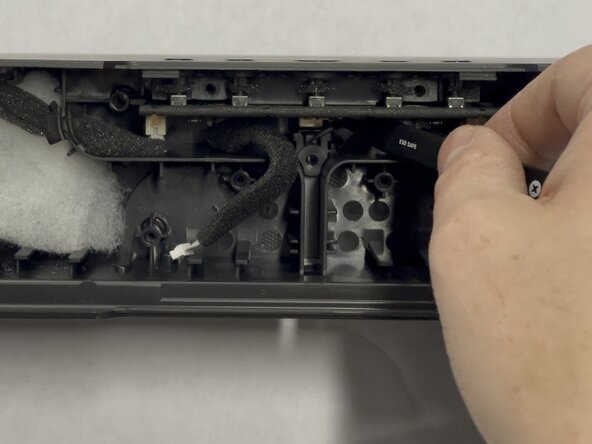
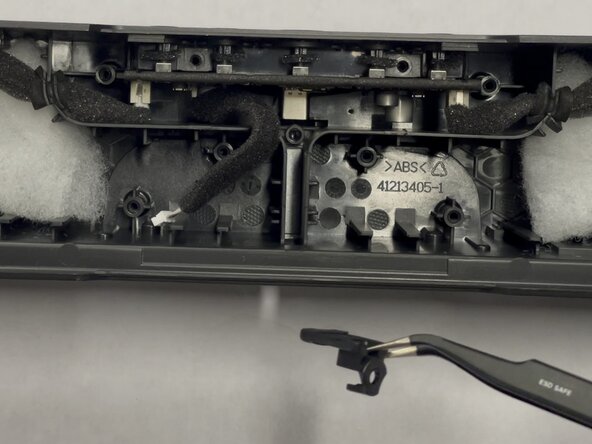
Slip the plastic cover downward off the connector
-
Use metal tweezers or a tiny driver bit to press down the tab in the center of the connector.
-
Gently pull downward on the connector to disconnect it from the body.
-
-
-
Remove each of the two speakers and set them aside.
-
-
-
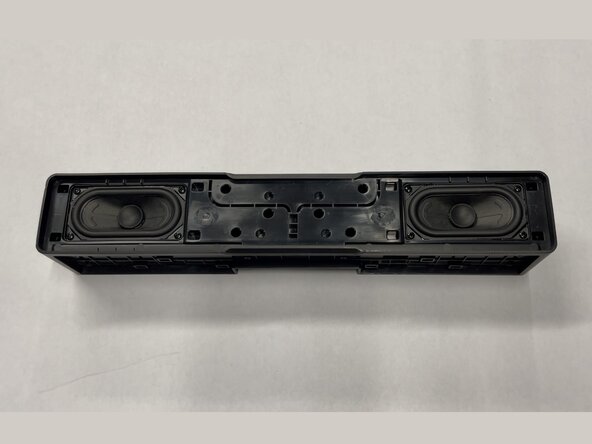
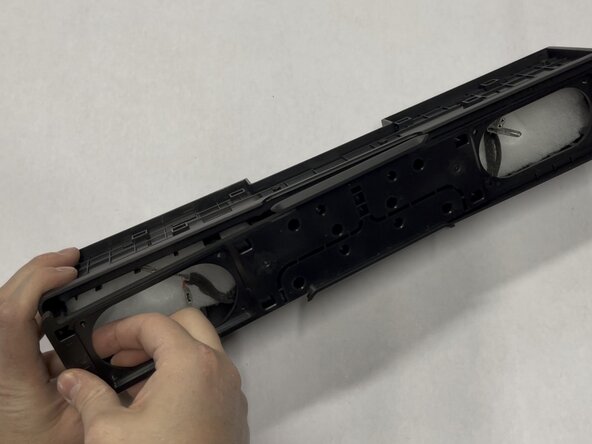
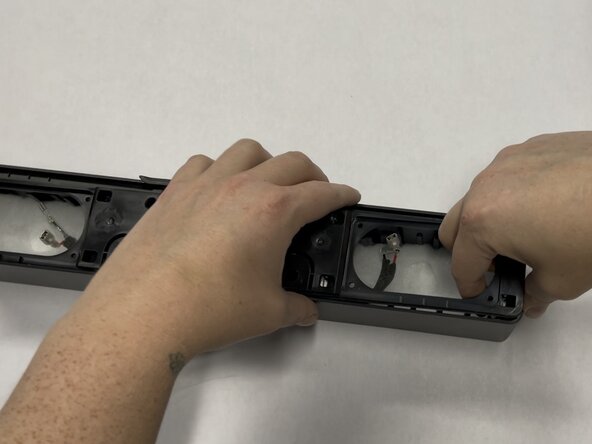
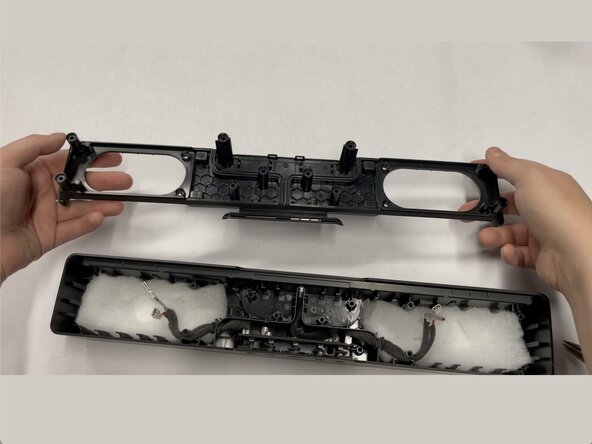
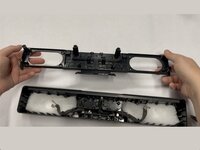
Pull on each side of the inner plastic frame vertically to slide it out of the body.
-
-
-
-
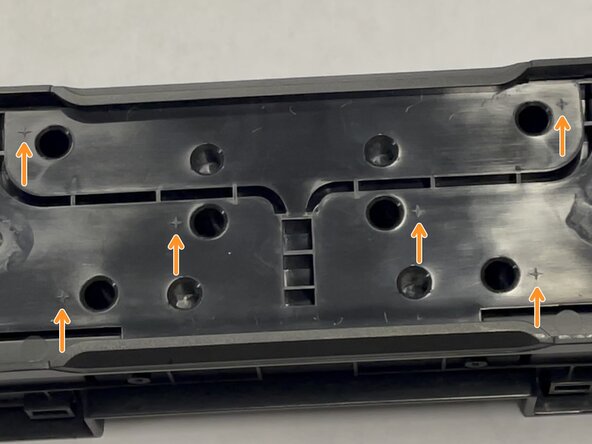
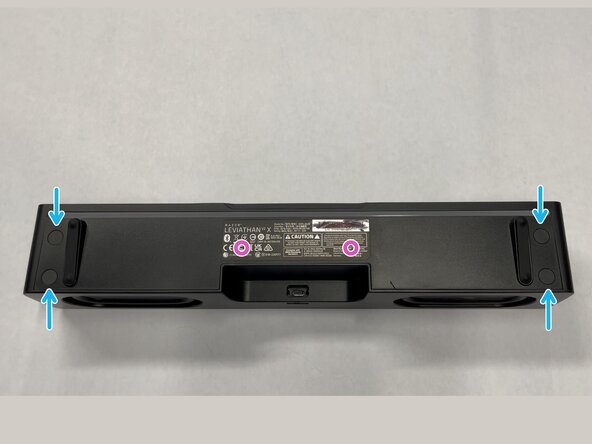
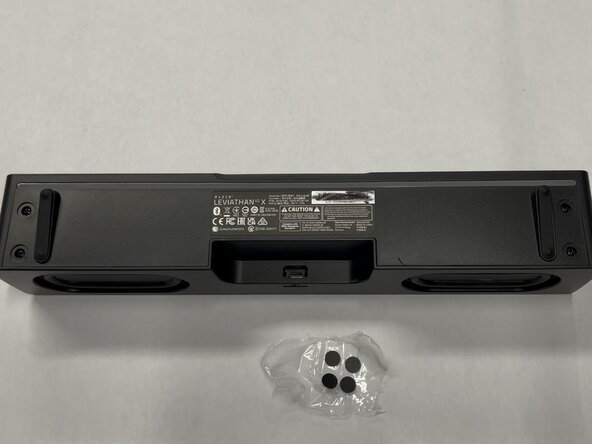
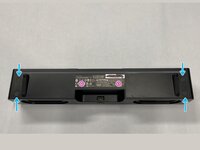
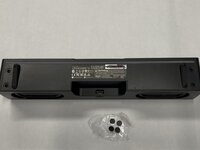
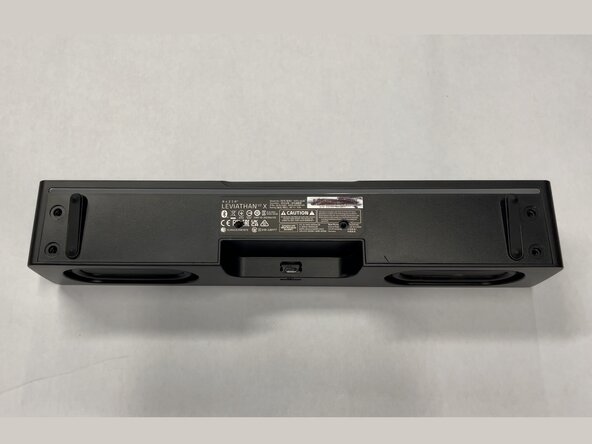
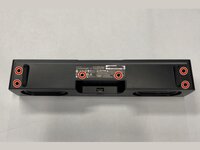
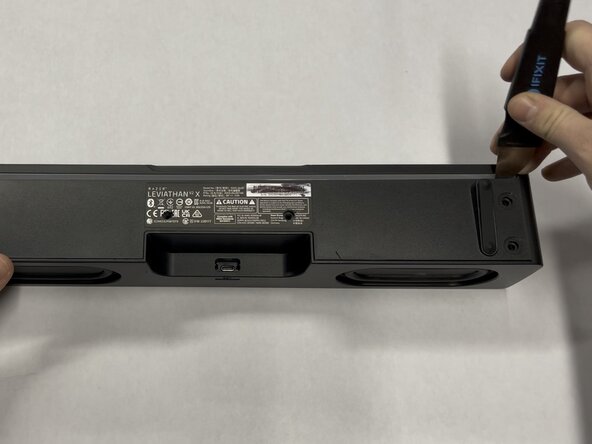
Remove the 4 sticky screw covers from the bottom of the speaker
-
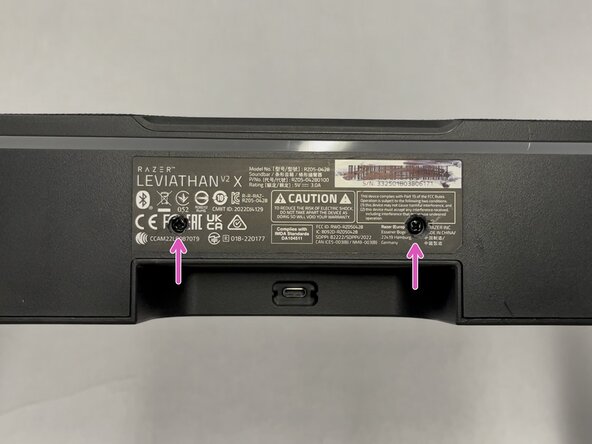
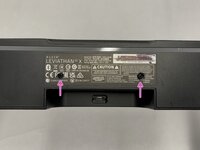
Use a Knife to cut through the sticker to reveal two more hidden screws. See image #3
-
-
-
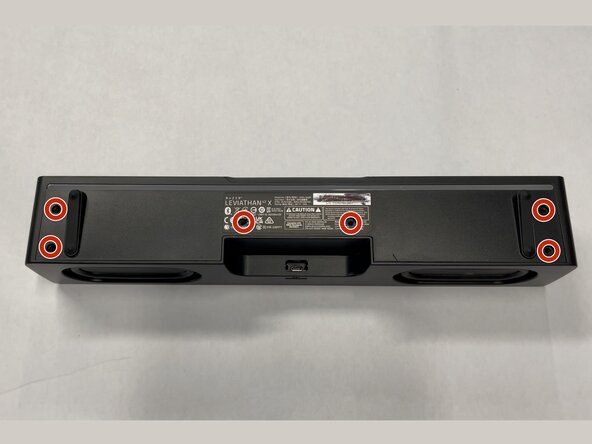
Use a Philips #2 screwdriver to remove the six 10 mm-long screws holding the bottom cover in place
-
-
-
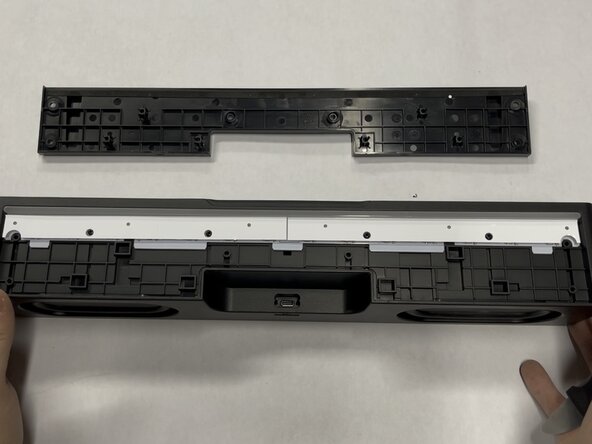
Use the Jimmy tool to remove the bottom cover, again working slowly around outside of the part. It should come off with little force needed.
-
-
-
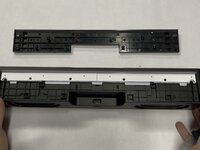
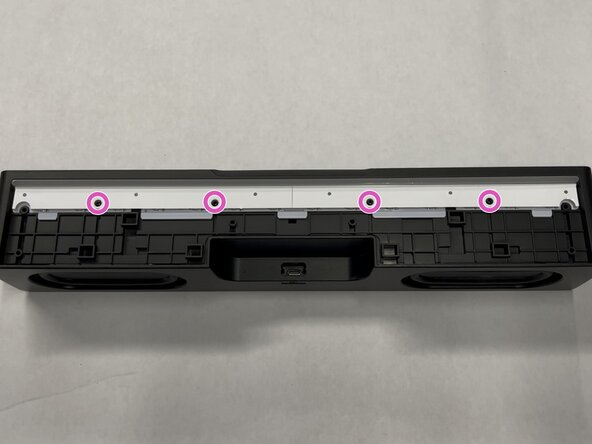
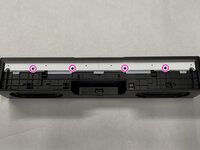
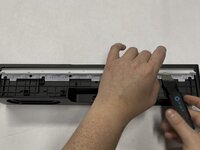
Use a Philips #1 screwdriver to remove the four 8 mm-long screws holding in the RGB diffuser and board
-
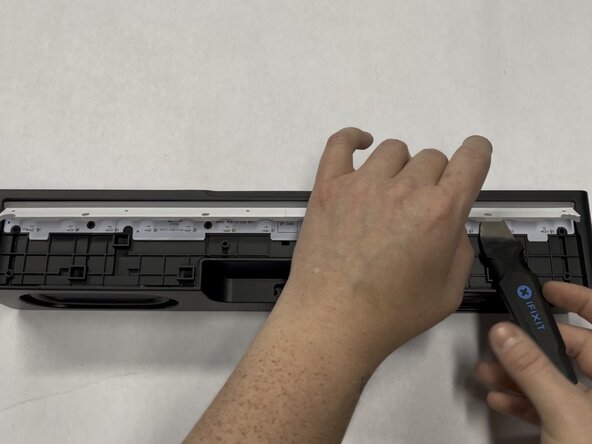
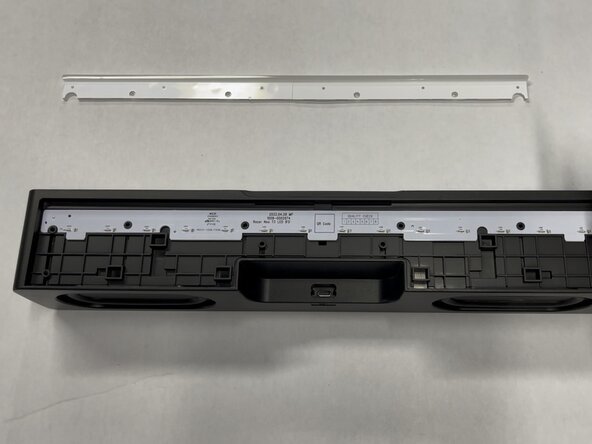
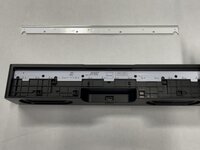
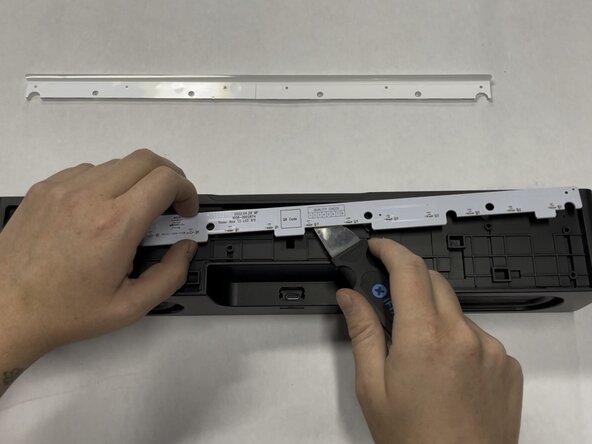
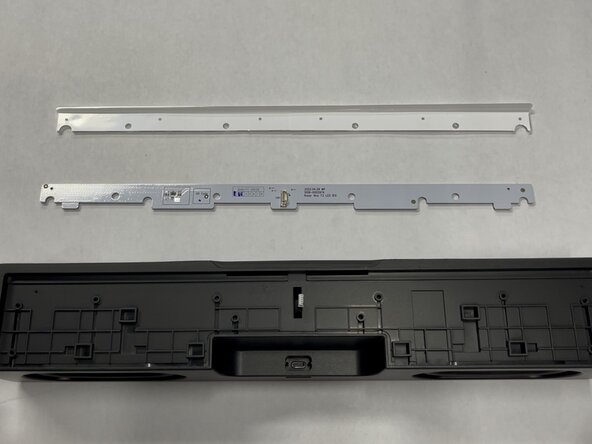
Slip Jimmy tool between the light bar diffuser and PCB then lift gently upward, then remove the light bar diffuser and set aside
-
-
-
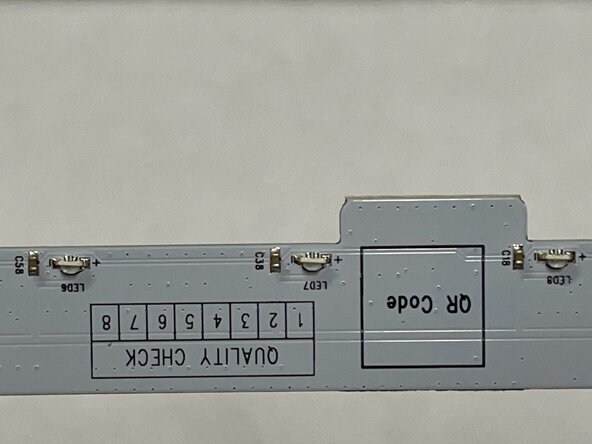
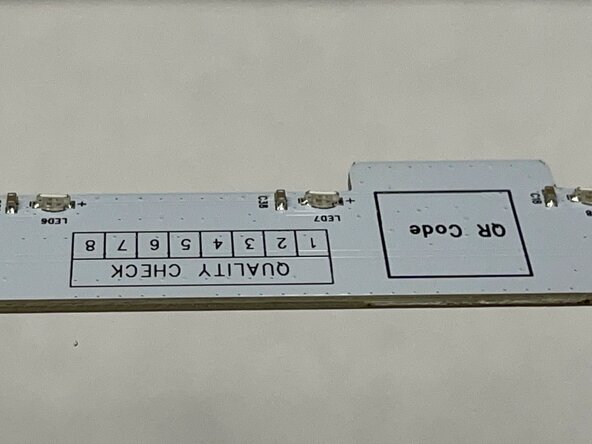
Gently pry the RGB board free using the jimmy tool and lift it upwards and away from the bottom.
-
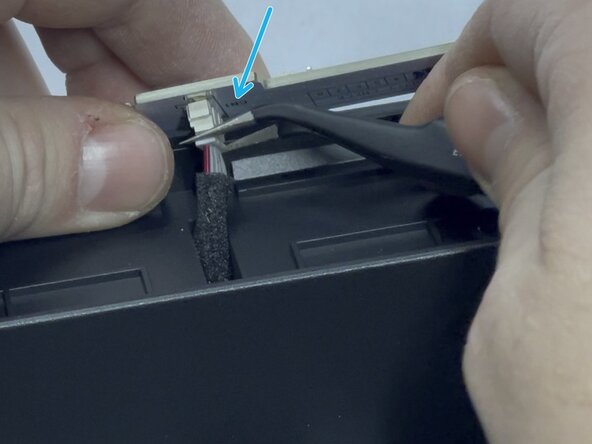
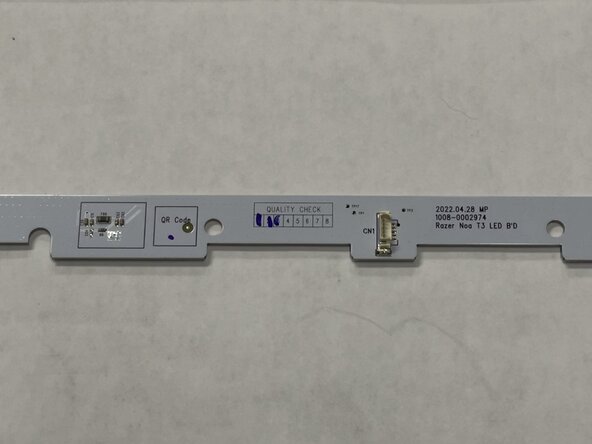
Disconnect: Using a tool or your fingers, unplug the connector on the RGB board, then set it aside
-
-
-
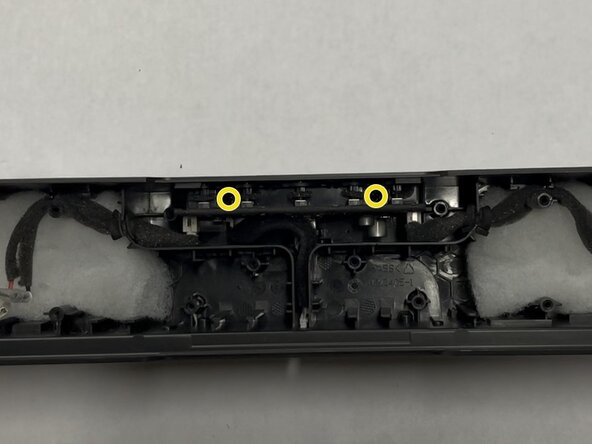
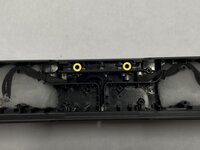
Use a Philips #2 screwdriver to remove the two 14 mm-long screws holding in the main board.
-
-
-
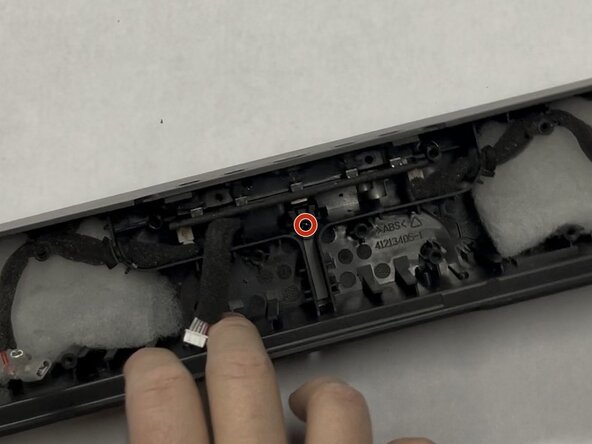
Pull on the cable for the RGB board and move it to the side to expose the bracket
-
Use a Philips #2 screwdriver to remove the single 10 mm-long screw holding the USB-C bracket in place
-
Lift and remove plastic bracket covering USB-C Port
-
-
-
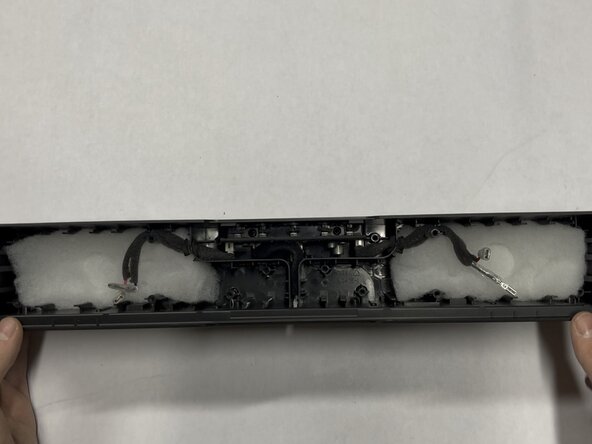
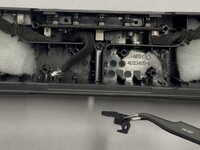
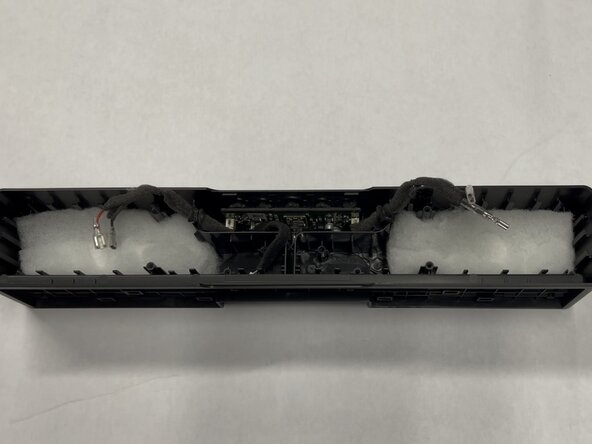
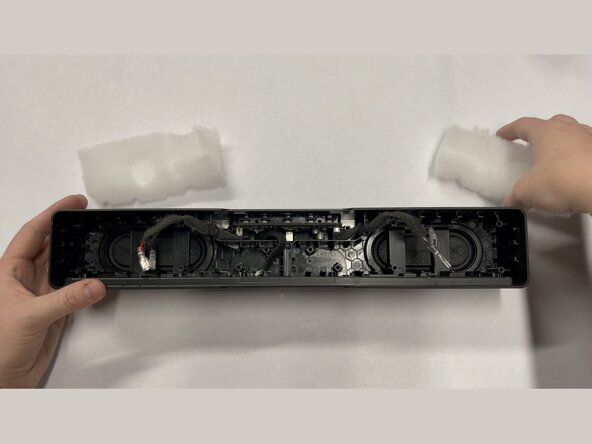
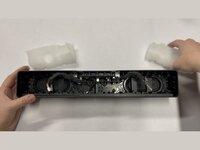
Slip the speaker cables from their wedged positions and remove the white polyester batting that was behind the two speakers
-
-
-
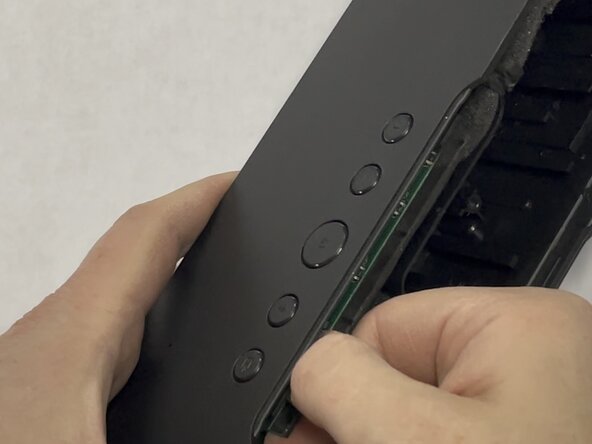
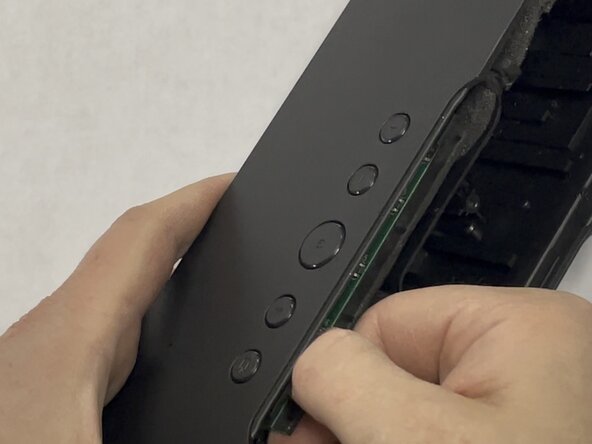
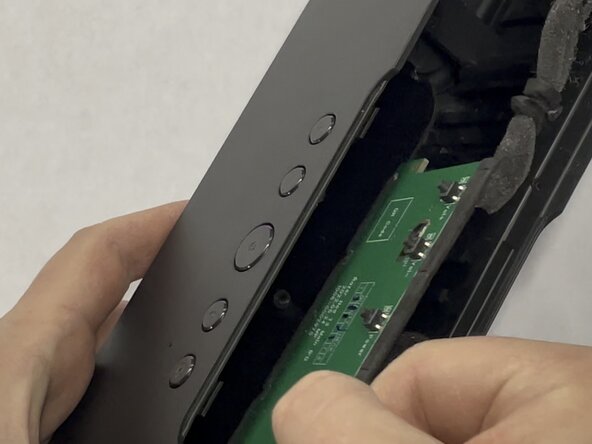
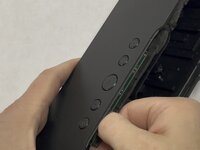
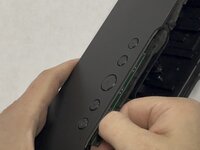
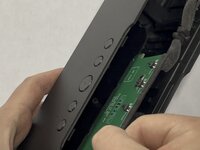
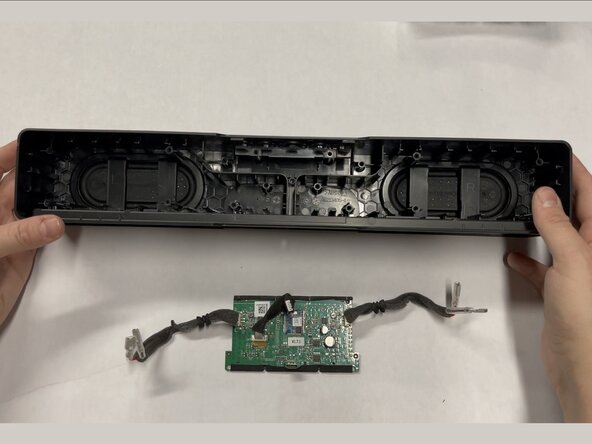
Firmly grasp the main board with your fingers and gently wiggle back and forth while pulling the board firmly outward.
-
Additionally pull at a slight angle downward and away from the buttons to help dislodge the USB-C port.
-
Continue this wiggling motion until you have gently worked the board out of it's place.
-
-
-
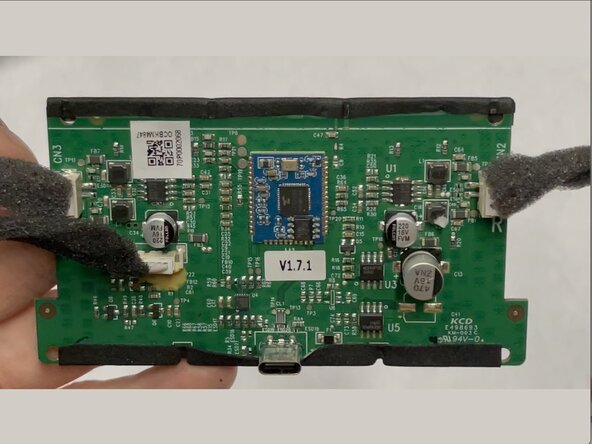
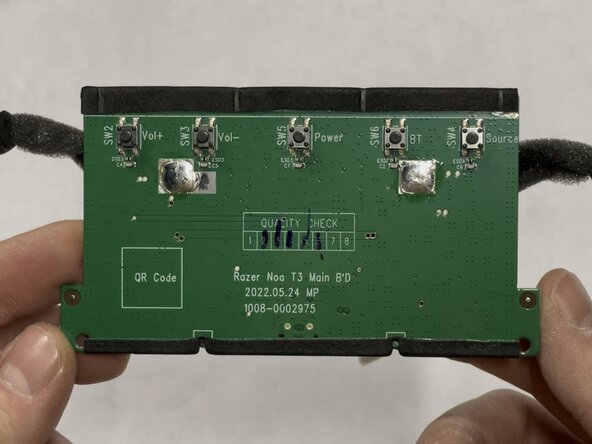
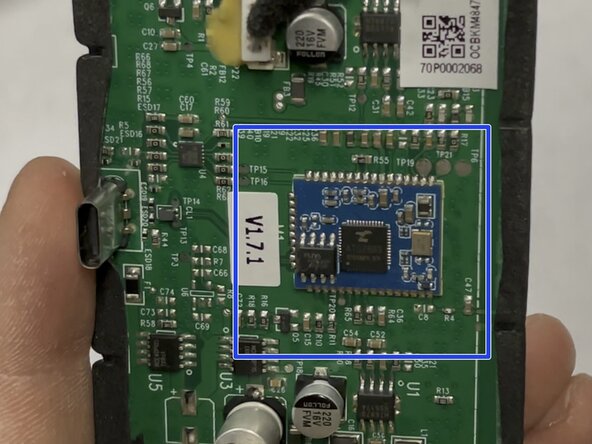
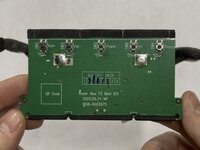
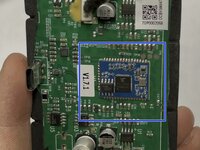
Embedded Board: ATS2833 Bluetooth-audio module
-
🎉 Complete! 🎉 Hope this guide helped you! 🤩
