crwdns2915892:0crwdne2915892:0
If the rubber ends of your Razer Hydra controller's joystick have come off, it may be time to replace them. Use this guide to safely disassemble the controller and replace the joystick cover.
Joysticks provide the grip needed to effectively operate a controller. As the rubber ends of a joystick wear down, slippage may occur, leading to inaccurate input signals. Replacing the joystick covers will restore the effectiveness of your controller.
Before beginning, make sure to power off the controller and unplug the console from any external power source.
crwdns2942213:0crwdne2942213:0
-
-
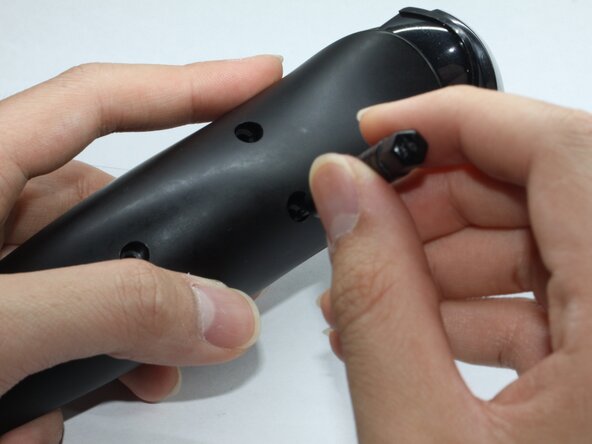
Use the pointed end of a spudger to remove the three rubber ends that cover three screws.
-
-
-
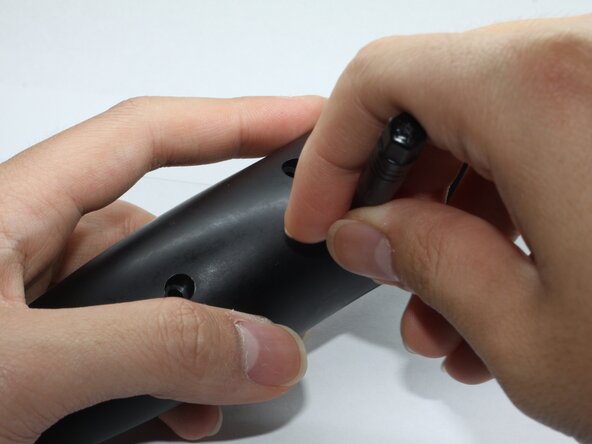
Use a Phillips screwdriver to remove the three screws.
-
-
-
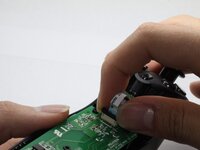
Hold onto the bottom of the controller, and slide the top shell off.
-
-
-
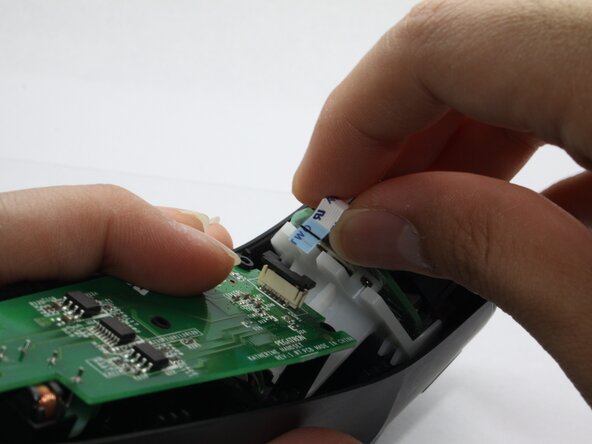
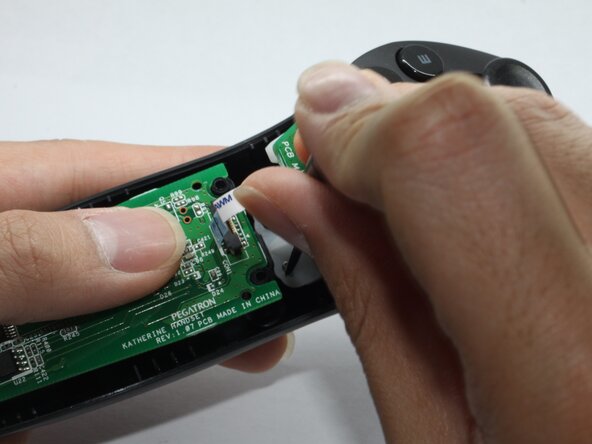
Slowly pull up the black locking tab connector attached to the ribbon cable.
-
-
-
-
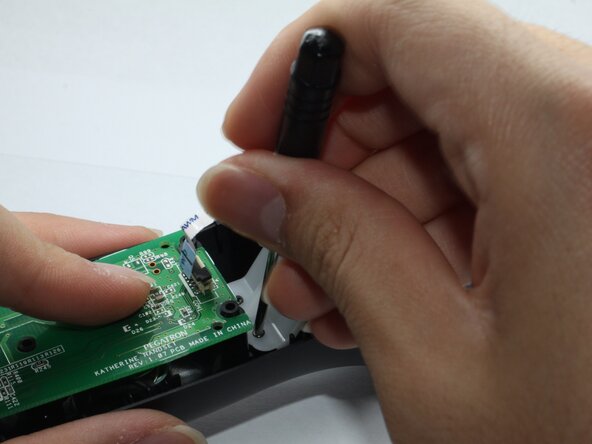
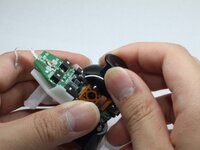
Separate the ribbon cable from the housing.
-
-
-
Use a Phillips screwdriver to remove the two screws securing the joystick PCB to the case.
-
-
-
Remove the two screws on the joystick board.
-
-
-
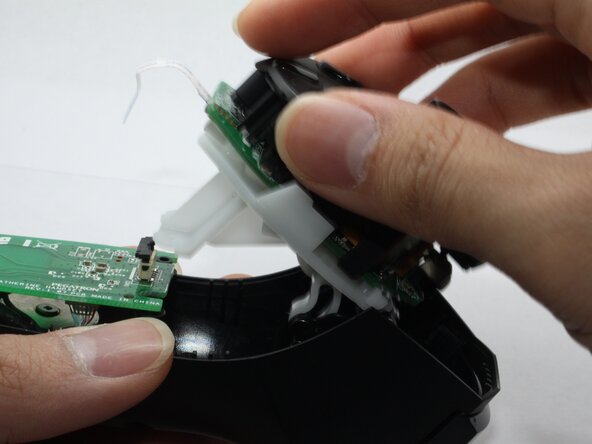
Gently pry the black side pieces apart from both ends.
-
Remove the surface shell from the board.
-
-
-
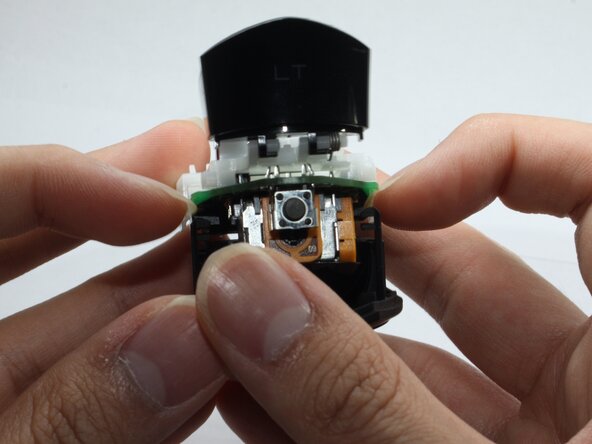
Firmly grip the damaged joystick and pull it from the board.
-
-
-
Take your new joystick part and push it back onto the bar.
-


crwdns2915084:0crwdne2915084:0

UC Davis, Team 1-9, Morris Spring 2025 crwdns2935289:0UC Davis, Team 1-9, Morris Spring 2025crwdne2935289:0
UCD-MORRIS-S25S1G9
crwdns2931471:03crwdne2931471:0
crwdns2935303:01crwdne2935303:0