crwdns2915892:0crwdne2915892:0
This guide outlines how to remove the motherboard in the Razer Blade Stealth 2017. Motherboard replacement may be necessary if the motherboard fails due to power surge or outage, overheating, or the use of faulty components. Some tools are required for this replacement.
crwdns2942213:0crwdne2942213:0
-
-
Use a Torx T5 screwdriver to remove the eight, 3mm screws on the bottom cover of the laptop.
-
-
-
Remove the bottom cover of the laptop by sliding it away from the hinge.
-
-
-
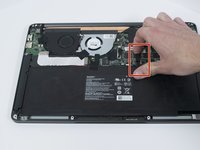
Use your fingernail to pry up and disconnect the battery from the motherboard.
-
-
-
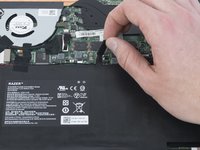
Use a Phillips #00 screwdriver to remove the six, 5mm screws securing the battery.
-
-
-
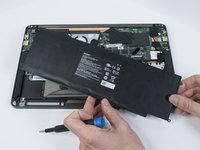
Use the plastic spudger to pry out the battery.
-
-
-
-
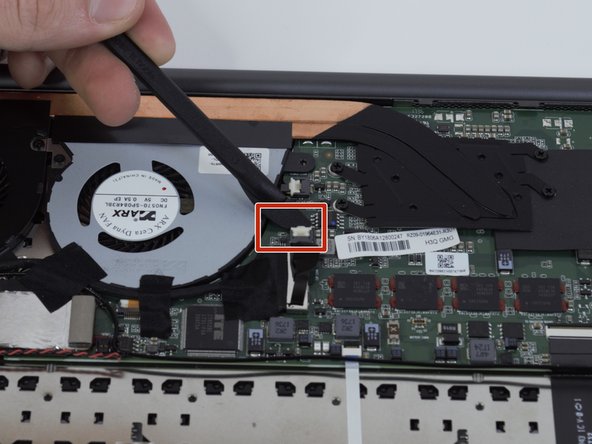
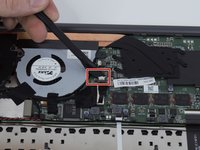
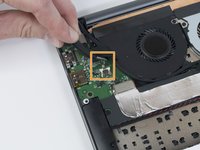
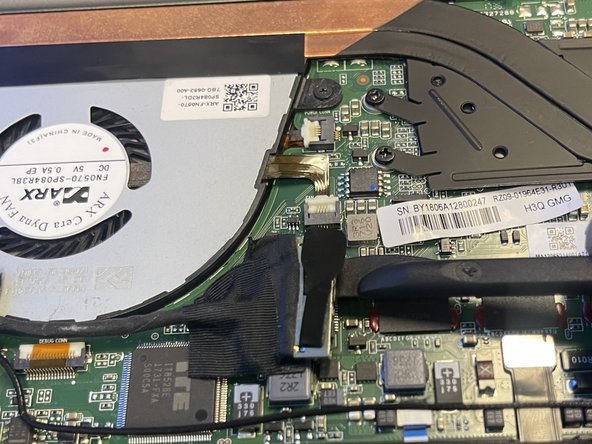
Use a plastic spudger to lift the white clasp on the fan connector.
-
-
crwdns2935267:0crwdne2935267:0Tweezers$4.99
-
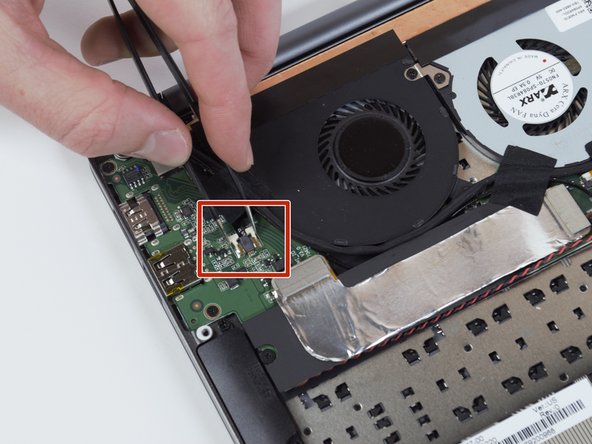
Use tweezers to pull the fan cable out of the opened connector terminal.
-
-
-
Use tweezers to squeeze the fan's white header.
-
Disconnect the fan connector by sliding it out toward the rear of the chassis.
-
-
-
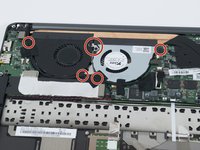
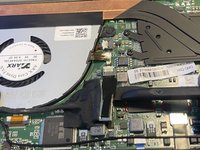
Use a Phillips #00 screwdriver to remove the six, 3mm screws and the metal bracket around both fans.
-
-
-
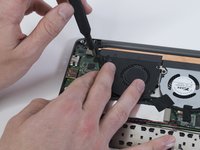
Use a plastic spudger to slide the fans out of the case.
-
-
-
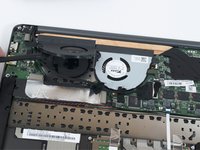
Use a plastic spudger to gently undo the connections to the motherboard.
-
-
-
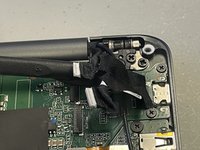
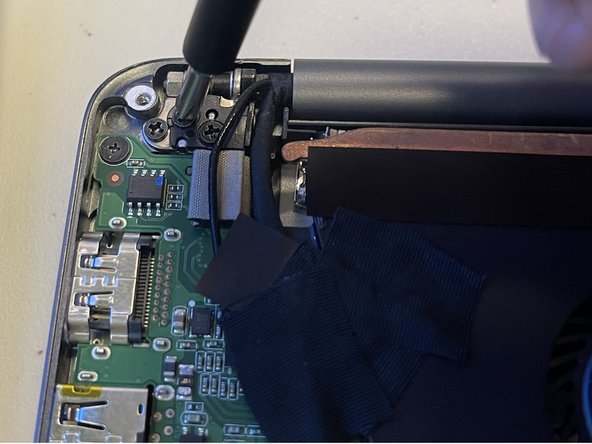
Use a Phillips #00 screwdriver to remove the six 4 mm screws holding the display hinges on both side.
-
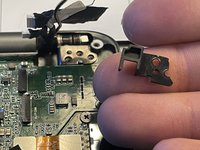
Remove the small plastic brackets holding the display hinges.
-
-
-
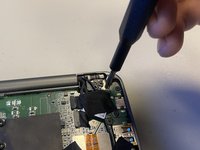
Remove the 2.6 mm screw holding the Wi-Fi card down with a Phillips #00 screwdriver.
-
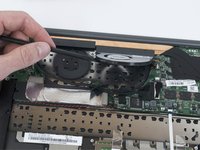
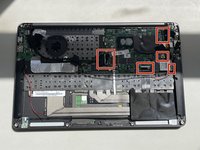
Remove the motherboard from the laptop.
-


To reassemble your device, follow these instructions in reverse order. Ensure that your laptop boots into BIOS for any necessary configuration after installing a new motherboard.
crwdns2935221:0crwdne2935221:0
crwdns2935227:0crwdne2935227:0

crwdns2935287:0crwdne2935287:0

University of North Texas, Team 5-1, Coppersmith Spring 2024 crwdns2935289:0University of North Texas, Team 5-1, Coppersmith Spring 2024crwdne2935289:0
UNT-COPPERSMITH-S24S5G1
crwdns2931471:04crwdne2931471:0
crwdns2935297:04crwdne2935297:0