crwdns2915892:0crwdne2915892:0
This guide outlines how to remove the display assembly of the Razer Blade Stealth 2017. Display assembly replacement may be necessary if there are cracks or breaks on the screen, dead or stuck pixels that show one color or no color at all, lines, spots, or blobs on the screen, flickering or fading of the backlight, distorted colors or contrast, blurry or ghost images, and no image or signal. Some tools are required for this replacement.
crwdns2942213:0crwdne2942213:0
-
-
Use a Torx T5 screwdriver to remove the eight, 3mm screws on the bottom cover of the laptop.
-
-
-
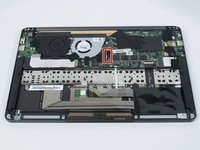
Remove the bottom cover of the laptop by sliding it away from the hinge.
-
-
-
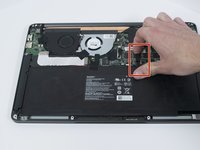
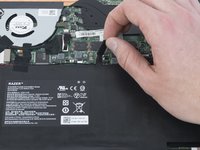
Use your fingernail to pry up and disconnect the battery from the motherboard.
-
-
-
Use a Phillips #00 screwdriver to remove the six, 5mm screws securing the battery.
-
-
-
-
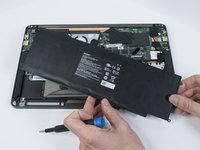
Use the plastic spudger to pry out the battery.
-
-
-
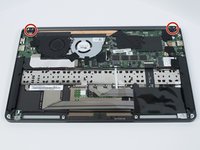
Use a Phillips #00 screwdriver to remove the six 4 mm screws securing the display assembly.
-
-
-
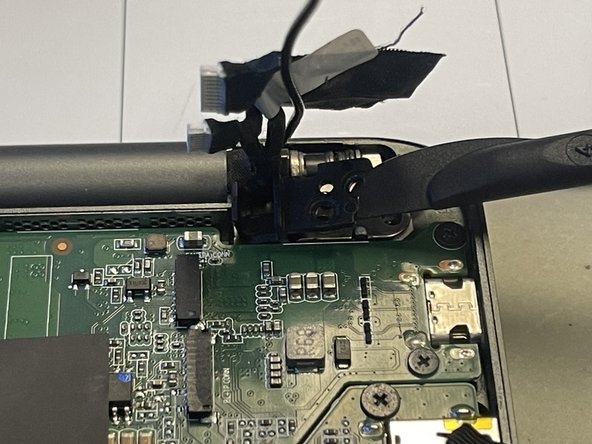
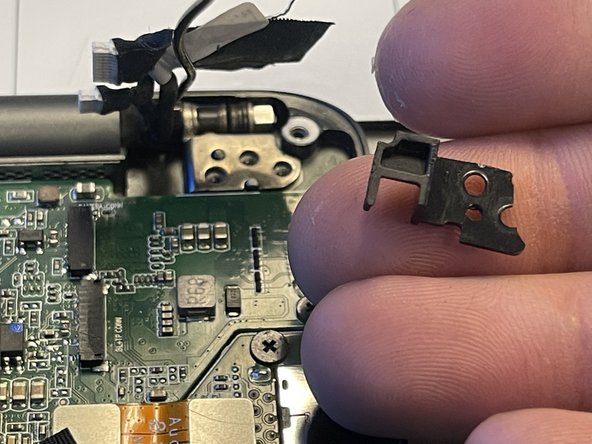
Use the plastic spudger to remove the plastic brackets beneath the hinges.
-
-
-
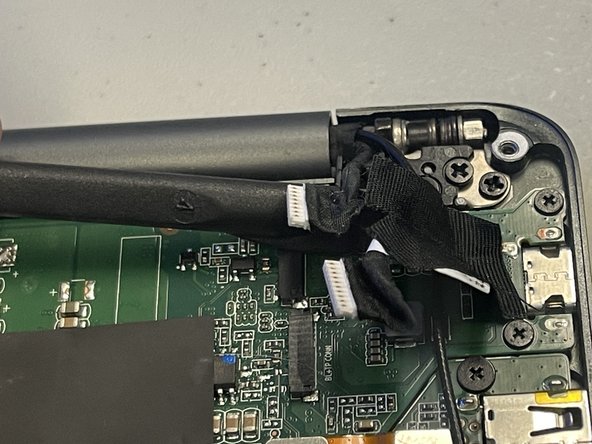
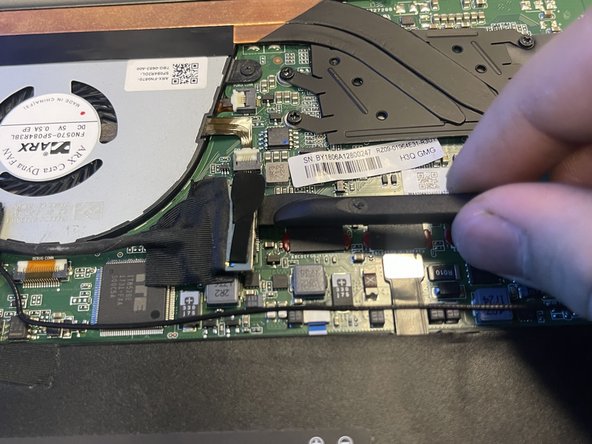
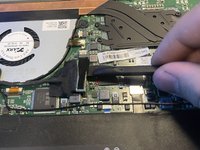
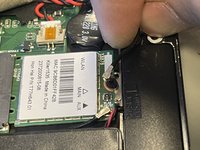
Use the plastic spudger to slide the connectors to the right to disconnect them.
-
-
-
Use the plastic spudger to lift the connector off of the socket.
-
-
-
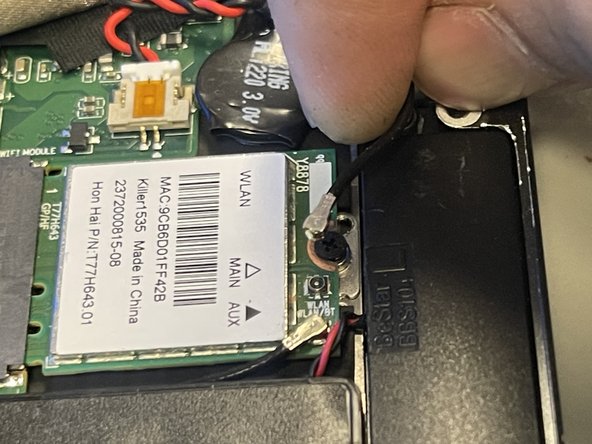
Use your fingers to lift connectors off of their sockets.
-
-
-
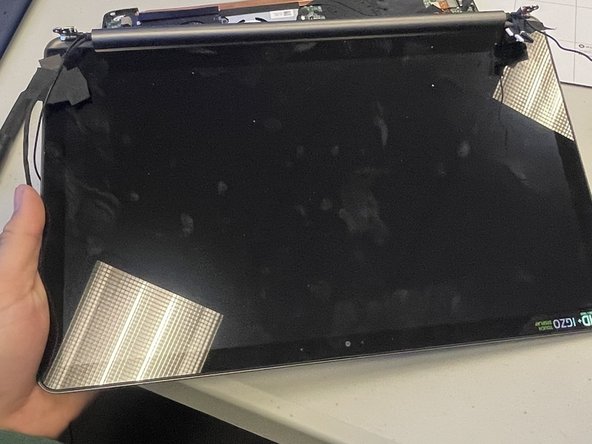
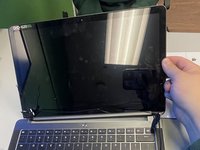
Lift the screen to the open position.
-
Remove the display assembly by sliding it away from the keyboard.
-


To reassemble your device, follow these instructions in reverse order.
crwdns2935221:0crwdne2935221:0
crwdns2935227:0crwdne2935227:0
crwdns2935287:0crwdne2935287:0

University of North Texas, Team 5-1, Coppersmith Spring 2024 crwdns2935289:0University of North Texas, Team 5-1, Coppersmith Spring 2024crwdne2935289:0
UNT-COPPERSMITH-S24S5G1
crwdns2931471:04crwdne2931471:0
crwdns2935297:04crwdne2935297:0