crwdns2915892:0crwdne2915892:0
If the LEDs on your Razer BlackWidow V3 Tenkeyless are dim, flickering, or no longer lighting up, this LED replacement guide will help you restore the keyboard's vibrant backlighting. Since the LEDs are soldered directly to the PCB, replacing them requires some basic soldering skills. For this guide, you will need a soldering iron, desoldering tools (such as a solder wick or pump), and compatible replacement LEDs. Follow the steps carefully to safely replace the faulty components and bring your keyboard back to life.
This guide requires soldering. If you're unfamiliar with soldering, review the How to Solder and Desolder Connections guide and take appropriate precautions.
crwdns2942213:0crwdne2942213:0
-
-
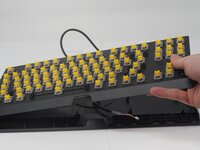
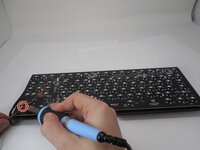
Use a keycap puller to all keycaps.
-
-
-
Gently remove the 7.85 mm screws that secure the case with a Phillips #0 screwdriver.
-
-
-
-
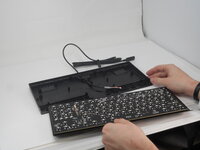
Carefully separate the backplate from the main keyboard body.
-
-
-
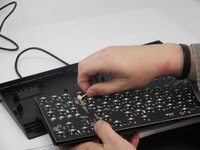
Gently pull out the cable holding the usb connector using your hand.
-
-
-
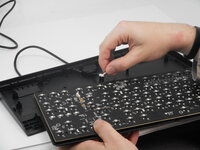
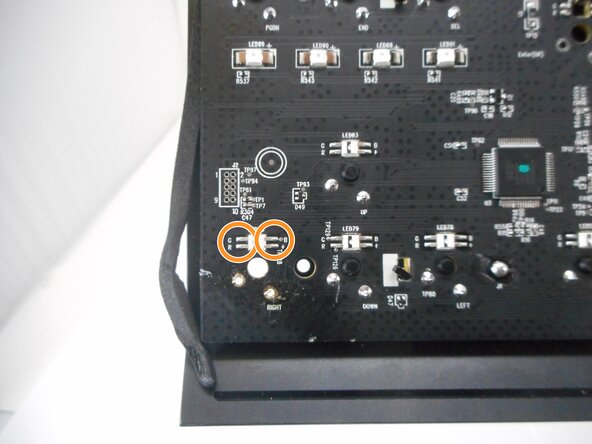
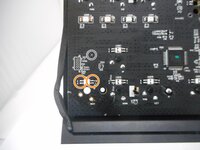
Use a soldering iron to heat the four solder points securing the LED to the board, then apply a solder wick to absorb and remove the melted solder.
-


To reassemble your device, follow these instructions in reverse order.
To reassemble your device, follow these instructions in reverse order.
crwdns2915084:0crwdne2915084:0

University of Memphis, Team 2-2, Sneed Spring 2025 crwdns2935289:0University of Memphis, Team 2-2, Sneed Spring 2025crwdne2935289:0
UM-SNEED-S25S2G2
crwdns2931471:03crwdne2931471:0
crwdns2935297:04crwdne2935297:0