crwdns2942213:0crwdne2942213:0
-
-
Remove the three Phillips #00 screws at the bottom of the device.
-
-
-
Remove the two Phillips #00 screws to the left and right of the keyboard connector.
-
-
-
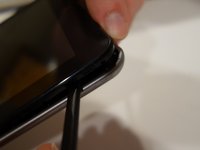
Pull on one of the bottom corners to begin to pull off the back plate.
-
-
-
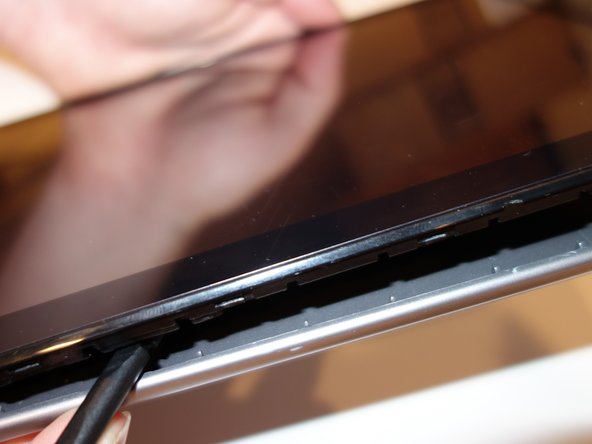
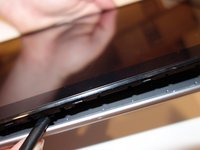
Work around the outside of the chassis, using the spudger to pry the backplate off.
-
-
-
Remove the tape over the connectors on the motherboard and other side of the battery.
-
-
-
-
Disconnect the red and black keyboard wires connecting the battery to the motherboard.
-
-
-
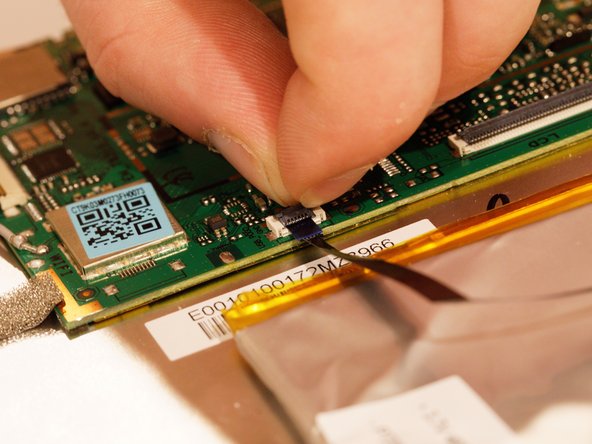
Disconnect the black ribbon cable running over the battery. Flip up the black clamp and pull the cable out.
-
-
-
Remove the cable over the battery connecting the motherboard and the power connector.
-
Flip up the black clamp and pull the cable out.
-
-
-
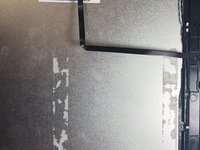
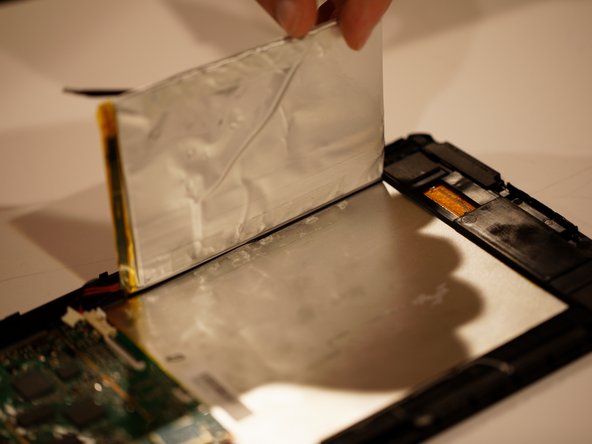
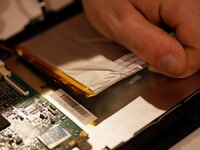
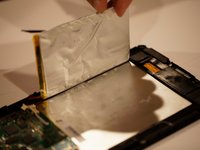
Pull out battery. It is taped to the device so it is safe to pull out.
-
-
-
Identify the grey wire on the right side of the device.
-
-
-
Remove the orange ribbon cable over the wire.
-
-
-
Remove the antenna using a soldering iron.
-
-
-
Remove the blue and black wire from the top of the motherboard.
-
-
-
Remove the screws from the motherboard.
-


To reassemble your device, follow these instructions in reverse order.
To reassemble your device, follow these instructions in reverse order.
crwdns2915084:0crwdne2915084:0

UMass Dartmouth, Team S1-G8, O'Connell Fall 2019 crwdns2935289:0UMass Dartmouth, Team S1-G8, O'Connell Fall 2019crwdne2935289:0
UMASSD-O'CONNELL-F19S1G8
crwdns2931471:03crwdne2931471:0
crwdns2935297:04crwdne2935297:0
crwdns2947410:01crwdne2947410:0
Where can I buy this motherboard?