crwdns2915892:0crwdne2915892:0
If you need to replace the filament sensor in your PRUSA i3 MK3, follow the steps in this guide. Ensure that you do not lose any of the parts or socket-head screws that are removed during replacement.
crwdns2942213:0crwdne2942213:0
-
-
Orient the printer so that the screen is facing to the left.
-
Using the On/Off button, switch the printer into the Off position.
-
Ensure your printer is off by visually inspecting the screen. If the screen is not lit up, your printer is off.
-
-
-
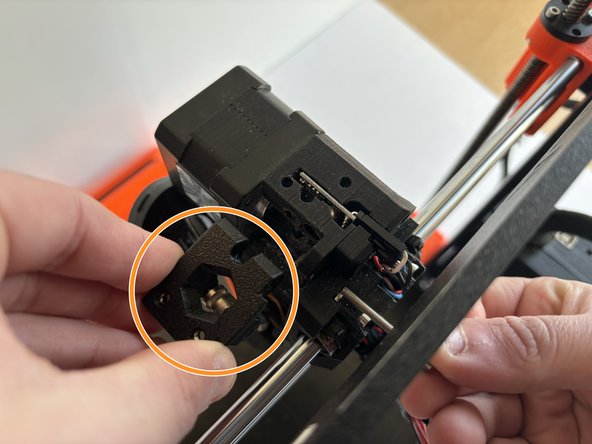
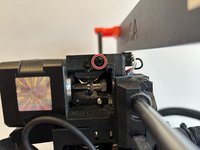
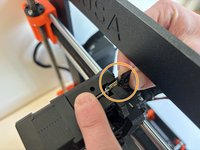
Orient the printer so that the top of the extruder head can be accessed.
-
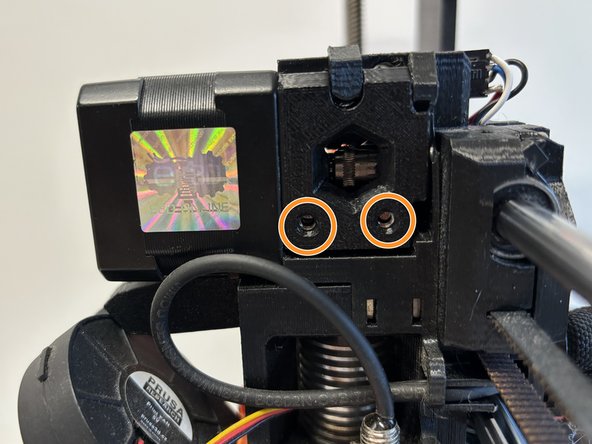
Remove the two 2.5mm X 10mm socket head screws. These screws secure the cover of the filament sensor.
-
Remove the filament sensor cover.
-
-
-
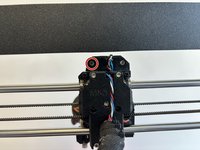
Orient the printer so that the screen is facing to the right.
-
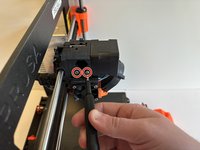
Loosen the two 2.5mm X 40mm socket head screws while holding the extruder head firmly, keeping pressure on the opposite side.
-
Ensure the screws have cleared the embedded square nuts on the back side.
-
-
-
-
Orient the printer so that the screen is facing to the left.
-
Remove the 3D-printed cover piece on top of the extruder access door. (Your printer might be missing this part.)
-
-
-
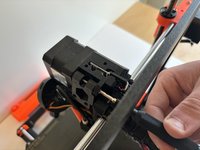
Orient the printer so that the screen is facing away from you.
-
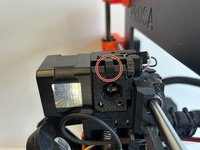
Remove the 2.5mm X 30mm socket head screw located on the top left of the backside of the extruder head.
-
Rotate the printer so that the screen is facing to the left.
-
Remove the extruder access door from the extruder head.
-
-
-
Orient the printer so that the screen is facing to the left.
-
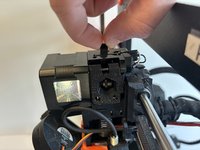
Remove the 2.5mm X 10mm socket head screw located behind the extruder access door that was removed in Step 5.
-
-
-
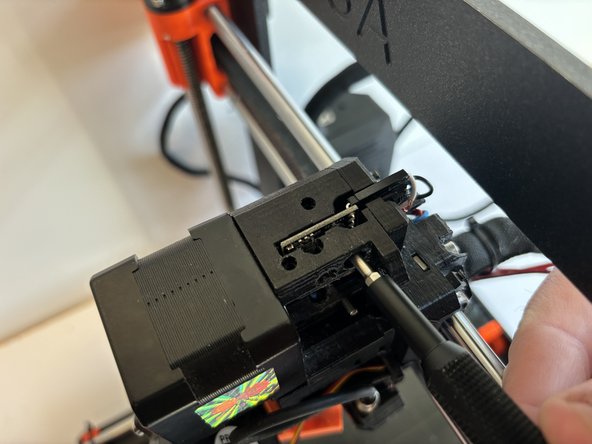
Orient the printer so that the top of the extruder head can be accessed.
-
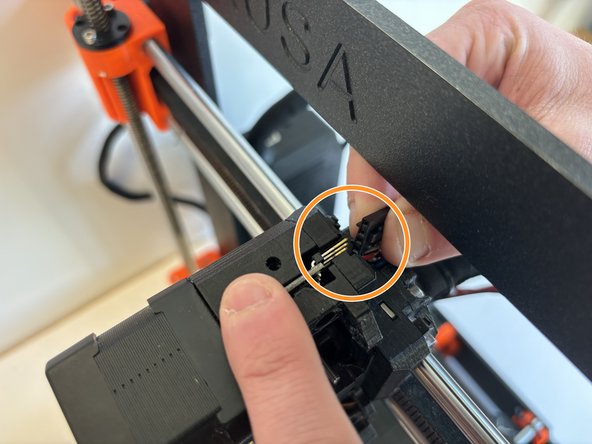
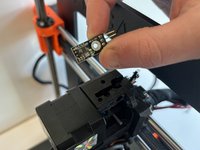
Locate the filament sensor.
-
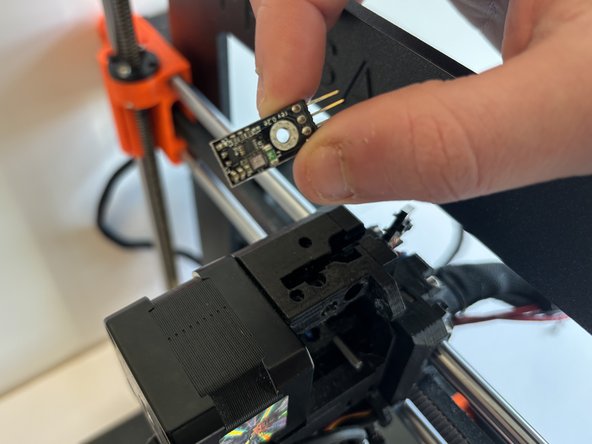
Hold the filament sensor in place while unplugging the wiring connection.
-
Remove the filament sensor.
-


To reassemble your device, follow these instructions in reverse order. During reassembly, ensure not to tighten the socket head screws too tight.

crwdns2935287:0crwdne2935287:0

Western Carolina University, Team 1-5, Virtue Spring 2024 crwdns2935289:0Western Carolina University, Team 1-5, Virtue Spring 2024crwdne2935289:0
WCU-VIRTUE-S24S1G5
crwdns2931471:04crwdne2931471:0
crwdns2935297:06crwdne2935297:0