crwdns2915892:0crwdne2915892:0
This guide will demonstrate how to remove and replace the Protocol Vento Wi-Fi antenna.
crwdns2942213:0crwdne2942213:0
-
-
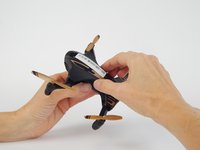
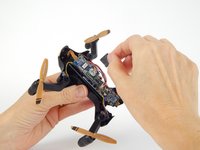
Grasp the tail end of the drone where the lip of the battery protrudes.
-
-
-
Pull away from the drone to remove the battery.
-
-
-
To get into the drone, twelve total screws need to be removed:
-
Ten 5.7mm Phillips #000 screws from the bottom of the drone body.
-
Two 4.5mm Phillips #000 screws at the front of the drone.
-
-
-
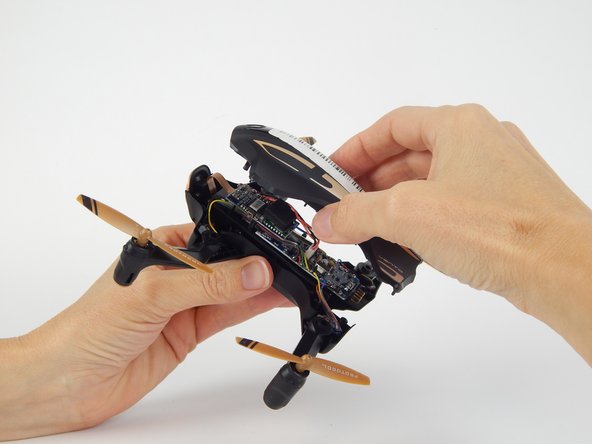
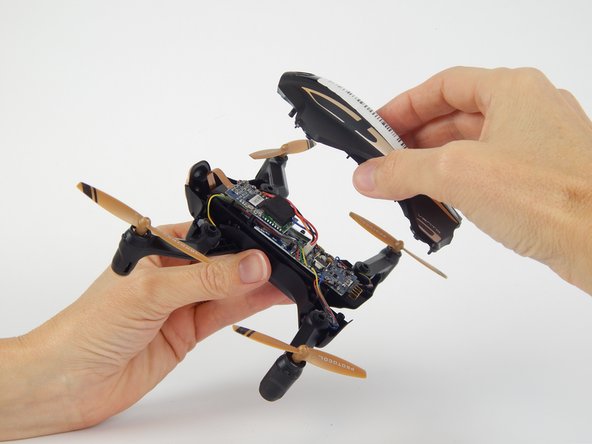
Flip the drone over and lift off the top plastic shell of the drone.
-
-
-
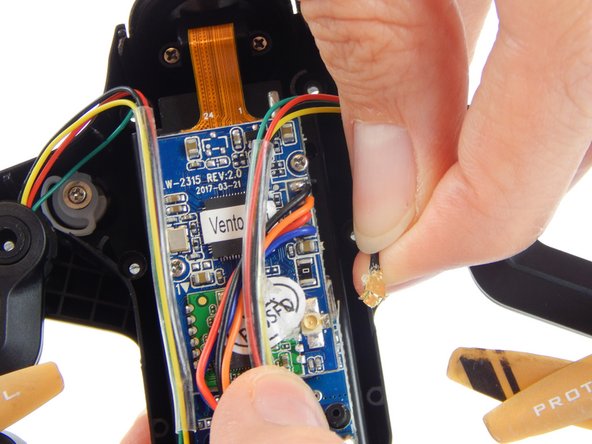
Remove the foam adhesive pad located on the Wi-Fi transmitter board.
-
-
-
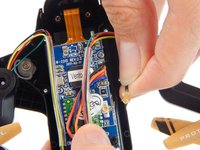
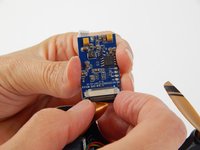
Pry the gold Wi-Fi antenna connector, located under the previously removed foam pad, away from the Wi-Fi transmitter board to disconnect it.
-
-
-
-
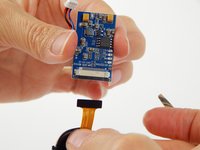
Remove the two 3.8mm Phillips #000 screws from the Wi-Fi transmitter board.
-
-
-
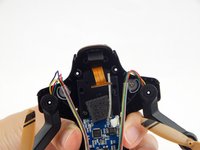
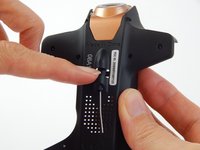
Disconnect the white clip that connects the four colored wires (black, orange, red, blue) to the motherboard.
-
-
-
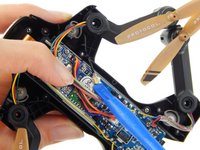
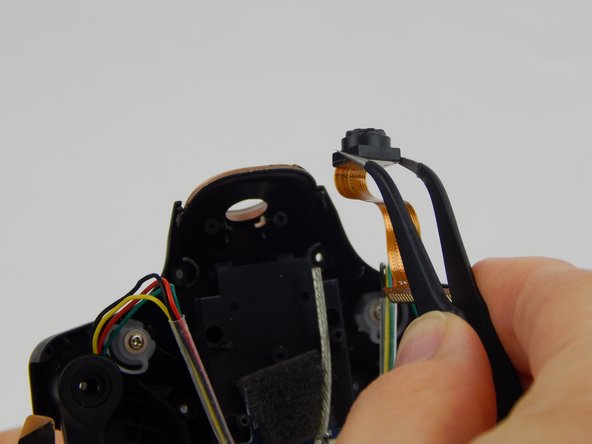
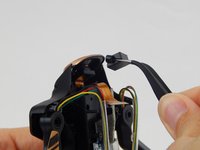
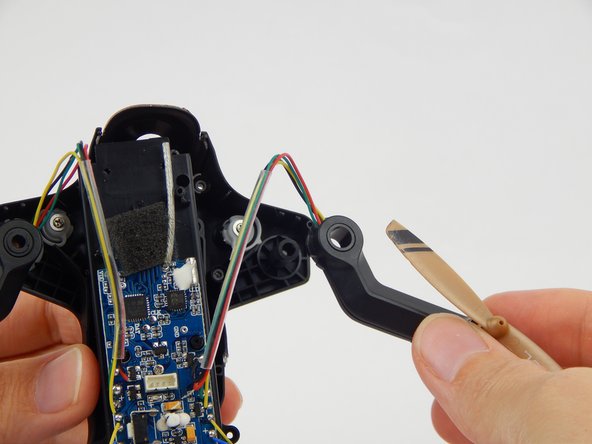
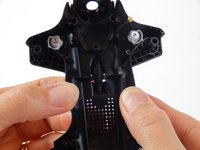
Gently pull the black wedge away from the main board until it shifts to a stop. You will feel it slide out, then stop.
-
Lightly pull the ribbon cable away from the connector.
-
-
-
Remove the two 4.9mm Phillips #000 screws securing the camera to the front of the drone body.
-
-
-
Lift the camera holder and the camera up and away from the drone.
-
-
-
Unscrew the four 4.9mm Phillips #000 corner screws that are securing the motherboard’s black base to the drone.
-
-
-
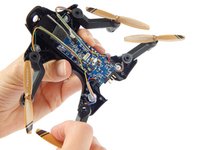
Grasp and pull each of the four drone arms in the direction of their propellers, one at a time, to remove them from the drone.
-
-
-
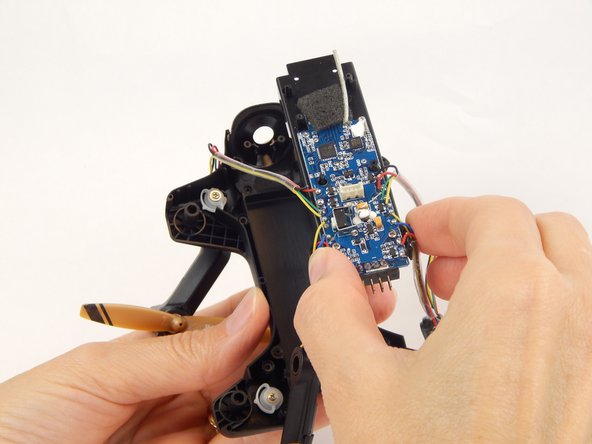
Gently pull the motherboard out of the drone.
-
-
-
Pull the black, rectangular shell out of the drone.
-
-
-
Hold the drone’s shell with both hands so that the inside of the shell is facing you.
-
Gently flex the shell outward, so that the two latches (holding the antenna in place) move apart slightly.
-
At the same time, push the antenna from the back of the drone towards you until it releases from the latches.
-


To reassemble your device, follow these instructions in reverse order.
crwdns2935221:0crwdne2935221:0
crwdns2935229:03crwdne2935229:0
crwdns2935287:0crwdne2935287:0

USF Tampa, Team S1-G2, Leahy Spring 2018 crwdns2935289:0USF Tampa, Team S1-G2, Leahy Spring 2018crwdne2935289:0
USFT-LEAHY-S18S1G2
crwdns2931471:04crwdne2931471:0
crwdns2935297:06crwdne2935297:0