crwdns2933423:0crwdne2933423:0
crwdns2947577:0crwdnd2947577:0crwdne2947577:0

Presto PopLite 04820 Motor Replacement

crwdns2942213:0crwdne2942213:0

  1. Presto PopLite 04820 Motor Replacement, Baseplate: crwdns2935265:01crwdnd2935265:01crwdnd2935265:01crwdne2935265:0
    • Be sure that the popper is unplugged before disassembly.

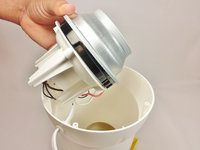
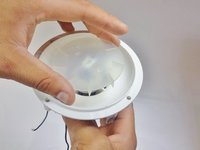
    • Turn Presto Popper upside down.

    crwdns2952109:0crwdne2952109:0
  2. Presto PopLite 04820 Motor Replacement: crwdns2935265:02crwdnd2935265:01crwdnd2935265:03crwdne2935265:0 Presto PopLite 04820 Motor Replacement: crwdns2935265:02crwdnd2935265:02crwdnd2935265:03crwdne2935265:0 Presto PopLite 04820 Motor Replacement: crwdns2935265:02crwdnd2935265:03crwdnd2935265:03crwdne2935265:0
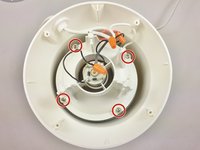
    • Remove the four 9 mm Phillips #2 screws from the base.

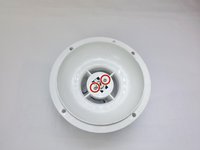
    • Once all four screws are removed, take the base off.

    crwdns2952109:0crwdne2952109:0
  3. Presto PopLite 04820 Motor Replacement, Motor: crwdns2935265:03crwdnd2935265:01crwdnd2935265:02crwdne2935265:0 Presto PopLite 04820 Motor Replacement, Motor: crwdns2935265:03crwdnd2935265:02crwdnd2935265:02crwdne2935265:0
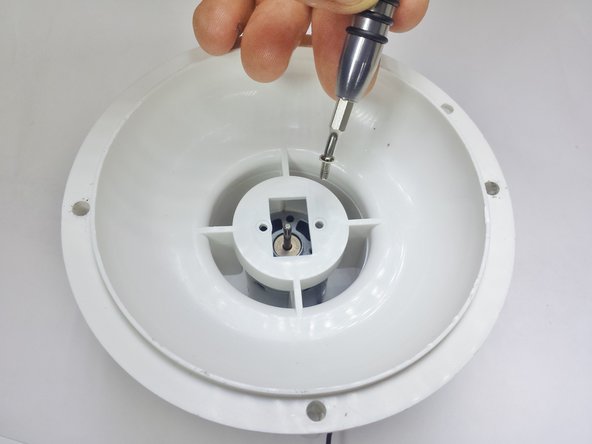
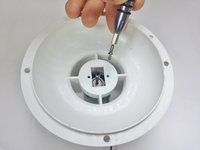
    • Unscrew the four 13mm Phillips #2 screws but do not remove completely just yet.

    crwdns2952109:0crwdne2952109:0
  4. Presto PopLite 04820 Motor Replacement: crwdns2935265:04crwdnd2935265:01crwdnd2935265:02crwdne2935265:0 Presto PopLite 04820 Motor Replacement: crwdns2935265:04crwdnd2935265:02crwdnd2935265:02crwdne2935265:0
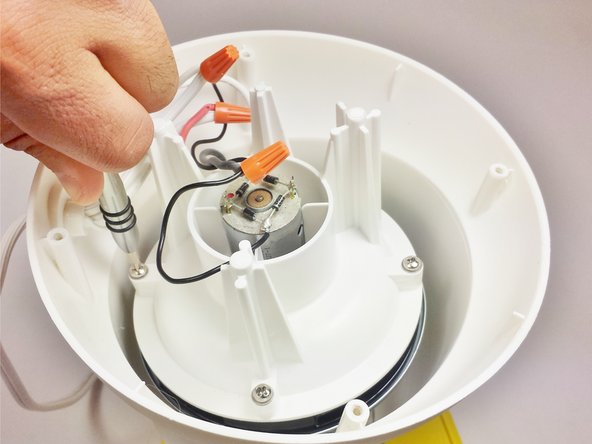
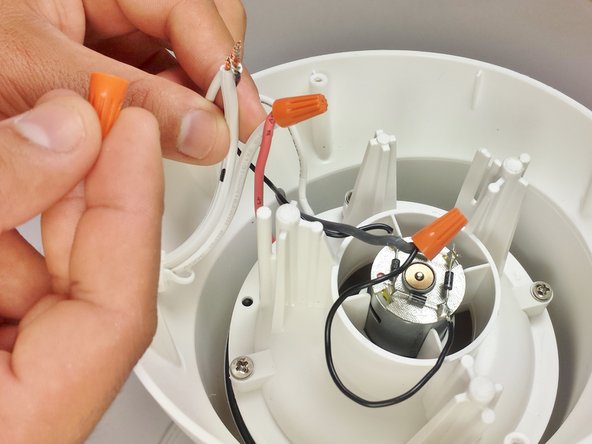
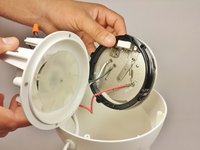
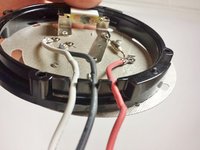
    • Locate the two twist-on wire connectors.

    • Unscrew the two caps and keep track of the wires that wire up together to make it easier in the end to put back together.

    crwdns2952109:0crwdne2952109:0
  5. Presto PopLite 04820 Motor Replacement: crwdns2935265:05crwdnd2935265:01crwdnd2935265:03crwdne2935265:0 Presto PopLite 04820 Motor Replacement: crwdns2935265:05crwdnd2935265:02crwdnd2935265:03crwdne2935265:0 Presto PopLite 04820 Motor Replacement: crwdns2935265:05crwdnd2935265:03crwdnd2935265:03crwdne2935265:0
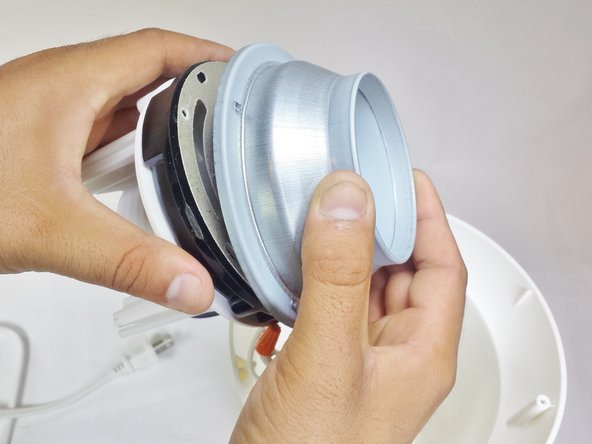
    • Pull the entire cavity out of the popper that holds the motor.

    • Remove the popping chamber base.

    crwdns2952109:0crwdne2952109:0
  6. Presto PopLite 04820 Motor Replacement: crwdns2935265:06crwdnd2935265:01crwdnd2935265:02crwdne2935265:0 Presto PopLite 04820 Motor Replacement: crwdns2935265:06crwdnd2935265:02crwdnd2935265:02crwdne2935265:0
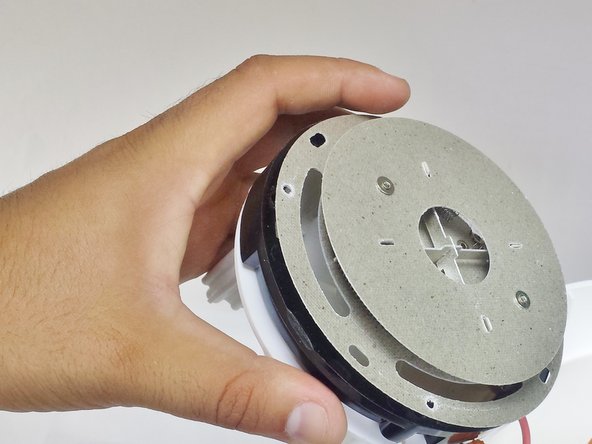
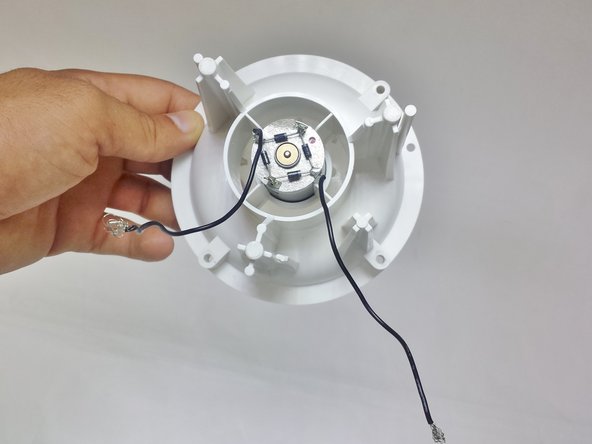
    • Remove circuit board from the motor base holder.

    • Make sure these 3 wires are securely placed inside grooves when reassembling the motor base holder.

    crwdns2952109:0crwdne2952109:0
  7. Presto PopLite 04820 Motor Replacement: crwdns2935265:07crwdnd2935265:01crwdnd2935265:02crwdne2935265:0 Presto PopLite 04820 Motor Replacement: crwdns2935265:07crwdnd2935265:02crwdnd2935265:02crwdne2935265:0
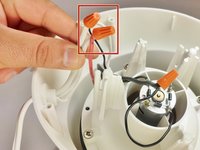
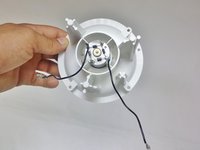
    • Remove the orange twist-on wire connector connecting the black wire to the grey wire.

    crwdns2952109:0crwdne2952109:0
  8. Presto PopLite 04820 Motor Replacement: crwdns2935265:08crwdnd2935265:01crwdnd2935265:02crwdne2935265:0 Presto PopLite 04820 Motor Replacement: crwdns2935265:08crwdnd2935265:02crwdnd2935265:02crwdne2935265:0
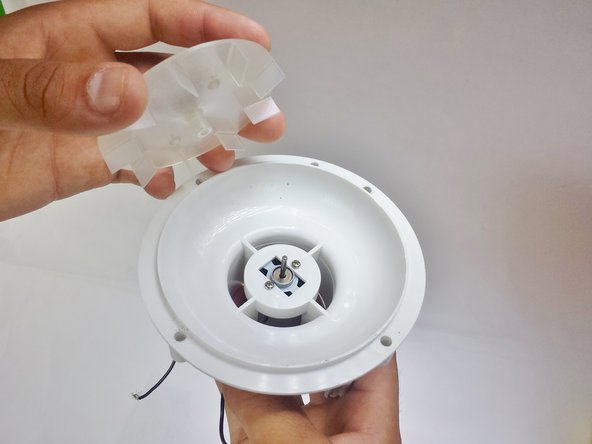
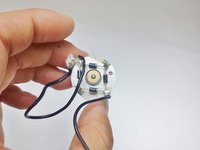
    • Locate the clear plastic motor fan.

    • Grab hold of the motor and pull upwards to pop the motor fan off of the needle that connects to the motor.

    • This may require large amounts of force to pull it off the needle.

    crwdns2952109:0crwdne2952109:0
  9. Presto PopLite 04820 Motor Replacement: crwdns2935265:09crwdnd2935265:01crwdnd2935265:03crwdne2935265:0 Presto PopLite 04820 Motor Replacement: crwdns2935265:09crwdnd2935265:02crwdnd2935265:03crwdne2935265:0 Presto PopLite 04820 Motor Replacement: crwdns2935265:09crwdnd2935265:03crwdnd2935265:03crwdne2935265:0
    • Remove the two 4 mm Phillips #00 screws.

    • Once the screws are removed, the motor should drop down.

    • Now remove the motor base to expose the motor.
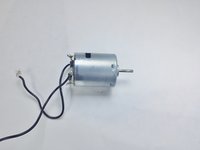
    crwdns2952109:0crwdne2952109:0
  10. Presto PopLite 04820 Motor Replacement: crwdns2935265:010crwdnd2935265:01crwdnd2935265:02crwdne2935265:0 Presto PopLite 04820 Motor Replacement: crwdns2935265:010crwdnd2935265:02crwdnd2935265:02crwdne2935265:0
    • This is the motor.

    • Now replace it with your new one!

    crwdns2952109:0crwdne2952109:0
crwdns2915888:0crwdne2915888:0

To reassemble your device, follow these instructions in reverse order.

crwdns2935229:04crwdne2935229:0

Emanuele Rocco

crwdns2935283:008/27/15crwdne2935283:0

694 crwdns2915208:0crwdne2915208:0

crwdns2935297:06crwdne2935297:0

crwdns2935287:0crwdne2935287:0

USF Tampa, Team 2-5, Blackwell Fall 2015 crwdns2935289:0USF Tampa, Team 2-5, Blackwell Fall 2015crwdne2935289:0

USFT-BLACKWELL-F15S2G5

crwdns2931471:02crwdne2931471:0

crwdns2935297:06crwdne2935297:0

crwdns2947410:01crwdne2947410:0

What new motor? Where do we get said motor, and what are the motor specs? What about installing the bridge rectifier on the new motor? A 3rd party supplier is not likely to sell these motors with the rectifier pre-installed.

Bill Richardson - crwdns2934203:0crwdne2934203:0 crwdns2950251:0crwdne2950251:0

crwdns2917038:0crwdne2917038:0

crwdns2936625:0crwdne2936625:0:

crwdns2936751:024crwdne2936751:0 2

crwdns2936753:07crwdne2936753:0 14

crwdns2936753:030crwdne2936753:0 72

crwdns2942667:0crwdne2942667:0 3,315