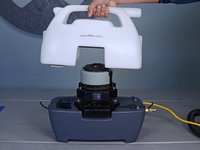
crwdns2931315:0crwdnd2931315:0crwdne2931315:0
crwdns2942213:0crwdne2942213:0
-
crwdns2935201:0crwdne2935201:0 crwdns2935203:0crwdne2935203:0
-
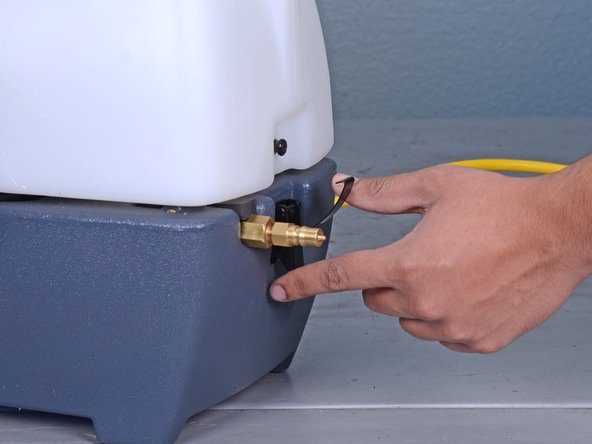
If it is still attached, pull and disconnect the brass quick-connect fitting from the carpet extractor body.
-
-
crwdns2935201:0crwdne2935201:0 crwdns2935203:0crwdne2935203:0
-
If it is still attached, disconnect the black hose from the recovery tank.
-
-
crwdns2935201:0crwdne2935201:0 crwdns2935203:0crwdne2935203:0
-
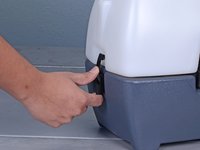
Unclasp and release the two black latches on either side of the carpet extractor.
-
-
-
crwdns2935201:0crwdne2935201:0 crwdns2935203:0crwdne2935203:0
-
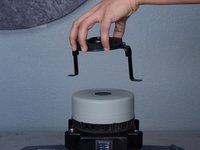
Use a Phillips #2 screwdriver to remove the two 1/2" screws and washers securing the vacuum motor retainer.
-
-
crwdns2935201:0crwdne2935201:0 crwdns2935203:0crwdne2935203:0
-
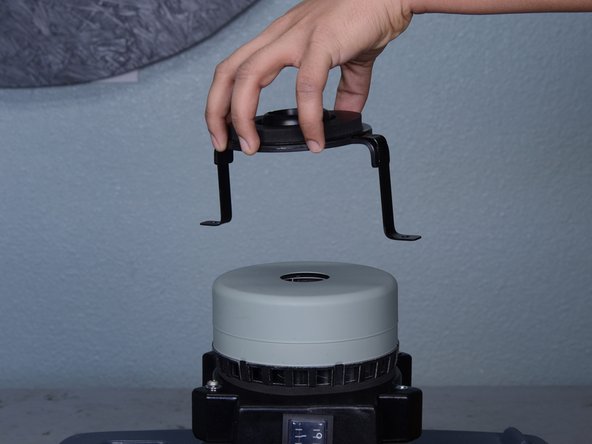
Remove the vacuum motor cover, retainer, and gasket as one piece.
-
-
crwdns2935201:0crwdne2935201:0 crwdns2935203:0crwdne2935203:0
-
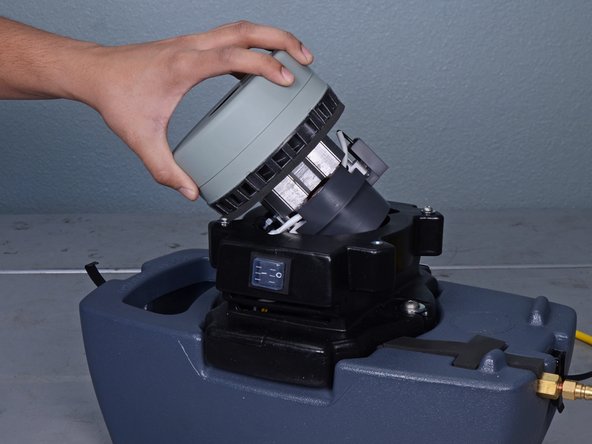
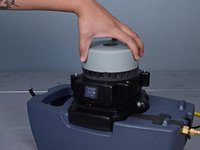
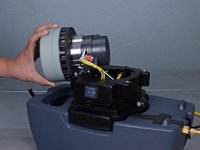
Gently pull the vacuum motor up and out of the extractor housing and lay it on its side.
-
-
crwdns2935201:0crwdne2935201:0 crwdns2935203:0crwdne2935203:0
-
Use a Phillips #2 Screwdriver to remove the 3/8" terminal screw securing the motor's three ground wires.
-
-
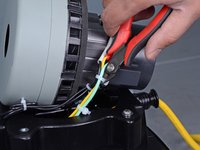
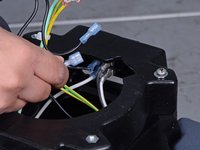
crwdns2935201:0crwdne2935201:0 crwdns2935203:0crwdne2935203:0
-
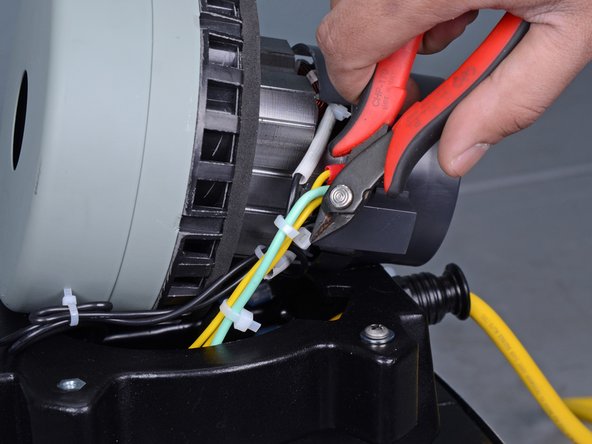
Use a pair of wire cutters or scissors to cut and remove the zip tie secured around the black, yellow, and green motor wires.
-
-
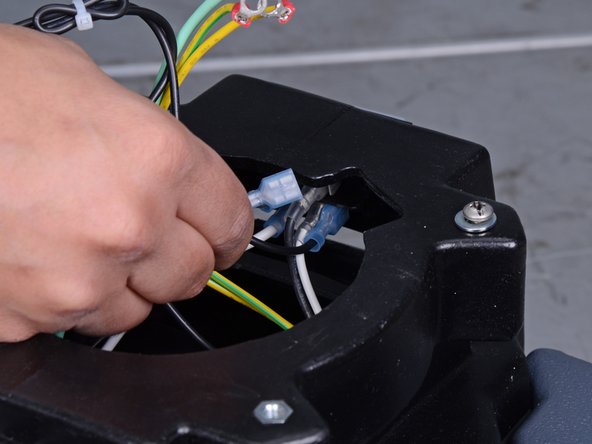
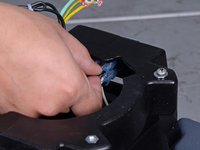
crwdns2935201:0crwdne2935201:0 crwdns2935203:0crwdne2935203:0
-
Disconnect the two black motor wires from the switch mounted inside the carpet extractor housing.
-


crwdns2935221:0crwdne2935221:0
crwdns2935229:05crwdne2935229:0
