crwdns2942213:0crwdne2942213:0
-
-
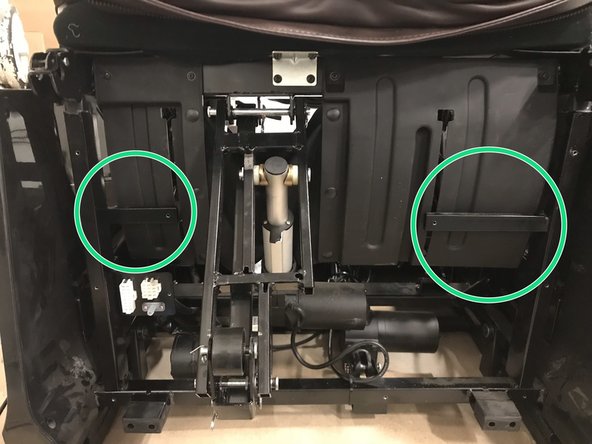
Remove the 2 bolts from the back cover and back cover should come off .
-
-
-
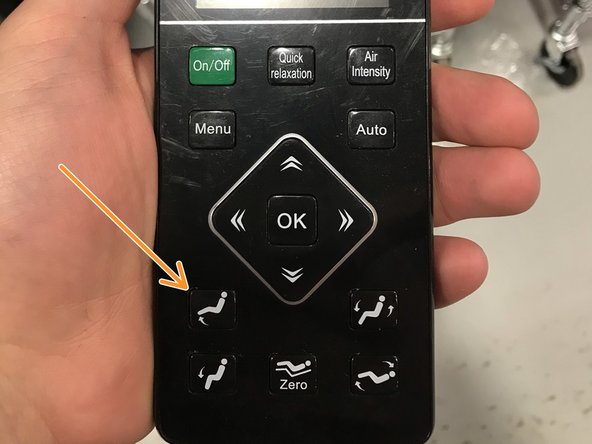
Press & hold this button to raise the actuator .
-
If using the Older style remote press & hold this button to raise the actuator .
-
-
-
Remove all 15 screws .
-
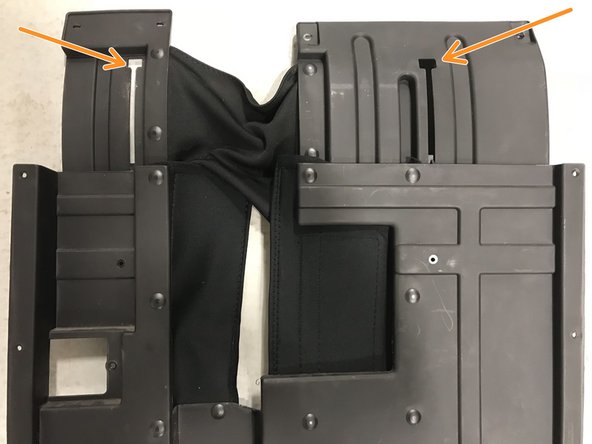
This cover comes off the frame as one piece , but it is actually two separate pieces. Here is where the plastic tabs line up.
-
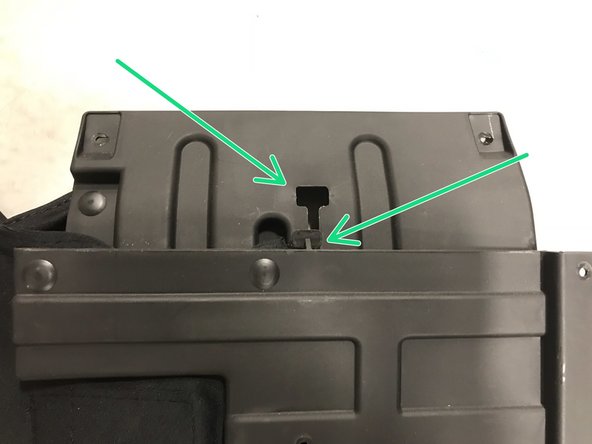
plastic tab and entry point.
-
-
-
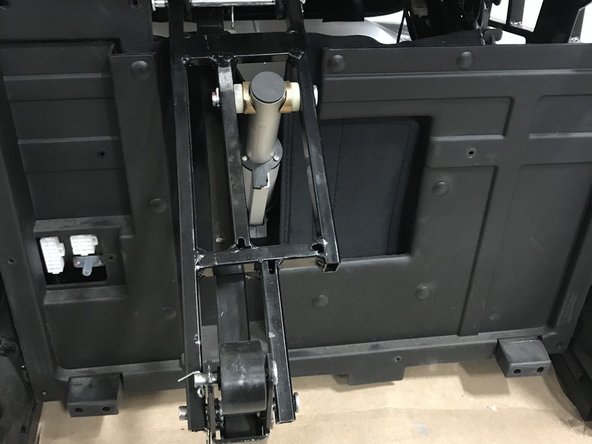
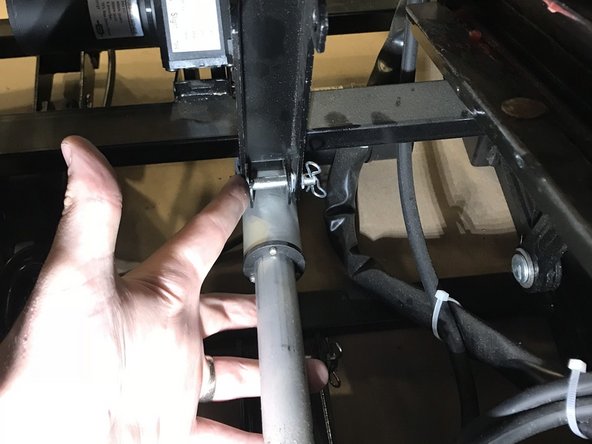
This is the recline cylinder . It is located on the lower left hand side of the chair from the front.
-
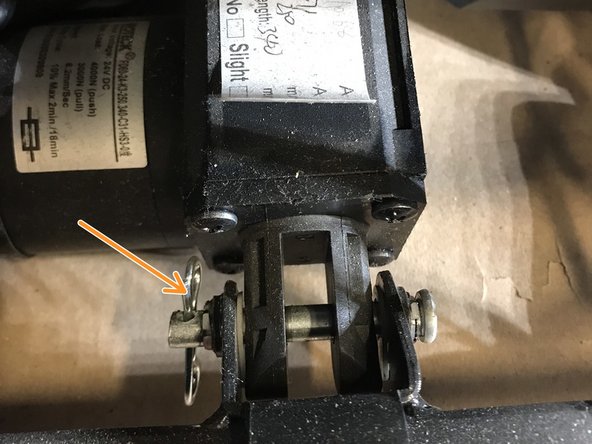
Remove cotter pin. Set this aside as this will be reused for reassembly.
-
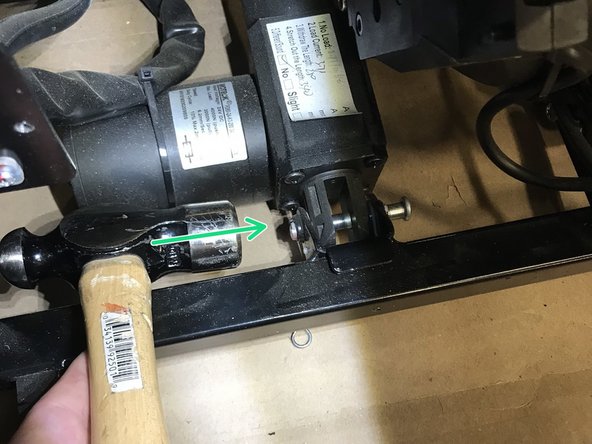
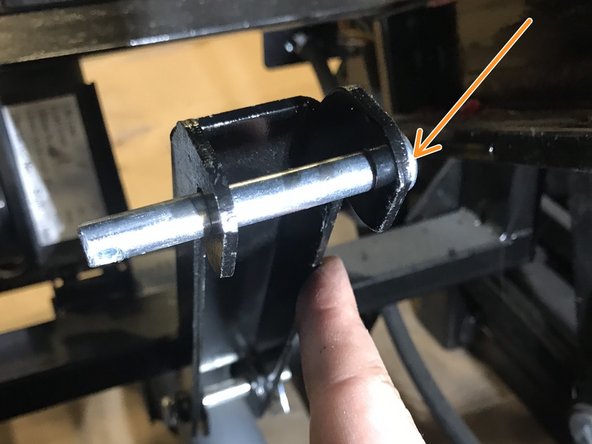
Using a Small hammer LIGHTLY tap the bolt out of the cylinder mount point. Once its at the point shown in the photo you can use pliers or vice grips to pull it out.
-
-
-
-
Follow cylinder wire to bundle of wires.
-
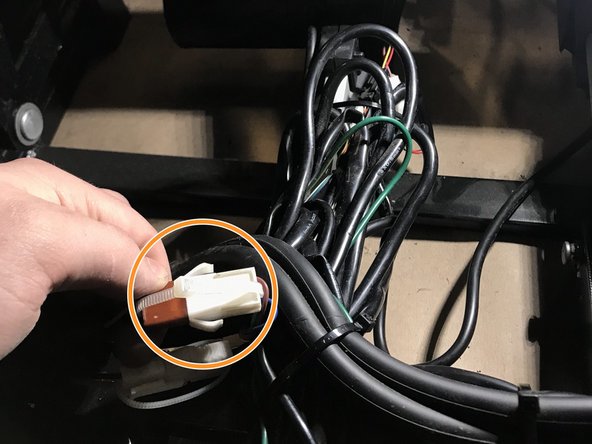
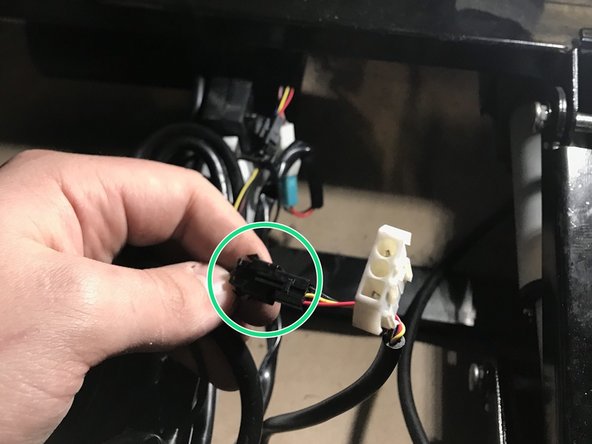
Follow wire until you find main connector.
-
Next find and disconnect the secondary cable going to the cylinder , it is in the same bundle of wires.
-
-
-
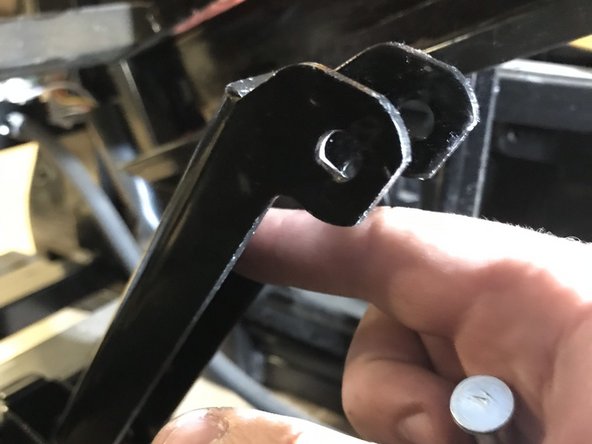
This is the bolt for the Rear mount , notice how it is grooved on one side.
-
This is the bolt for Front mount.
-
-
-
This is an example of the incorrect side to insert the rear bolt.
-
This is an example of the correct side to insert the rear bolt
-
-
-
These zip ties cannot be installed tightly as they are mounted to a moving cylinder . If they are over tightened it will damage the slide cylinder and wires. Keep the zip ties loose, but not too loose. Test the recline with all covers are off and watch these wires as the chair slides forward.
-
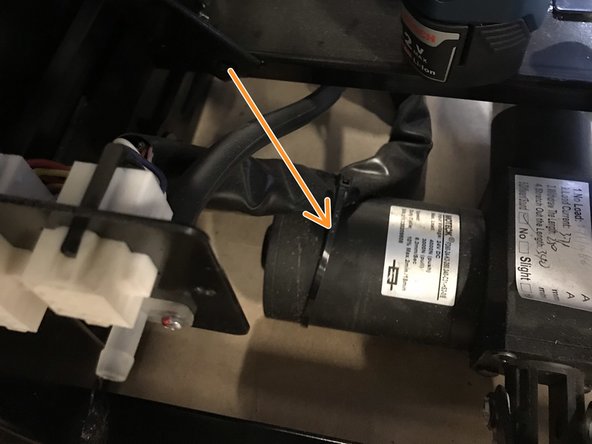
Remember this zip tie that holds the footrest data cables to the cylinder . This shouldn't have to be cut you can most likely slip it off of the cylinder. If not not cut and replace.
-
When installing the front cover be sure the top portion is done first . Additionally it needs to be behind the brackets marked here. SEE STEP 3
-


To reassemble your device, follow these instructions in reverse order.
To reassemble your device, follow these instructions in reverse order.
