crwdns2915892:0crwdne2915892:0
This processor is not soldered to the logic board, and installing a replacement is very easy. There are processor upgrades that enable you to turn your Pismo into a G4.
crwdns2942213:0crwdne2942213:0
-
-
Turn the keyboard locking screw so that it is parallel to the space bar.
-
Pull the keyboard release tabs toward you and lift up on the keyboard until it pops free.
-
Lift the keyboard out by pulling it up and away from you. Rest the keyboard, face down, on top of the track pad.
-
-
-
Pull the keyboard ribbon straight up from the logic board. Place the keyboard aside.
-
-
-
Your laptop should look approximately like this.
-
-
-
Remove the two silver Phillips #1 screws that attach the heat shield to the internal metal framework.
-
Lift the heat shield up and pull it toward you.
-
-
-
Your laptop should look approximately like this.
-
-
-
-
Firmly grasp the plastic tab attached to the Airport card and pull up and then to the right.
On mine, the airport card had been put it with the orange ribbon OVER the top, so had to unplug the righthand connector and then plug it back in after (see pic for Step 8)
-
-
-
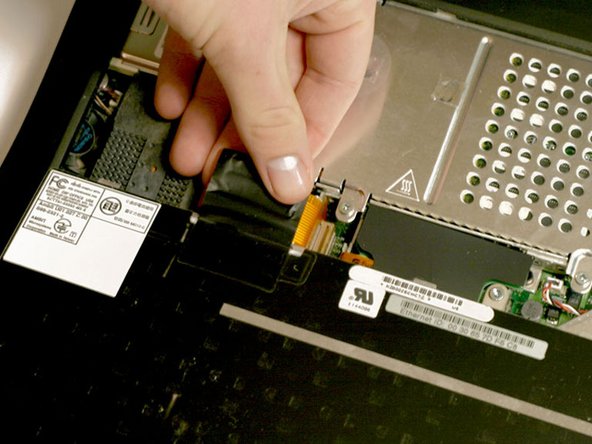
Disconnect the antenna cable from the Airport card.
To disconnect the cable, you just pull on it with enough force. It's just a straight up plug, no special tabs to unhook. I was a little shy as I never want to yank on old electronics, but just slowly turn up the amount of force you're pulling with until it comes loose.
-
-
-
Pull the battery cable directly up from the logic board.
-
Remove the battery from its holder by pulling up and to the left.
-
-
-
Your laptop should look approximately like this.
-
-
-
Remove the long silver Phillips #1 screw from the heat sink.
-
Remove the two T8 Torx screws that attach the heat sink to the processor.
-
-
-
Lift the heat sink up from the left side and pull it out.
-
-
-
Grasp the plastic tab on the processor's right side and pull it directly up.
-
-
-
Your laptop should look approximately like this.
-


To reassemble your device, follow these instructions in reverse order.
To reassemble your device, follow these instructions in reverse order.
crwdns2935221:0crwdne2935221:0
crwdns2935229:08crwdne2935229:0
crwdns2935103:0crwdne2935103:0

crwdns2947410:01crwdne2947410:0
i know how to fix the processor but i have heard of much more powerful upgrades