crwdns2915892:0crwdne2915892:0
If the device fails to charge or connect to a computer, consider using this guide to replace the USB charging port.
crwdns2942213:0crwdne2942213:0
-
-
Flip the device so that the screen faces down, with the back facing up.
-
Unscrew the four screws with a PH000 screwdriver.
-
-
-
Flip the device over so that the screen faces up, and the back faces down.
-
Separate the front panel using the Opening Tool on a corner to create an opening.
-
Run the tool along the seams of the device to open up all the sides.
-
-
-
Gently lift the top panel from the bottom panel.
-
-
-
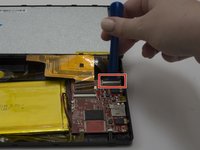
Use the Opening tool to flip up the black retaining flap on the smaller connector.
-
Gently lift the cable, parallel to the panel, to detach it.
-
-
-
-
Use the Opening tool to flip up the black retaining flap on the larger connector.
-
Gently lift the cable, parallel to the panel, to detach it.
-
-
-
Unscrew the three screws with a PH000 screwdriver.
-
-
-
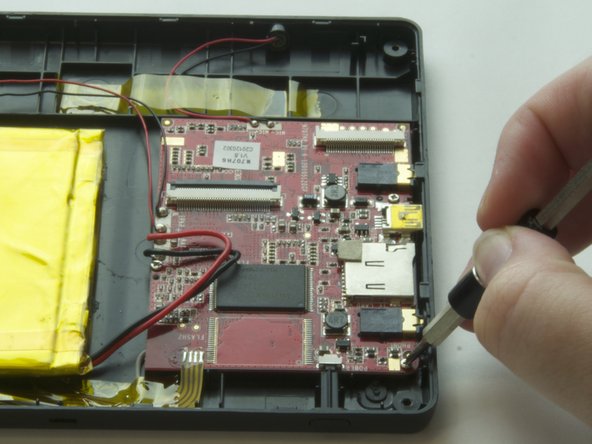
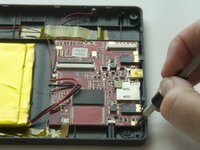
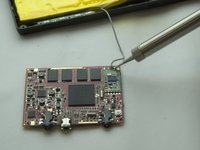
Desolder the wires from the motherboard. For detailed information, refer to the Solder and Desolder guide.
-
-
crwdns2935267:0crwdne2935267:0Tweezers$4.99
-
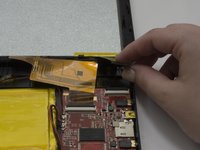
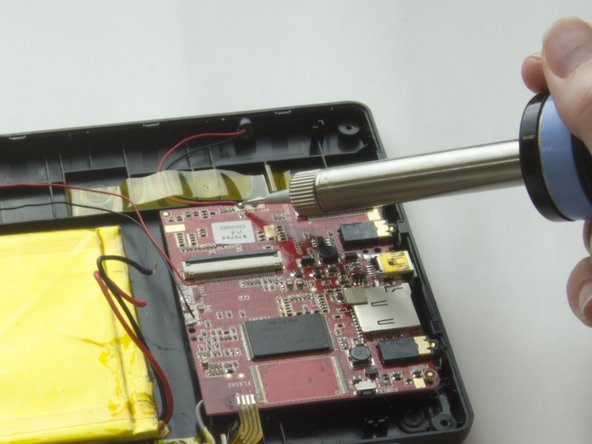
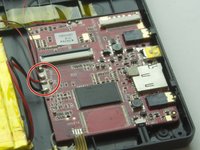
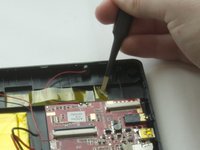
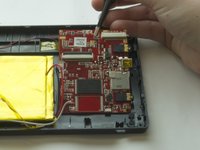
Use tweezers to gently lift the tape from the wires and plastic.
-
Desolder the wires from the motherboard.
-
-
-
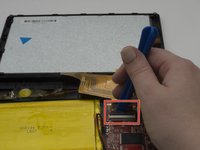
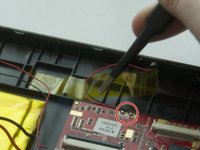
Use tweezers to gently lift the yellow tape that tapes down the yellow flat cable.
-
Desolder the flat cable.
-
-
-
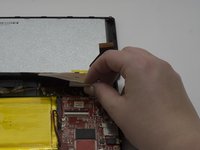
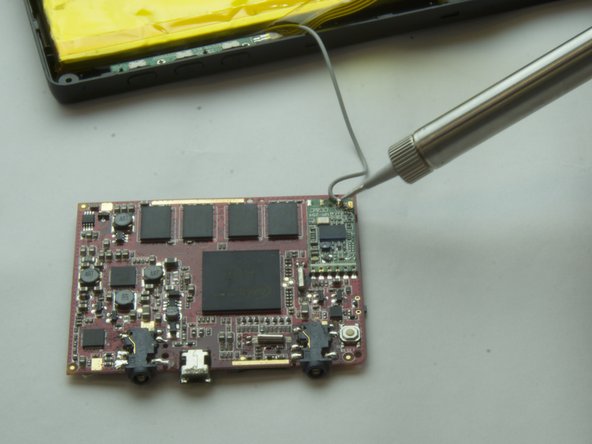
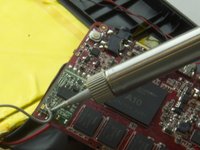
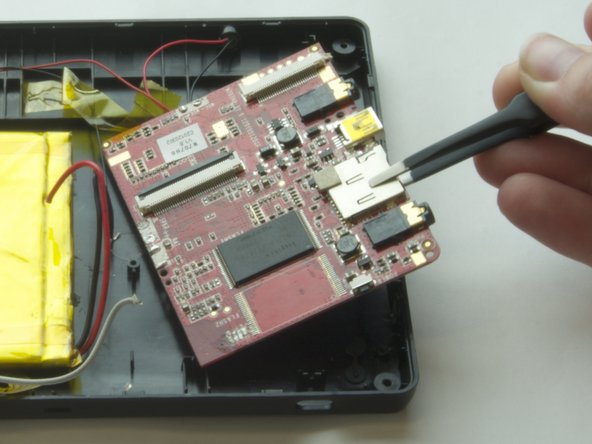
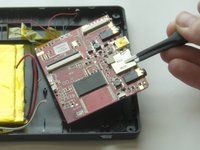
Flip the motherboard over to the side so that the grey wire and its solder bead faces up.
-
Desolder the gray wire from the motherboard.
-
-
-
Use tweezers to lift the motherboard from the panel.
-


To reassemble your device, follow these instructions in reverse order.
To reassemble your device, follow these instructions in reverse order.
crwdns2935221:0crwdne2935221:0
crwdns2935227:0crwdne2935227:0
crwdns2915084:0crwdne2915084:0

Baylor, Team 3-4, Whitney Spring 2017 crwdns2935289:0Baylor, Team 3-4, Whitney Spring 2017crwdne2935289:0
BU-WHITNEY-S17S3G4
crwdns2931471:03crwdne2931471:0
crwdns2935297:010crwdne2935297:0