crwdns2933423:0crwdne2933423:0

Polaroid P902 LCD and Digitizer Replacement

crwdns2942213:0crwdne2942213:0

  1. Polaroid P902 LCD and Digitizer  Replacement, The Tools: crwdns2935265:01crwdnd2935265:01crwdnd2935265:03crwdne2935265:0 Polaroid P902 LCD and Digitizer  Replacement, The Tools: crwdns2935265:01crwdnd2935265:02crwdnd2935265:03crwdne2935265:0 Polaroid P902 LCD and Digitizer  Replacement, The Tools: crwdns2935265:01crwdnd2935265:03crwdnd2935265:03crwdne2935265:0
    crwdns2935267:0crwdne2935267:0
    Tweezers
    $4.99
    crwdns2942207:0crwdne2942207:0
    • The most important part of any repair is the tools used. Here's what I brought to this repair. Xool 58 in 1 Precision Screwdriver Set, DREMINOVA Heat soldering Mat Large Pad, and Xool 10pc EDS Anti-Static tweezers. I also always wear gloves when preforming repairs, my preferred gloves are Grease Monkey Disposable Nitrile Gloves.

  2. Polaroid P902 LCD and Digitizer  Replacement, The Back: crwdns2935265:02crwdnd2935265:01crwdnd2935265:03crwdne2935265:0 Polaroid P902 LCD and Digitizer  Replacement, The Back: crwdns2935265:02crwdnd2935265:02crwdnd2935265:03crwdne2935265:0 Polaroid P902 LCD and Digitizer  Replacement, The Back: crwdns2935265:02crwdnd2935265:03crwdnd2935265:03crwdne2935265:0
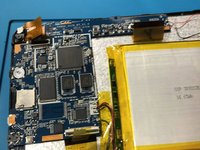
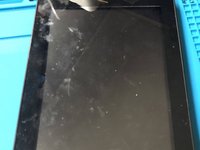
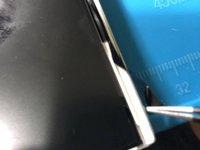
    • First remove the two screws circled in the first picture with a PH00 bit.

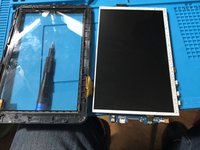
    • After the screws have been removed take a plastic spudger and use it to lift the LCD from the backing

    • You will have to use some force don't be scared of it.

  3. Polaroid P902 LCD and Digitizer  Replacement, Ribbons: crwdns2935265:03crwdnd2935265:01crwdnd2935265:03crwdne2935265:0 Polaroid P902 LCD and Digitizer  Replacement, Ribbons: crwdns2935265:03crwdnd2935265:02crwdnd2935265:03crwdne2935265:0 Polaroid P902 LCD and Digitizer  Replacement, Ribbons: crwdns2935265:03crwdnd2935265:03crwdnd2935265:03crwdne2935265:0
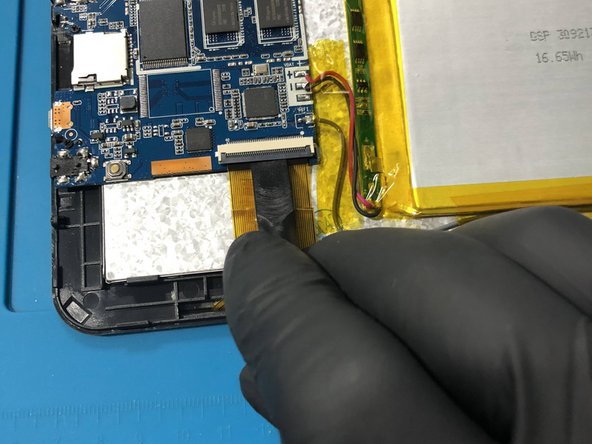
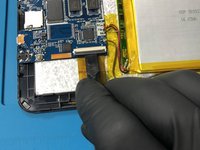
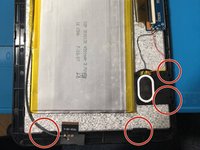
    • Next using the flat end of a plastic spudger release the clips holding the ribbon circled in the first picture.

  4. Polaroid P902 LCD and Digitizer  Replacement, The Screws: crwdns2935265:04crwdnd2935265:01crwdnd2935265:02crwdne2935265:0 Polaroid P902 LCD and Digitizer  Replacement, The Screws: crwdns2935265:04crwdnd2935265:02crwdnd2935265:02crwdne2935265:0
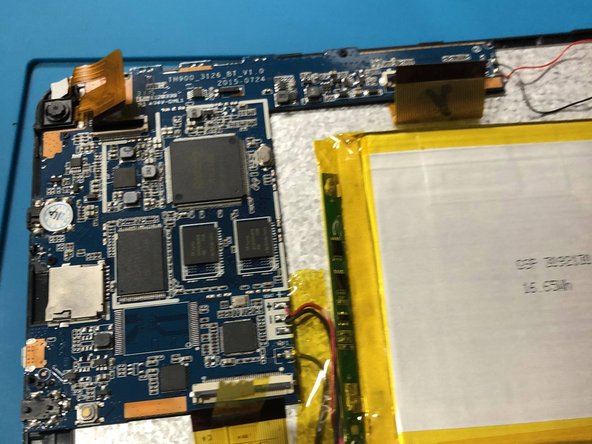
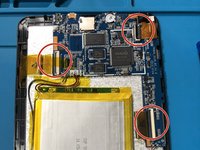
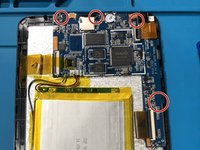
    • Next switching to a PH000bit remove the 4 screws circled in the first picture holding the motherboard down.

    • Now remove the four screw circled in the second picture along with their plastic components.

    • Be careful when removing the plastic part holding the speaker in so as not to rip the speaker wire

  5. Polaroid P902 LCD and Digitizer  Replacement, Removing the Digitizer: crwdns2935265:05crwdnd2935265:01crwdnd2935265:03crwdne2935265:0 Polaroid P902 LCD and Digitizer  Replacement, Removing the Digitizer: crwdns2935265:05crwdnd2935265:02crwdnd2935265:03crwdne2935265:0 Polaroid P902 LCD and Digitizer  Replacement, Removing the Digitizer: crwdns2935265:05crwdnd2935265:03crwdnd2935265:03crwdne2935265:0
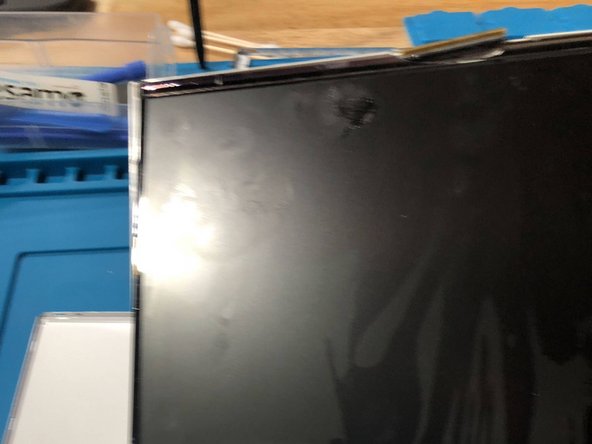
    • Flip the tablet over gently, then applying slight pressure on the left hand side lift the digitizer from the LCD

    • it should just lift right off. However you may need to do a bit of wiggling. Don't stress if it doesn't drop right off.

  6. Polaroid P902 LCD and Digitizer  Replacement, ALMOST THERE!!: crwdns2935265:06crwdnd2935265:01crwdnd2935265:03crwdne2935265:0 Polaroid P902 LCD and Digitizer  Replacement, ALMOST THERE!!: crwdns2935265:06crwdnd2935265:02crwdnd2935265:03crwdne2935265:0 Polaroid P902 LCD and Digitizer  Replacement, ALMOST THERE!!: crwdns2935265:06crwdnd2935265:03crwdnd2935265:03crwdne2935265:0
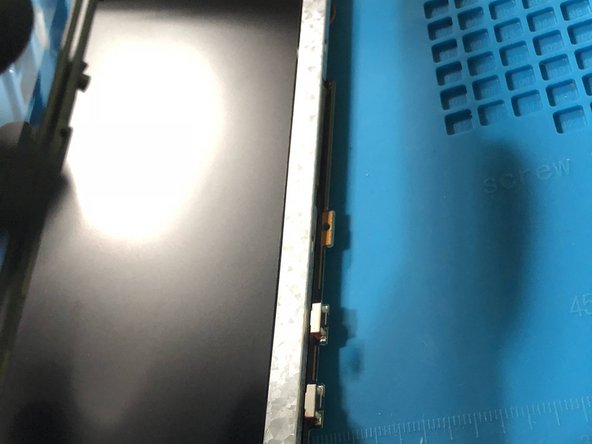
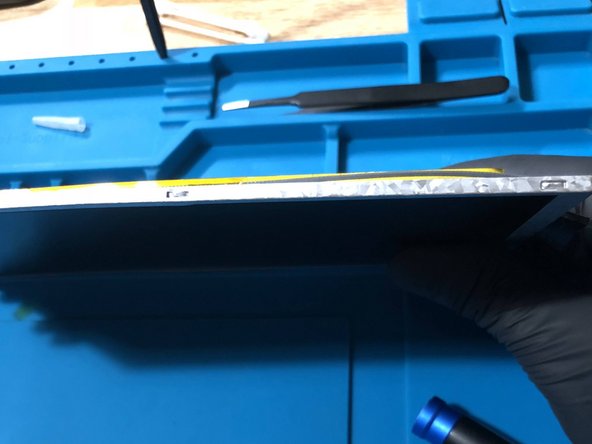
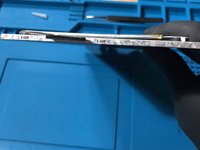
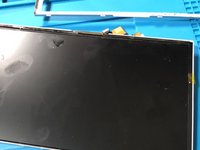
    • Now go around the edges of the metal and release the metal tabs holding the LCD in place

    • I used an iSesamo to do this, made it super easy

    • On the left side of the LCD screen after removing the top metal plate you will see a strip of adhesive, remove it and your almost done

  7. Polaroid P902 LCD and Digitizer  Replacement, FINALLY!!: crwdns2935265:07crwdnd2935265:01crwdnd2935265:02crwdne2935265:0 Polaroid P902 LCD and Digitizer  Replacement, FINALLY!!: crwdns2935265:07crwdnd2935265:02crwdnd2935265:02crwdne2935265:0
    • Now lift the LCD straight up and out of the bottom casing and you're halfway through the repair :D

    • Now insert the new LCD and reverse the steps. Pat yourself on the back o grab some snacks and check out your like new tablet.

crwdns2915888:0crwdne2915888:0

To reassemble your device, follow these instructions in reverse order.

Aj Jones

crwdns2935283:004/15/18crwdne2935283:0

1 crwdns2915208:0crwdne2915208:0

crwdns2935295:0crwdne2935295:0

crwdns2915084:0crwdne2915084:0

Loading.. Game Repairs crwdns2935289:0Loading.. Game Repairscrwdne2935289:0

Business

crwdns2934841:01crwdne2934841:0

crwdns2935297:02crwdne2935297:0

crwdns2944067:00crwdne2944067:0

crwdns2917038:0crwdne2917038:0

crwdns2936625:0crwdne2936625:0:

crwdns2936751:024crwdne2936751:0 0

crwdns2936753:07crwdne2936753:0 1

crwdns2936753:030crwdne2936753:0 10

crwdns2942667:0crwdne2942667:0 248