crwdns2915892:0crwdne2915892:0
If you need to replace the lens this is guide will allow you to do so. You may need to replace the lens if it becomes scratched or cracked. For this replacement guide you will need to use the Shutter Switch replacement guide steps 1-4 as a precursor guide.
crwdns2942213:0crwdne2942213:0
-
-
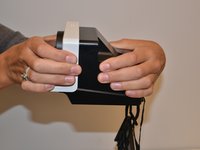
Unscrew the four Phillips #0 5 mm screws on the base of the camera.
-
Remove the two pieces of the base.
-
-
-
Remove the four Phillips #0 5mm screws on the top of the inside base piece.
-
Remove the Phillips #0 5mm two screws on the bottom of the inside base piece nearer the strap.
not correct. what about the electrical connections?
also you do not need to unscrew the back mirror unit. if you take it off you can not put it back and it is not necessary. I learned the hard way, I can not put it back.
-
-
-
-
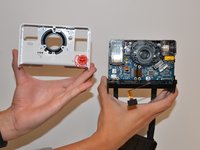
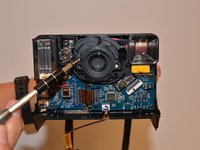
Remove the black inside base piece.
BE CAREFUL! This is missing the part where there are two ribbon cables that connect to the upper body of the camera. If you take the back board off without disconnecting the one closest to the front and side of the camera you are likely to break them.
-
-
-
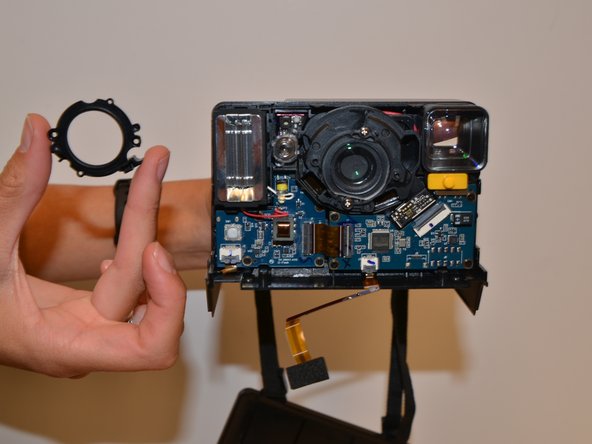
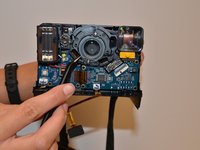
With force separate the white front piece from the back of the camera. You will use your hands and pull it apart.
-
-
-
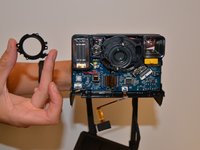
Remove the two Phillips #0 3mm screws on the black ring holding the lens in place and remove the ring.
-
-
crwdns2935267:0crwdne2935267:0Tweezers$4.99
-
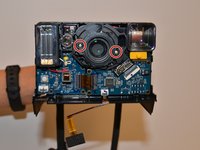
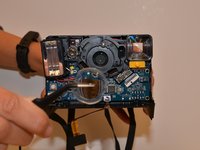
Remove the clear plastic lens with tweezers.
-


To reassemble your device, follow these instructions in reverse order.
To reassemble your device, follow these instructions in reverse order.
crwdns2935221:0crwdne2935221:0
crwdns2935229:02crwdne2935229:0
crwdns2915084:0crwdne2915084:0

University of Alabama, Team S1-G1, Bedsole Fall 2018 crwdns2935289:0University of Alabama, Team S1-G1, Bedsole Fall 2018crwdne2935289:0
UA-BEDSOLE-F18S1G1
crwdns2931471:04crwdne2931471:0
crwdns2935297:05crwdne2935297:0
crwdns2947410:01crwdne2947410:0
I followed this guide to a T, but it stops right before the replacement. I can even see the cracked lense in the last photo beneath the plastic lense you removed. How would one remove that internal lense and replace it?