crwdns2915892:0crwdne2915892:0
Use this guide to replace the film door (aka film processing unit, or FPU) in your Polaroid Now+ (Gen 3) instant camera.
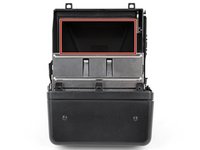
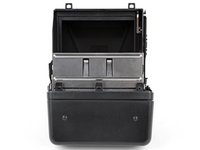
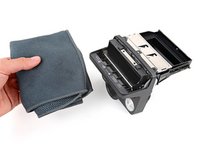
The film door is made up of the print roller secured in its plastic housing. The print roller is responsible for evenly spreading the development chemicals across your instant film photos. If your photos look uneven or have lines, you might need to replace the film door.
Before replacing the film door, try cleaning the rollers and see if it fixes your problem. It's possible dust and dirt buildup on the rollers is causing uneven photos.
If you're replacing the print roller on its own, follow this guide.
crwdns2942213:0crwdne2942213:0
-
-
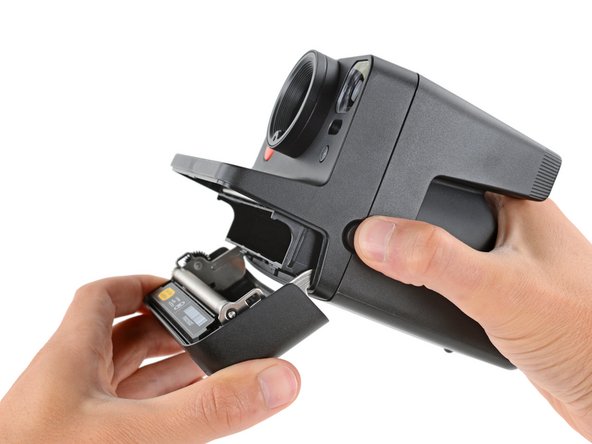
If you have any film left, take some photos! Then remove the cartridge. Disassembly will expose any leftover film.
-
Unplug and fully power down your camera.
-
Put on the lens cap to avoid scratching your lens during disassembly.
-
-
-
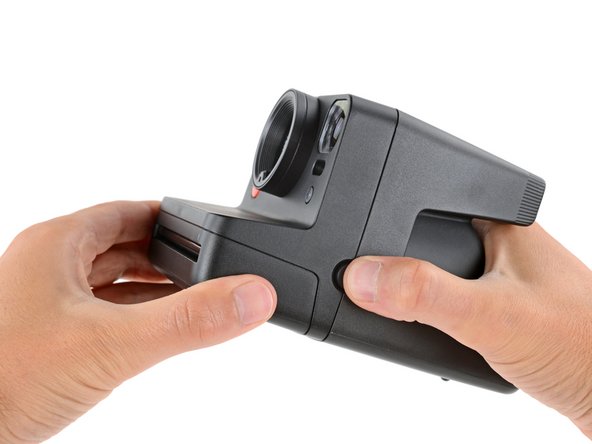
Hold down the latch on the left side of the camera and open the film door.
-
-
crwdns2935267:0crwdne2935267:0Magnetic Project Mat$19.95
-
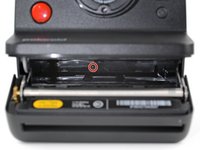
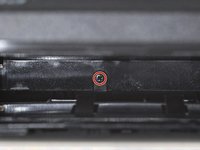
Use a Phillips screwdriver to remove the 5.9 mm‑long screw securing the rear shell.
-
-
-
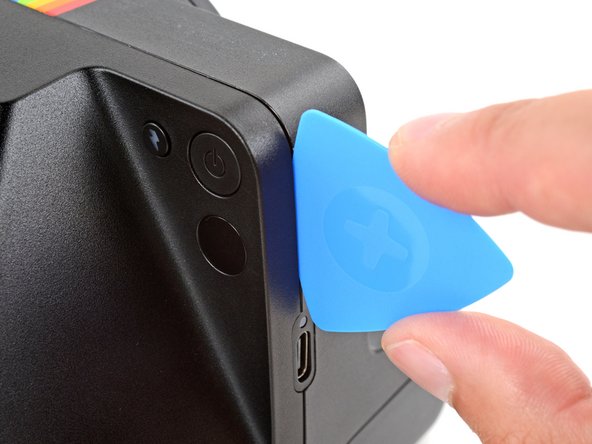
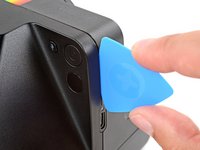
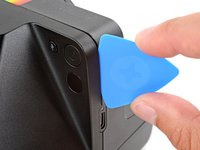
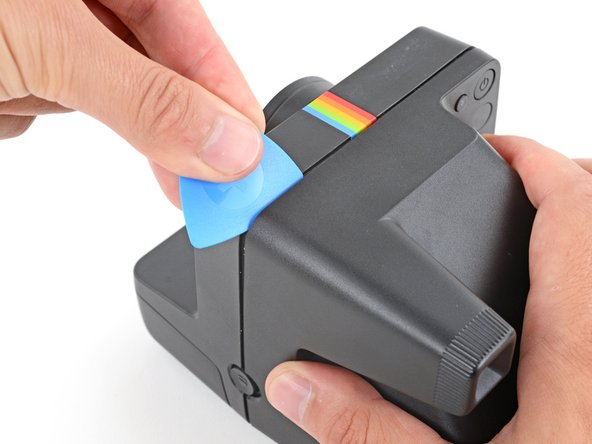
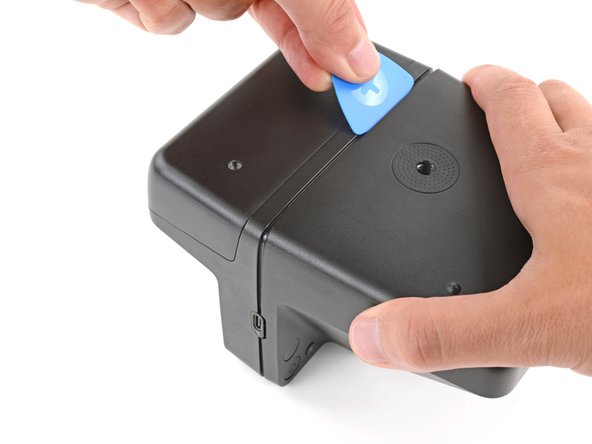
Insert the flat edge of an opening pick in the seam between the front and rear shells, just above the USB‑C port on the right edge.
-
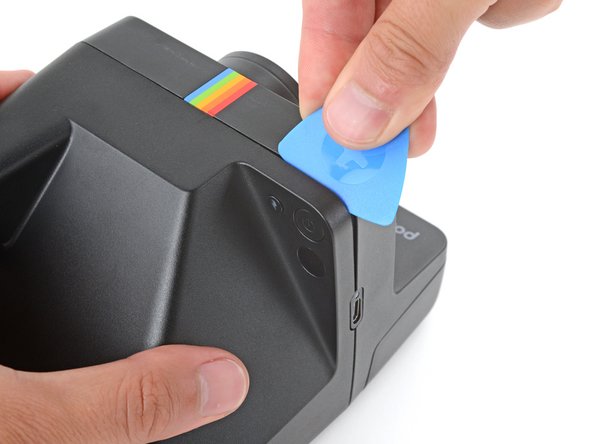
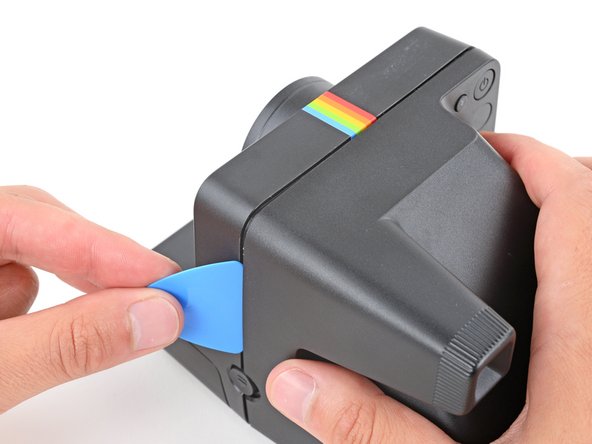
Use your pick to pry the rear shell away from the front shell.
-
-
-
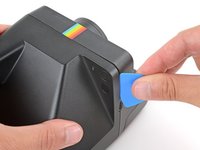
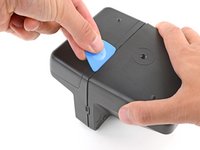
Slide your pick around the top right corner and along the top edge to release the clips.
-
-
-
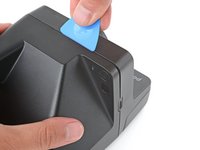
Continue sliding your pick along the top edge, around the top left corner, and down the left edge to release the clips. Stop when you get to the film door latch.
-
-
-
-
Gently flip the camera over, making sure none of the clips re‑engage.
-
-
-
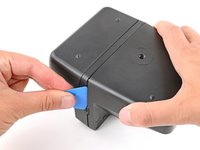
Insert your opening pick in the seam near the USB‑C port and slide it around the corner and along the bottom edge to release the remaining clips.
-
-
-
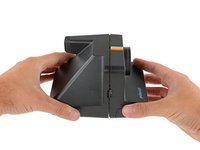
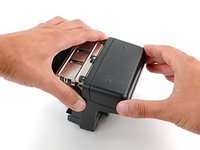
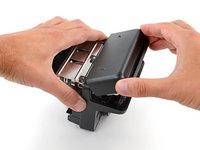
Gently pull the rear shell off the main body of the camera.
-
Press the shell firmly onto the main body so all the clips engage.
-
Check around the shell seam and make sure there are no gaps. If there are, firmly press the shells together to engage the clip near the gap.
-
-
-
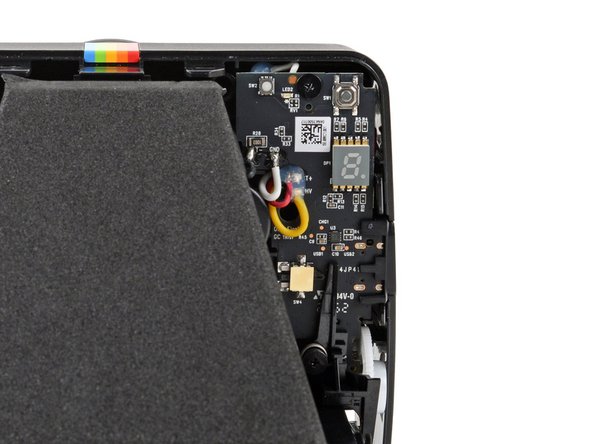
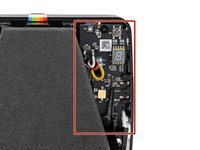
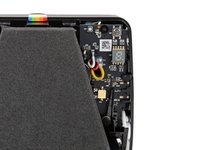
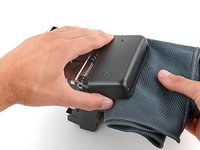
To minimize risk, avoid touching the boards, wires, and other exposed components with your fingers or metal tools. Consider wearing rubber gloves if working near the board.
-
-
-
Flip your camera over so the bottom is facing up.
-
-
-
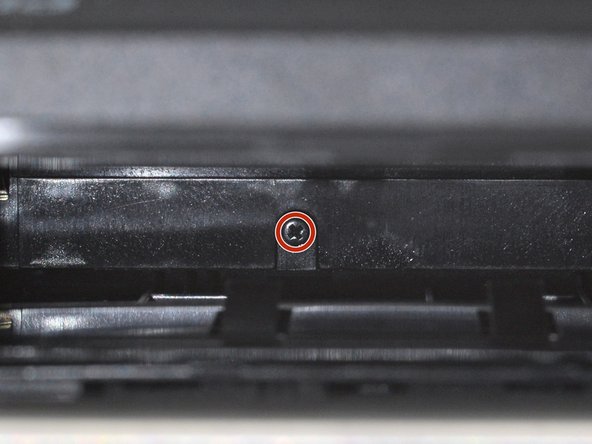
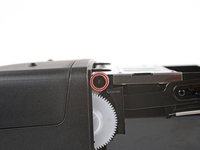
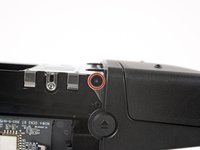
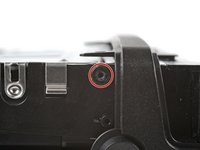
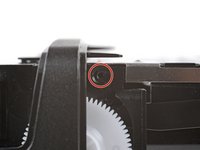
Use a Phillips screwdriver to remove the two 3 mm‑long film door hinge screws (one on either side of the camera).
-
-
-
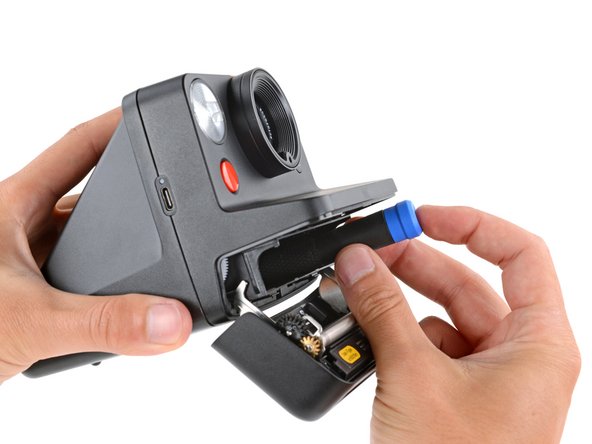
Open the film door and place a clean cloth in the compartment.
-
-
-
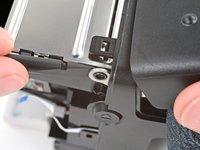
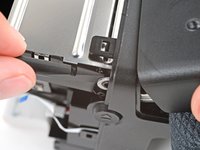
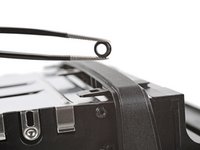
Use the flat end of a spudger to push one of the film door hinges away from the camera and off its post.
-
Repeat the process to detach the other hinge.
-
-
-
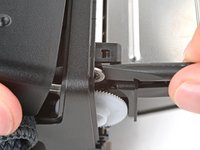
Check to see if either of the small, plastic hinge grommets stayed on their posts.
-
If they did, remove them and set them aside.
-
-
-
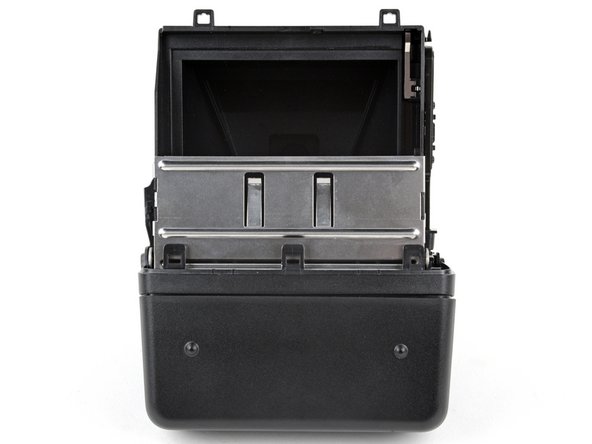
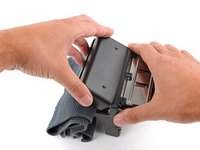
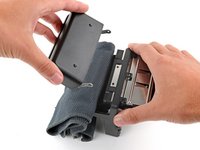
Lift the film door and remove it.
-
Make sure there are grommets installed in the film door hinges. To install them, press the grommets into the film door hinges, with the wide end facing in.
-
Hook one of the hinges on its post and then push the other one into place until it snaps over its post.
-


To reassemble your device, follow these instructions in reverse order.
Repair didn’t go as planned? Try some basic troubleshooting, or ask our Answers community for help.
To reassemble your device, follow these instructions in reverse order.
Repair didn’t go as planned? Try some basic troubleshooting, or ask our Answers community for help.

