crwdns2915892:0crwdne2915892:0
Do you have a door that just doesn’t seem to want to close? Your screen or storm door constantly being left open because the little cylinder up there at the top just isn’t working how it used to? Well if you follow this short guide you will be able to save yourself grey hairs and daily annoyances.
Some call it a “Door Closer” or “Pneumatic door closing cylinder”
There are several reasons why your door might not be closing, a bent cylinder, twisted or incorrectly placed brackets. We will be addressing the last two of these issues in this guide.
crwdns2942213:0crwdne2942213:0
-
-
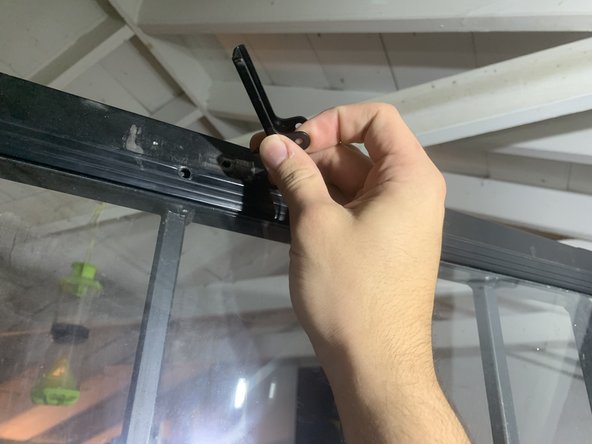
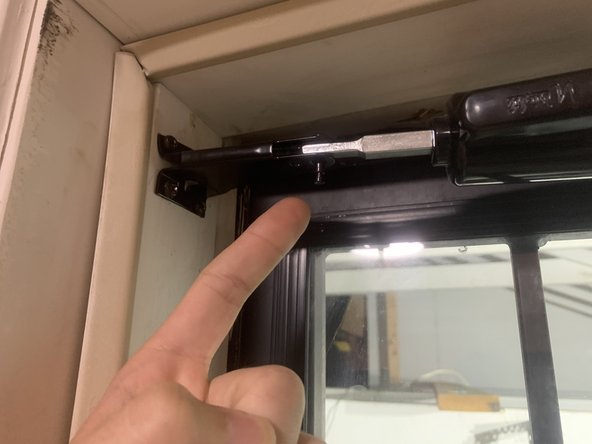
Remove the old piston from its current position.
-
Pull out two pins—one on both sides of the piston.
-
-
-
Unpack your new brackets and piston.
-
Be sure to lay out all the parts to ensure that you have an accurate inventory of all parts.
-
-
-
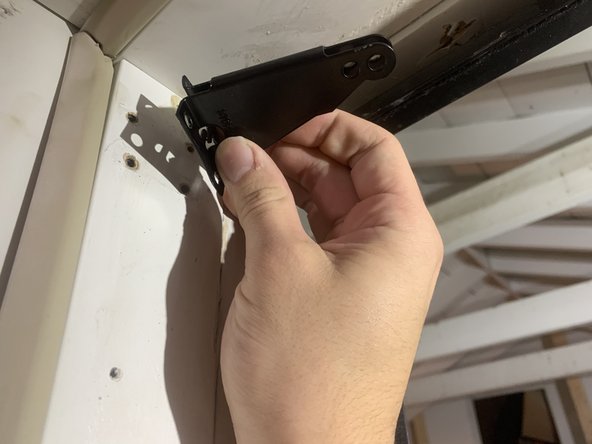
Use the cordless drill to remove the old bracket attached to the door trim.
-
-
-
-
Remove the bracket that is attached to the storm door.
-
-
-
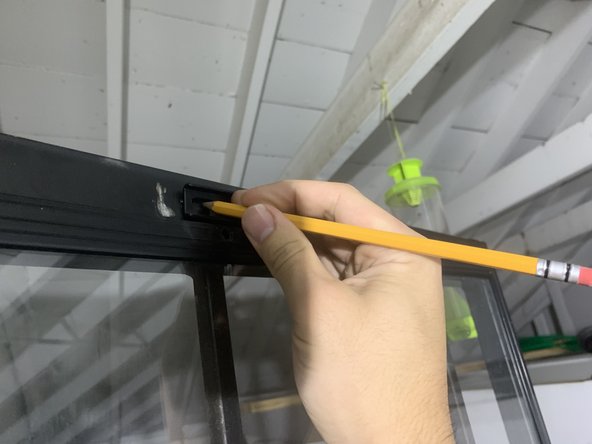
Lay out the placement of the new brackets.
-
-
-
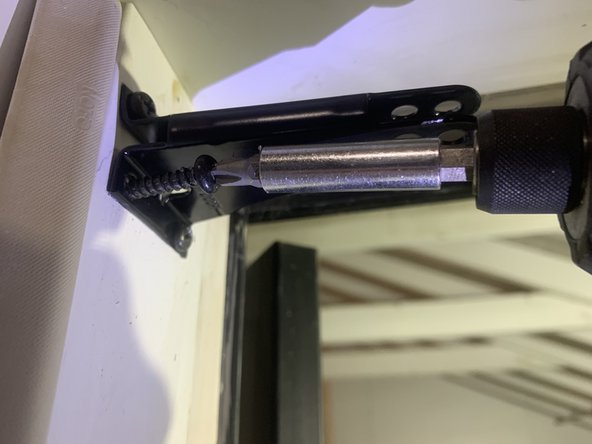
Once marked, use a cordless drill with a Philips #2 bit to drive the four 1 1/2" screws into the bracket into the trim.
-
-
-
Use the cordless drill to attach the smaller bracket to the storm door.
-
-
-
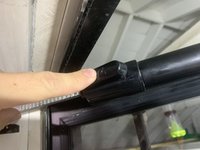
Using the two pins that were previously removed, secure the piston to the brackets.
-
-
-
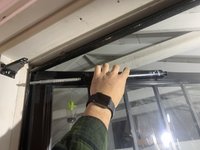
Depress the plunger.
-
Open the door as wide as the piston will allow you to.
-


You have now fixed your door and saved your future self countless frustrations and gray hairs!
You have now fixed your door and saved your future self countless frustrations and gray hairs!

crwdns2915084:0crwdne2915084:0

University of Memphis, Team M-51, Willis Fall 2021 crwdns2935289:0University of Memphis, Team M-51, Willis Fall 2021crwdne2935289:0
UM-WILLIS-F21SMG51
crwdns2931471:02crwdne2931471:0
crwdns2935303:01crwdne2935303:0