crwdns2915892:0crwdne2915892:0
However, the Sony engineers also included a thermal pad to aide heat transfer in their design. These thermal pads can be worn out with excessive use, or severe overheating events. After this, it is best to replace the pads to keep the device performing optimally.
crwdns2942213:0crwdne2942213:0
-
-
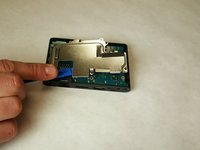
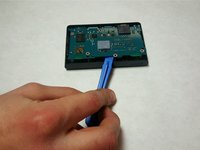
Use the plastic spudger to pry up the bottom piece of the case to release the clips.
-
-
-
Remove the four 6 mm Phillips screws.
-
Remove the two Phillips #0 screws.
-
-
-
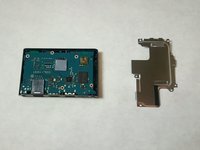
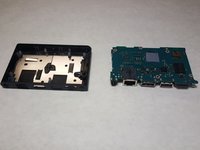
Remove the heat shield using the plastic opening tool.
-
Slide the tool around the edges until the shield is free.
-
-
-
-
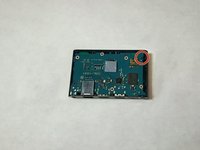
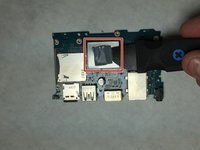
Remove the last 6mm Phillips #0 screw from the motherboard.
-
-
-
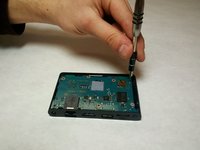
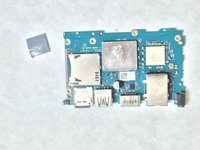
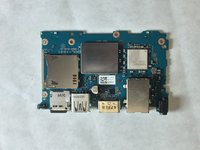
Use a plastic opening tool to pry up gently on the motherboard, and remove it.
-
-
-
Remove the old thermal pad with an ESD safe tool, like a Jimmy.
-
-
-
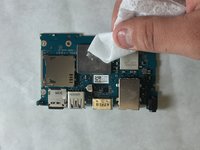
Wipe down the area where the old thermal pads were located with rubbing alcohol.
-


To reassemble your device, follow these instructions in reverse order.
To reassemble your device, follow these instructions in reverse order.
crwdns2935221:0crwdne2935221:0
crwdns2935229:03crwdne2935229:0

crwdns2915084:0crwdne2915084:0

IUPUI, Team 3-1, Baechle Spring 2016 crwdns2935289:0IUPUI, Team 3-1, Baechle Spring 2016crwdne2935289:0
IUPUI-BAECHLE-S16S3G1
crwdns2931471:04crwdne2931471:0
crwdns2935297:04crwdne2935297:0
crwdns2947412:02crwdne2947412:0
Photos for steps 6 through 9 will be posted soon!
Do you replace the thermal pad? Your directions do not state where to do this, and if so what part and size do you recommend?