crwdns2915892:0crwdne2915892:0
The USB is an important part of the PlayStation Move controller. This guide will help you to remove and replace.
crwdns2942213:0crwdne2942213:0
-
-
Turn the controller over and unscrew the four 10mm screws with a PH #00 screwdriver.
-
-
-
Pinch the sides of the back panel to remove it and set it aside.
-
-
-
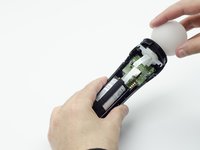
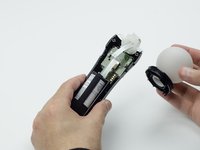
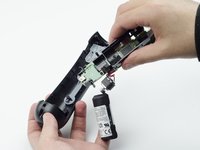
Hold the base of the controller with one hand and with the other carefully pull up on the white spherical piece to remove it.
-
-
-
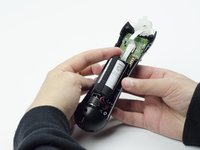
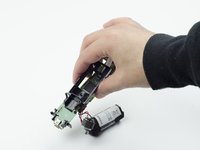
Push the Lithium Ion battery from its slot to remove it.
-
-
-
-
Unscrew the 9mm screw in the battery slot with a PH #00 screwdriver.
-
-
-
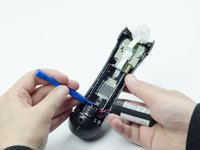
Using a plastic opening tool, carefully pry the rumble motor free.
-
-
-
Unscrew the 9mm screw behind the rumble motor slot with a PH #00 screwdriver.
-
-
-
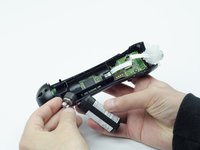
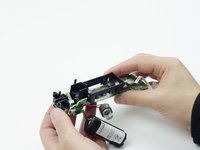
Carefully pinch the plastic sides of the battery slot and lift it (along with the circuit board) from the plastic shell of the move controller.
-
-
-
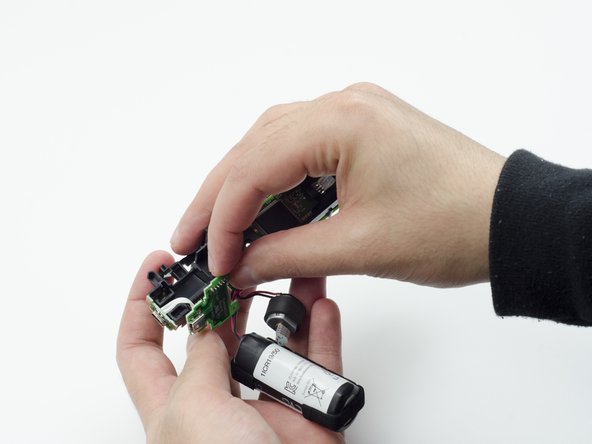
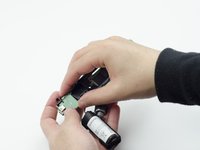
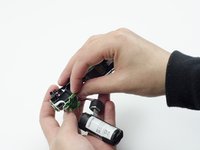
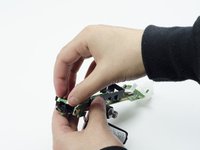
Using your fingers, carefully pry the square green piece beneath the battery slot free.
-
-
-
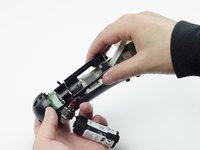
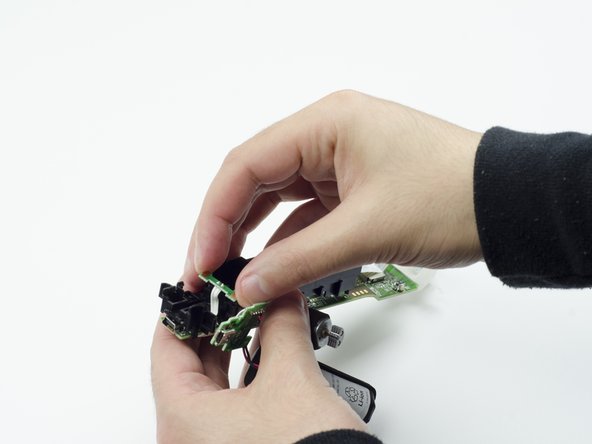
Follow the white ribbon attached to the part you just removed to a smaller, more rectangular piece.
-
Lift the rectangular piece from its slot to free it.
-
-
-
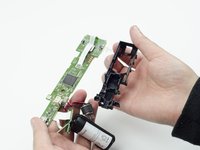
Carefully lift the entire circuit board from the black plastic encasing it.
-
-
-
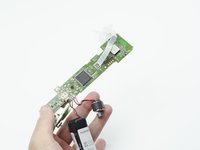
At the end of the circuit board, you should see a small silver connector port (this is the USB).
-
Using a soldering iron, carefully desolder the port from the board. For help with desoldering, please reference this guide: How To Solder and Desolder Connections
-


To reassemble your device, follow these instructions in reverse order.
To reassemble your device, follow these instructions in reverse order.
crwdns2935221:0crwdne2935221:0
crwdns2935229:02crwdne2935229:0
crwdns2915084:0crwdne2915084:0

USF Tampa, Team S3-G1, Sullivan Spring 2017 crwdns2935289:0USF Tampa, Team S3-G1, Sullivan Spring 2017crwdne2935289:0
USFT-SULLIVAN-S17S3G1
crwdns2931471:03crwdne2931471:0
crwdns2935297:013crwdne2935297:0