crwdns2915892:0crwdne2915892:0
The battery is an integral part of the PlayStation Move controller. This guide will help you to remove and replace it with ease.
crwdns2942213:0crwdne2942213:0
-
-
Turn the controller over and unscrew the four 10mm screws with a PH #00 screwdriver.
 crwdns2952109:0crwdne2952109:0
-
-
-
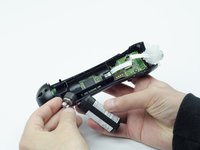
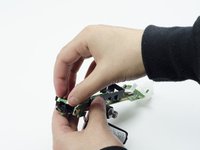
Pinch the sides of the back panel to remove it and set it aside.
-
-
-
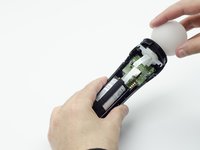
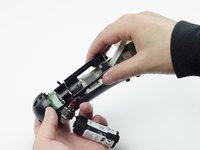
Hold the base of the controller with one hand and with the other carefully pull up on the white spherical piece to remove it.
-
-
-
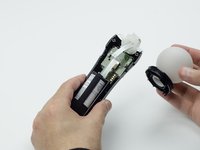
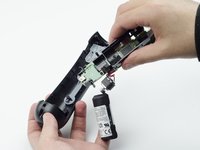
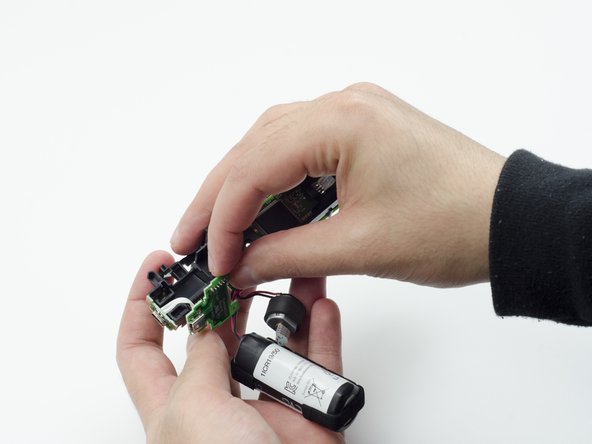
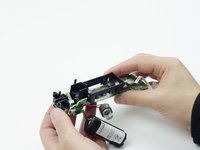
Push the Lithium Ion battery from its slot to remove it.
-
-
-
-
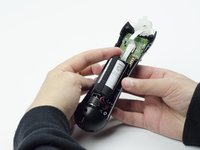
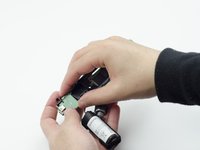
Unscrew the 9mm screw in the battery slot with a PH #00 screwdriver.
-
-
-
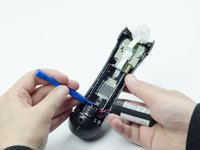
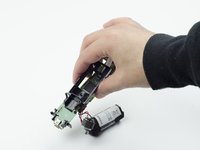
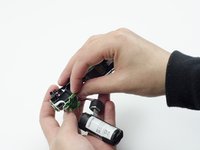
Using a plastic opening tool, carefully pry the rumble motor free.
-
-
-
Unscrew the 9mm screw behind the rumble motor slot with a PH #00 screwdriver.
-
-
-
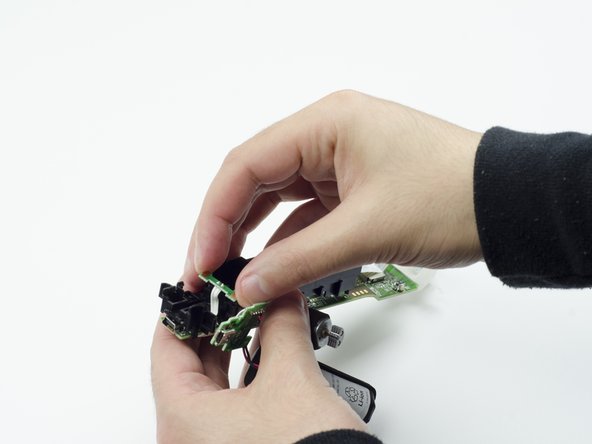
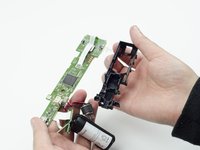
Carefully pinch the plastic sides of the battery slot and lift it (along with the circuit board) from the plastic shell of the move controller.
-
-
-
Using your fingers, carefully pry the square green piece beneath the battery slot free.
-
-
-
Follow the white ribbon attached to the part you just removed to a smaller, more rectangular piece.
-
Lift the rectangular piece from its slot to free it.
-
-
-
Carefully lift the entire circuit board from the black plastic encasing it.
-
-
crwdns2935267:0crwdne2935267:0Tweezers$4.99
-
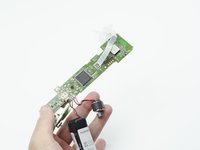
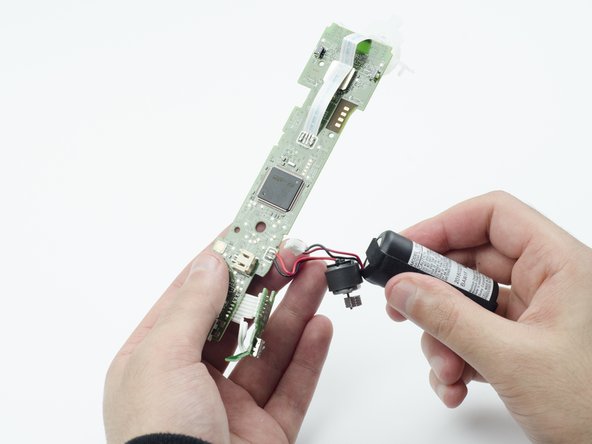
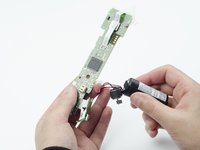
Using tweezers, carefully pull the power cable from its port on the circuit board.
-


To reassemble your device, follow these instructions in reverse order.
crwdns2935221:0crwdne2935221:0
crwdns2935229:09crwdne2935229:0
crwdns2935287:0crwdne2935287:0

USF Tampa, Team S3-G1, Sullivan Spring 2017 crwdns2935289:0USF Tampa, Team S3-G1, Sullivan Spring 2017crwdne2935289:0
USFT-SULLIVAN-S17S3G1
crwdns2931471:03crwdne2931471:0
crwdns2935297:018crwdne2935297:0
crwdns2947412:02crwdne2947412:0
No need to remove the the rumble motor, if you are careful and gentle and have some good tweezers you can unplug the battery cable after step 4, but it’s safer to do all steps
Andrew S. - crwdns2934203:0crwdne2934203:0 crwdns2950251:0crwdne2950251:0
Is it the same process for the nav move controller?
GP Severo - crwdns2934203:0crwdne2934203:0 crwdns2950251:0crwdne2950251:0