crwdns2915892:0crwdne2915892:0
Use this guide to remove or replace your Playstation 4 Slim’s disc drive.
Note: If your replacement disc drive did not come with flex cables, you will have to transfer the cables from your original drive.
crwdns2942213:0crwdne2942213:0
-
-
-
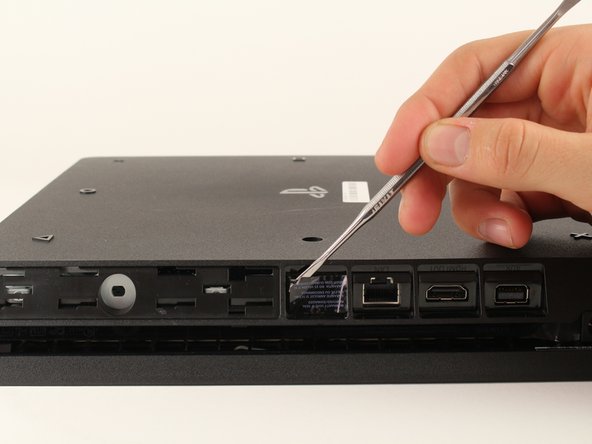
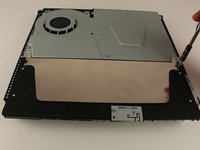
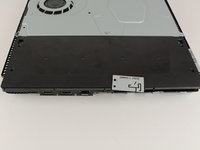
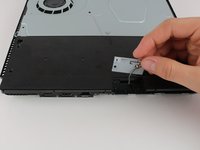
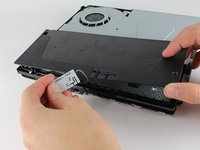
Locate the plastic warranty sticker next to the three ports on the side of the console.
-
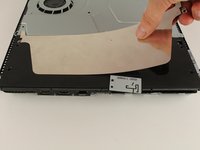
Remove the warranty sticker by peeling it off with any kind of spudger.
 crwdns2952109:0crwdne2952109:0
-
-
-
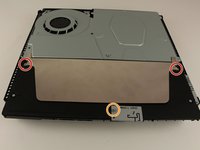
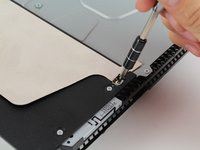
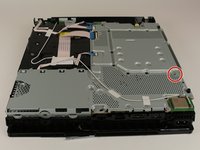
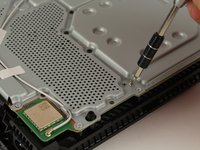
Unscrew and remove the now exposed 5.0mm screw using a TR8 security Torx screwdriver with a counter-clockwise motion.
-
-
-
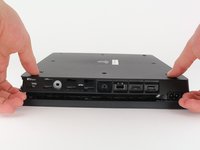
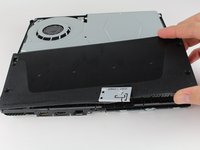
Place the Playstation 4 Slim upside down with the side of the screw you just removed facing you.
-
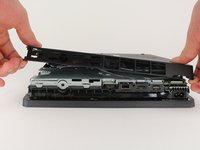
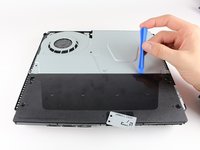
Pry up on the two corners that are facing you with your fingers.
-
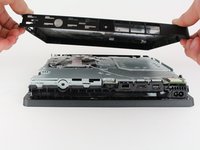
Remove the bottom cover by sliding it towards the back corners and lifting up.
-
-
-
-
-
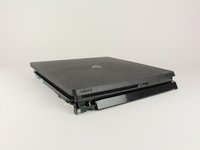
Place the Playstation 4 Slim right side up, with the PS logo on top and the side with the words "SONY" and "PS4" facing you.
-
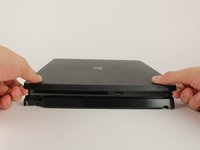
Pry up on the two corners that are facing you with your fingers.
-
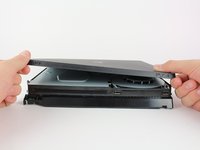
Remove the top cover by sliding it towards the back corners and lifting up.
-
-
-
Unscrew and remove the two screws (left one 31.0mm and right one 24.0mm) using a T8 screwdriver with a counter-clockwise motion.
-
Unscrew and remove the 3.0mm screw using a Phillips #1 screwdriver with a counter-clockwise motion.
-
-
-
Remove the four 16mm Philips screws holding the power supply in place.
-
-
-
-
Remove the metal sheet from the top of the power supply by grabbing and lifting up with your hands.
-
-
-
Remove the antenna from the top of the power supply by guiding the wire with your fingers through the groves underneath the metal panel.
-
-
-
Flip the Playstation 4 Slim onto its back.
-
Unscrew and remove the 4.0mm screw using a Phillips #1 screwdriver with a counter-clockwise motion. This screw holds the power supply in place
-
-
-
Use a plastic opening tool to make space between the power supply and console by wedging and wiggling it in-between the two.
-
Lift the power supply up and onto its back on the metal sheet using your hands.
-
-
crwdns2935267:0crwdne2935267:0Tweezers$4.99
-
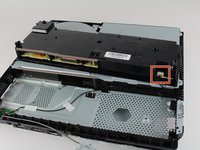
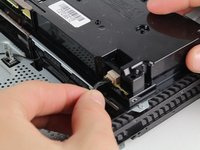
Disconnect the wire connection from the power supply by firmly gripping it with your fingers or tweezers and pulling out.
-
Remove the power supply completely by grabbing and lifting up with your hands.
-
-
-
-
-
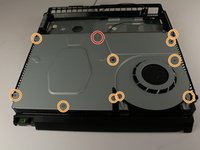
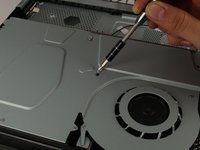
Unscrew and remove the 31.0mm screw using a T8 screwdriver with a counter-clockwise motion.
-
Unscrew and remove the 10x 5.0mm screws using a Phillips #1 screwdriver with a counter-clockwise motion.
-
-
-
If there are black plastic rivets in place of some screws, pull them out using pliers. They aren't necessary.
-
-
-
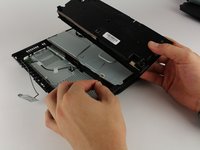
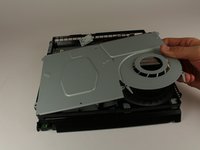
Remove the metal plate by grabbing the edges and lifting up with your hands.
-
-
-
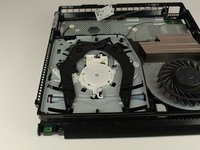
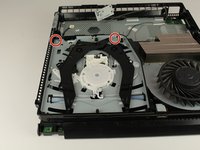
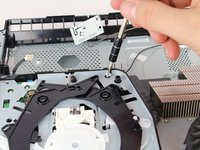
Unscrew and remove the two 3.0mm screws using a PH000 screwdriver with a counter-clockwise motion.
-
-
-
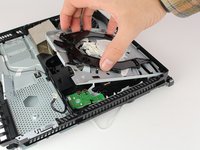
Remove the disk drive out by pinching on either side of the two black plastic "claws" and lifting up with your hand.
-
TIP: Before lifting the mechanism, note the white plastic rocker arm engaged with the center wheel. The underside of that rocker arm has a pin near the edge that engages with a slider mechanism underneath. When reassembling, you need to line this pin up again the same way.
-
-

























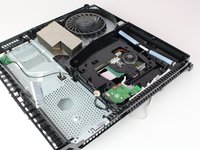
To reassemble your device, follow these instructions in reverse order.
If you need to go deeper to fix your drive, see the comment section for suggestions.
crwdns2935221:0crwdne2935221:0
crwdns2935229:0124crwdne2935229:0

crwdns2947412:028crwdne2947412:0
incomplete guide, what replacement? the last step is taking the cover off but what about the disk drive?
Yegor Ilchuk - crwdns2934203:0crwdne2934203:0 crwdns2950251:0crwdne2950251:0
its easy you need to take off the bottom cover and the black thingy
Albert Einstein - crwdns2934203:0crwdne2934203:0 crwdns2950251:0crwdne2950251:0
Yeah, where's the ending to this?
Ben Baptist - crwdns2934203:0crwdne2934203:0 crwdns2950251:0crwdne2950251:0
To remove the complete drive you have to remove the motherboard. with the motherboard removed some of the above steps may not be necessary.
This guide is useful if you just need to remove disc or clean laser.
Freddie Parsons - crwdns2934203:0crwdne2934203:0 crwdns2950251:0crwdne2950251:0
when replacing do you have to swap a board like the PS4’s of the past?
Frank Ferrante - crwdns2934203:0crwdne2934203:0 crwdns2950251:0crwdne2950251:0
