crwdns2915892:0crwdne2915892:0
PlayStation 3 - How to replace Laser Lens and Mechanism (Laser Deck).
More info about disassembling, you can find in
crwdns2942213:0crwdne2942213:0
crwdns2936621:0crwdne2936621:0
-
-
Disconnect all cables. You have 4x Torx T8 screws and 7x Phillips screws. Now you can remove outer case.
-
-
-
To remove the power supply, first disconnect the two cables, then the 2 Phillips screws. Then lift it upwards.
-
-
-
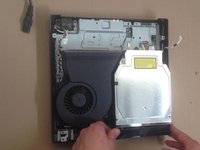
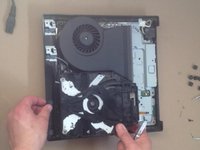
Separate cables, unscrew the screw and remove the Blu Ray drive.
-
-
-
-
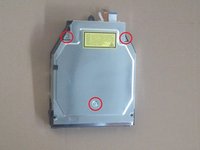
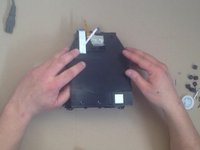
Disassemble the upper metal shield by first unscrewing the 3 Phillips screws.
-
-
-
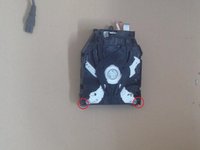
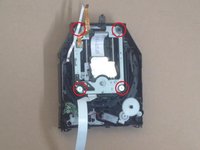
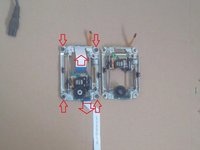
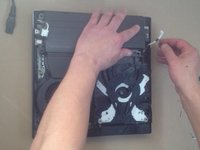
For the 2-cables model, remove the two very small phillips screws in each lower corner referenced by the red circles.
-
For the 4-cables model, remove the small Phillips screw in the bottom left corner referenced by the red circle.
-
-
-
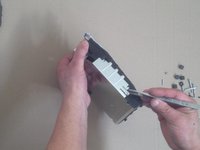
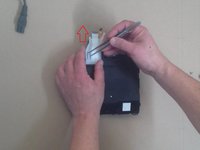
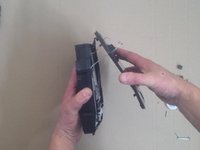
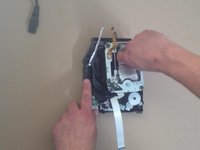
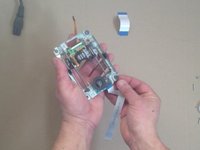
Carefully remove the plastic shell, paying attention to the cable that runs through it for the 4-cables model.
-
-
-
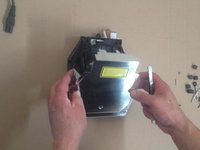
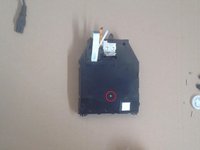
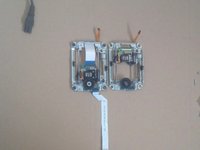
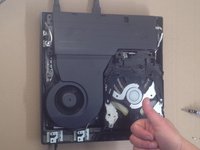
Remove the 4 Phillips screws at each corner of the laser mechanism.
-
Then remove the mechanism.
-
-
-
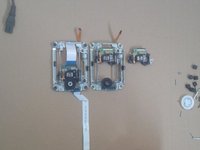
If necessary, transfer parts and screws from the old mechanism to the new one.
-
-
-
You can test the console before full assembling.
-
To do this, reassemble the blu-ray drive, reconnect its cables, and reconnect the power supply.
-


To reassemble your device, follow these instructions in reverse order.
crwdns2935221:0crwdne2935221:0
crwdns2935229:018crwdne2935229:0

crwdns2935287:0crwdne2935287:0

Master Techs crwdns2935289:0Master Techscrwdne2935289:0
Community
crwdns2931471:0329crwdne2931471:0
crwdns2935297:01,450crwdne2935297:0
crwdns2947410:01crwdne2947410:0
Do you know what the part number is for the deck? I don’t want to buy the wrong one. Thanks.