crwdns2915892:0crwdne2915892:0
This guide will walk you through step-by-step on how to properly remove and install the optical drive in the PlayStation 2 Slimline.
crwdns2942213:0crwdne2942213:0
-
-
Turn off the PlayStation 2 and carefully unplug it from the power source. Also, it is important to eject the CD from the console before flipping the it upside down.
-
-
-
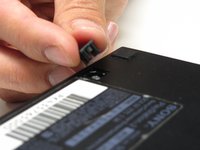
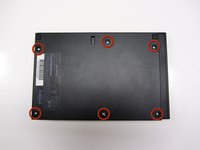
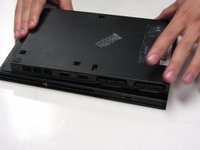
Locate the six feet on the bottom of the PS2.
-
-
-
Remove the five visible feet from the bottom of the device using a spudger.
-
-
-
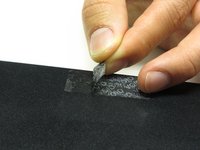
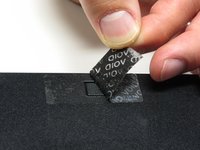
Remove the sticker and then remove the 6th foot.
-
-
-
-
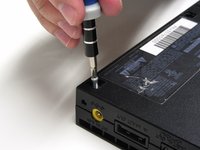
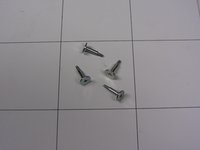
After all of the feet have been removed, Use a Phillips #1 screwdriver to remove the six 4.0mm screws from the base of the PS2.
-
-
-
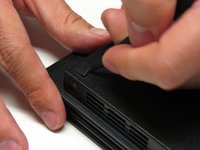
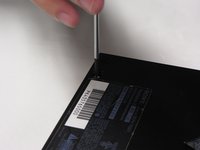
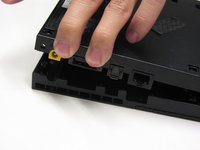
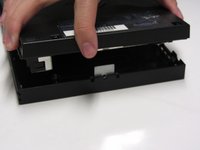
Once all of the screws have been removed, pry apart the plastic covers. Start by lifting the side containing the power cable and Ethernet port. Then, lift the opposite side to fully separate the two sides.
-
-
-
If done correctly, you should have a fully detached plastic backing, revealing the electronic components of the PlayStation 2.
-
-
-
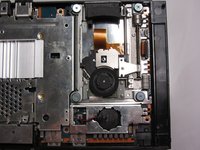
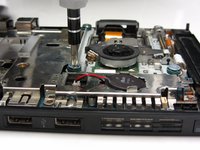
Locate the optical drive on the motherboard.
-
-
-
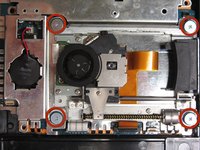
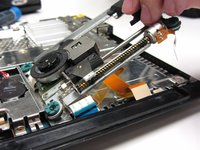
Unscrew the four 4.0mm screws that mount the optical drive to the motherboard.
-
-
-
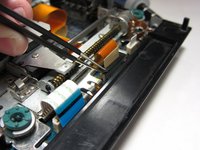
Locate the three ribbons that are attached to the motherboard.
-
-
crwdns2935267:0crwdne2935267:0Tweezers$4.99
-
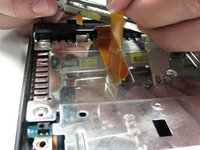
Using tweezers, gently detach all three ribbons from the motherboard terminal. Unlock the middle orange ribbon to lift the black tab up on either side.
-
-
-
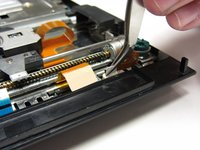
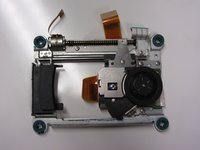
Gently lift the optical drive away from the motherboard.
-


To reassemble your device, follow these instructions in reverse order.
To reassemble your device, follow these instructions in reverse order.
crwdns2935221:0crwdne2935221:0
crwdns2935229:012crwdne2935229:0

crwdns2915084:0crwdne2915084:0

Cal Poly, Team 17-4, Regan Spring 2013 crwdns2935289:0Cal Poly, Team 17-4, Regan Spring 2013crwdne2935289:0
CPSU-REGAN-S13S17G4
crwdns2931471:03crwdne2931471:0
crwdns2935297:028crwdne2935297:0
crwdns2947410:01crwdne2947410:0
I think that if the entire disc drive, assembled with a simple click in connection, would be much easier and faster.