crwdns2915892:0crwdne2915892:0
This guide will show you how to locate and replace the fan in the PlayStation 2 Slimline.
crwdns2942213:0crwdne2942213:0
-
-
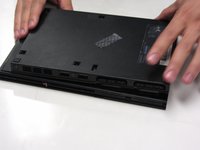
Disconnect all cables from the console and flip the unit over to reveal its base.
-
-
-
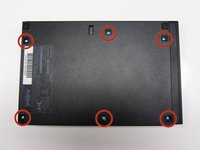
Locate the 6 feet on the base of the unit. Pry them off using a spudger to reveal the screws.
-
-
-
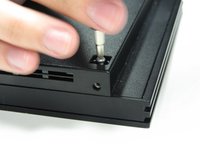
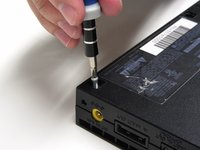
Remove all six 4.0 mm screws from the base of the unit using a #1 Phillips screwdriver.
-
-
-
-
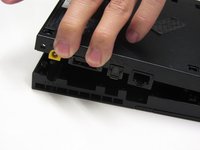
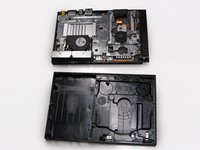
Starting at the corner at which the power and Ethernet ports are located, pry open the outer shell using a spudger and continue around the entire unit.
-
-
-
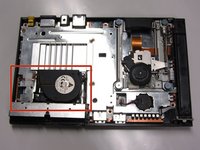
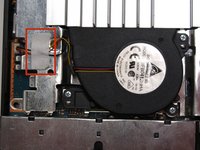
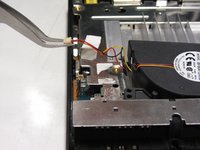
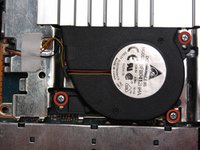
Locate the fan at the front, left section of the unit.
-
-
-
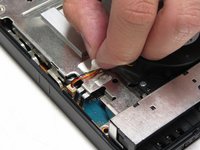
Peel off the sticker holding the power cords to the unit.
-
-
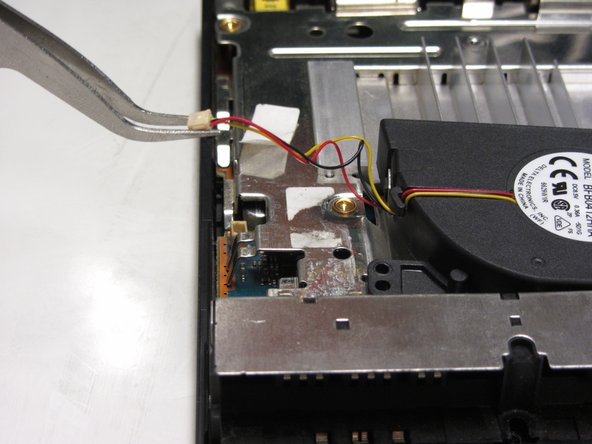
crwdns2935267:0crwdne2935267:0Tweezers$4.99
-
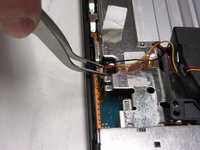
Lift the connector from the motherboard with a pair of tweezers using a firm, upward force.
-
-
-
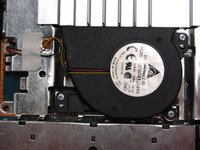
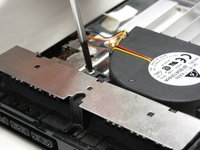
Remove all three 1.6 mm screws fastening the fan to the unit using a #1 Phillips screwdriver.
-
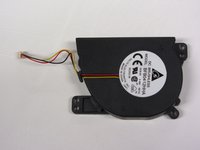
Gently lift and remove the fan from its compartment.
-


To reassemble your device, follow these instructions in reverse order.
To reassemble your device, follow these instructions in reverse order.
crwdns2935221:0crwdne2935221:0
crwdns2935229:010crwdne2935229:0
crwdns2947410:01crwdne2947410:0
Una disculpa ayuda es que lo arranque por accidente podría darme una ayuda
A
Diegoraul Martinez Martinez - crwdns2934203:0crwdne2934203:0