crwdns2915892:0crwdne2915892:0
Use this guide for removing and replacing the cooling fan in the PlayStation 2 (model SCPH-30001). Be sure to unplug your console and discharge static electricity before beginning. This guide will help you safely restore your PlayStation 2 to its working condition.
crwdns2942213:0crwdne2942213:0
-
-
Use the flat edge of a metal spudger to pry the eight flat screw covers out.
-
Remove the following eight screws securing the top cover to the bottom case:
-
Four 55.4 mm Philips screws
-
Four 18.0 mm Phillips screws
-
-
-
Some models have a different number of screws and feet. Remove all the feet and screws in the bottom of the case.
-
The 10 screw model has 6 screws in the bottom-most portion and 4 in the upper tray.
-
-
-
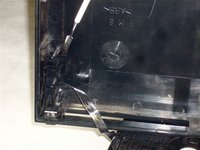
Peel the warranty sticker (located next to the main power switch) straight away from the case.
-
-
-
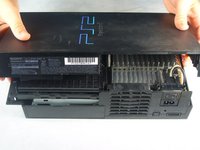
Lift the top cover off the bottom case.
-
Carefully remove the power cord that attaches the top and bottom halves by disconnecting the power cord assembly from the top case.
-
-
-
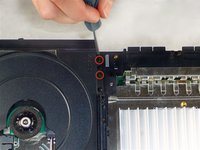
Remove the two 6.4 mm black Phillips screws securing the optical disc drive to the bottom case.
-
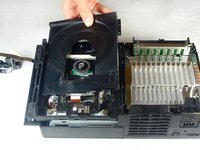
Lift and remove the optical disc drive straight up out of the bottom case.
-
-
-
Remove the two 14.6 mm gold-headed Phillips securing the controller ports to the bottom case.
-
-
-
-
Gently lift the controller port board out of its recess within the bottom case.
-
Pull the controller port ribbon cable straight away from its socket on the controller port board.
-
Remove the controller port board out of the bottom case.
-
-
-
Remove the two 14.6 mm gold Phillips screws securing the fan to the bottom case.
-
-
-
Pry and remove the expansion bay cover away from its posts on the bottom case.
-
-
-
Lift the motherboard assembly from its front edge and remove it from the lower case.
-
-
-
Remove the four 7.6 mm gold-head Phillips securing the power supply to the motherboard assembly.
-
-
-
Lift the expansion bay cage up off the motherboard assembly.
-
-
-
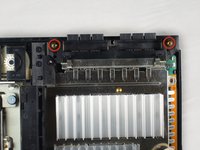
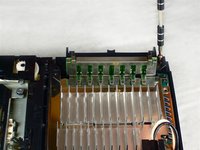
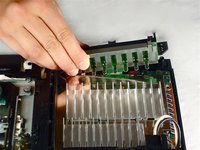
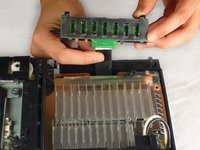
Pull the power board connector straight to lift it out of its socket on the power board.
-
-
-
Remove the heat shield from the motherboard assembly.
-
-
-
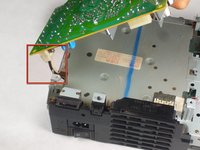
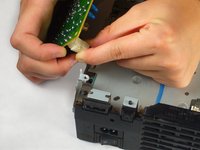
Remove the small white piece of tape (highlighted in red) that holds the fan cable connected to the fan.
-
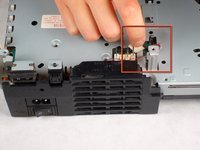
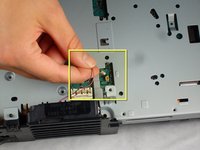
Pull the fan cable straight up from its socket on the motherboard.
-
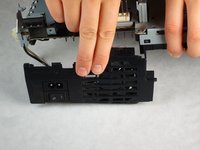
Remove the fan and power switch assembly by pulling it out the bottom case.
-
-
-
Remove the fan from the power switch assembly.
-
-
-
Remove the power switch from its recess within the fan/power switch holder.
-
You’ve successfully replaced the PlayStation 2 fan! Plug the console back in and power it on to ensure the fan is spinning normally. To reassemble your device, follow these instructions in reverse order.
You’ve successfully replaced the PlayStation 2 fan! Plug the console back in and power it on to ensure the fan is spinning normally. To reassemble your device, follow these instructions in reverse order.
crwdns2935221:0crwdne2935221:0
crwdns2935229:040crwdne2935229:0
crwdns2935103:0crwdne2935103:0
crwdns2947412:011crwdne2947412:0
what about on fixing when the unit doesn't turn back on? Replaced the ribbon cable after blowing out the dust, reassemble the unit and it didn't turn back on no green or red light's.
You should check to c if the side with the blue is on the top @ the silver on the bottom
What do I do if the fan connector to motherboard has a broken leg? Can I rewire the connector to other points to solder to the board?
What about the slim model? Is there a guide for that?
I have a question about this I just want to clean off the fan not replace it how do I do


