crwdns2915892:0crwdne2915892:0
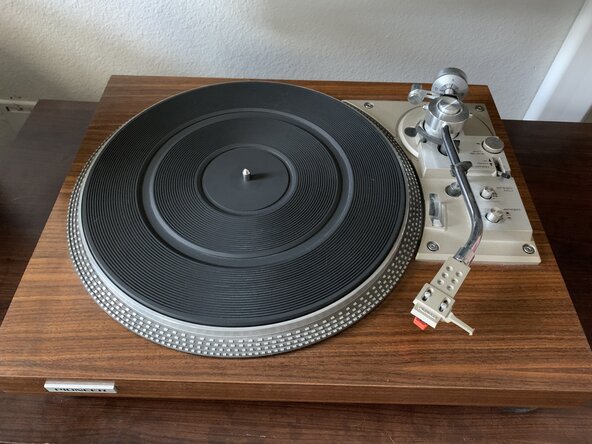
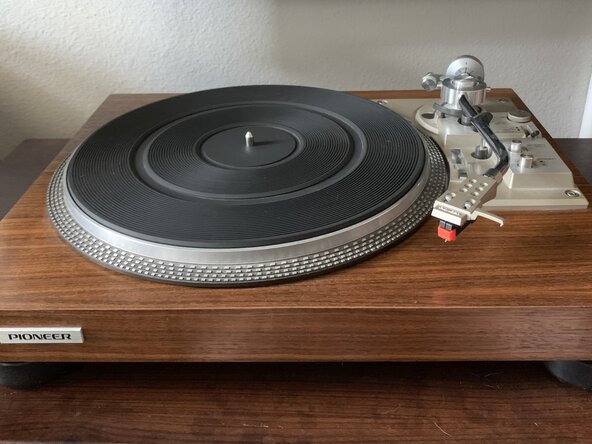
Many vinyl and vintage audio equipment enthusiasts struggle with cartridge replacement, which is essential for sound quality, record longevity, and overall turntable performance. You should replace your needle cartridge if you notice your surface noise increasing, distortion on loud sounds, or if you’ve used your turntable frequently for a few years without replacement. This guide will show you how to replace the needle cartridge on your Pioneer PL-518 safely and accurately. No tools or special skills are required to perform this repair, besides a replacement needle cartridge of your choice.
Before you begin the repair, make sure your turntable is off and unplugged from any power source.
crwdns2942213:0crwdne2942213:0
-
-
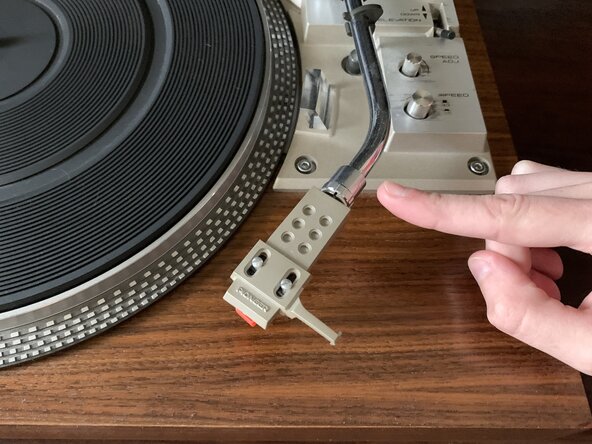
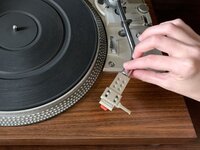
Ensure that the arm/tonearm is secured in its down position.
-
-
-
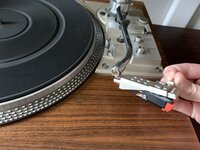
Begin to rotate the joint counter-clockwise until you hear and feel a slight pop. This will release the joint’s hold on the cartridge.
-
-
-
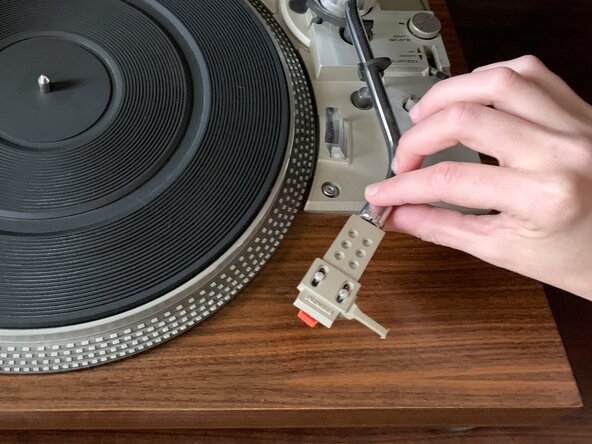
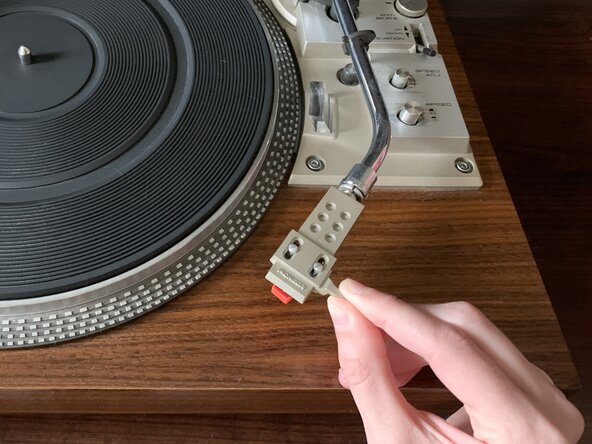
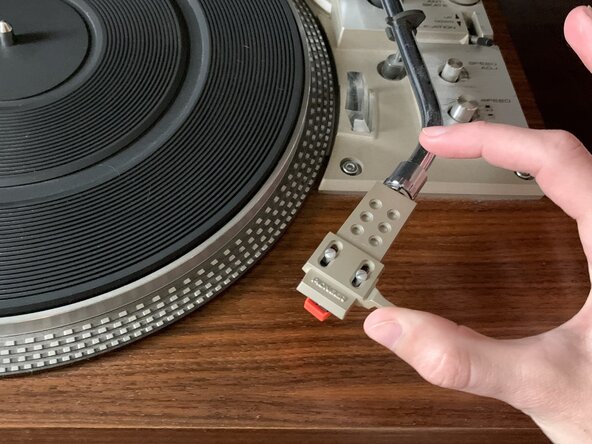
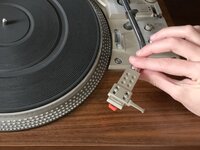
Once the cartridge is loose, grab a hold of the stylus for a secure grip and pull the cartridge straight out from the joint. Set aside to recycle.
-
-
-
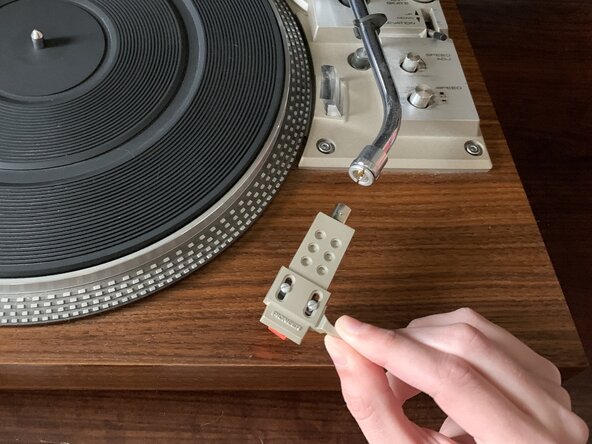
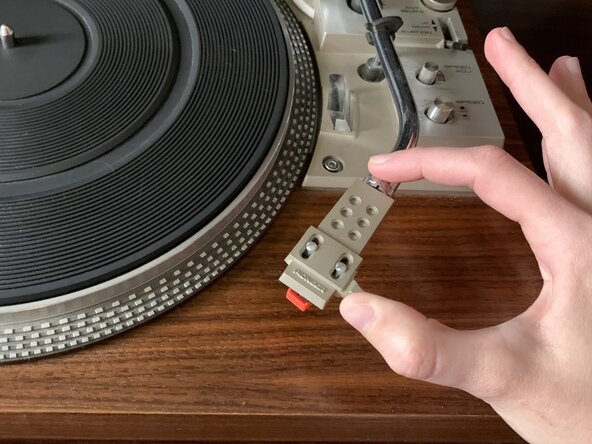
Grab your replacement cartridge. Hold the cartridge by the stylus and line up the prongs with the logo facing up. Then, gently push the cartridge into the joint.
-
-
-
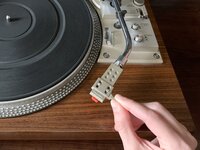
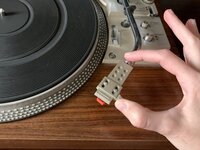
Once the cartridge is in place, hold your cartridge by the stylus and push back lightly to attach.
-
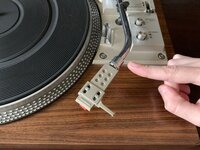
Fasten the cartridge by rotating the joint clockwise with your fingers.
-


Thank you for reading this guide, and enjoy your improved turntable!
Thank you for reading this guide, and enjoy your improved turntable!

crwdns2915084:0crwdne2915084:0

University of North Texas, Team 40-11, Kilpatrick Summer 2025 crwdns2935289:0University of North Texas, Team 40-11, Kilpatrick Summer 2025crwdne2935289:0
UNT-KILPATRICK-SU25S40G11
crwdns2934841:01crwdne2934841:0
crwdns2935303:01crwdne2935303:0