crwdns2933423:0crwdne2933423:0

Pine64 PinePhone Charging Port Replacement

crwdns2942213:0crwdne2942213:0

  1. Pine64 PinePhone Charging Port Replacement, Place the device facing down: crwdns2935265:01crwdnd2935265:01crwdnd2935265:02crwdne2935265:0 Pine64 PinePhone Charging Port Replacement, Place the device facing down: crwdns2935265:01crwdnd2935265:02crwdnd2935265:02crwdne2935265:0
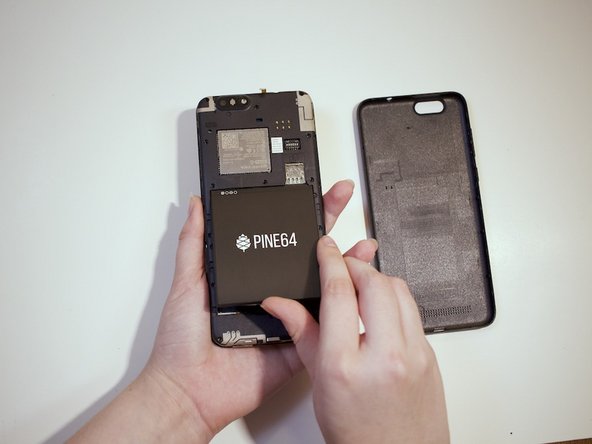
    • Place the device face down on a non-scratch surface.

    • Ensure the device is powered off before removing the case as removing the battery or making internal changes could cause physical or hardware damage to the phone

  2. Pine64 PinePhone Charging Port Replacement, Remove the back cover: crwdns2935265:02crwdnd2935265:01crwdnd2935265:01crwdne2935265:0
    • Using a fingernail pry open the back cover off with the bottom left indent.

    • A notch to easily remove the cover is located at the bottom left of the PinePhone with the back cover facing the user.

  3. Pine64 PinePhone Charging Port Replacement, Charging Port: crwdns2935265:03crwdnd2935265:01crwdnd2935265:03crwdne2935265:0 Pine64 PinePhone Charging Port Replacement, Charging Port: crwdns2935265:03crwdnd2935265:02crwdnd2935265:03crwdne2935265:0 Pine64 PinePhone Charging Port Replacement, Charging Port: crwdns2935265:03crwdnd2935265:03crwdnd2935265:03crwdne2935265:0
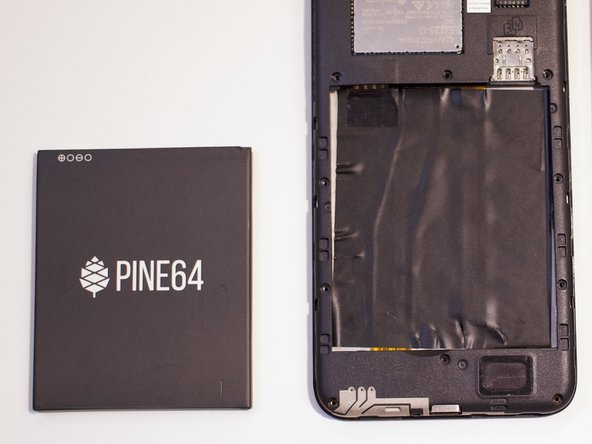
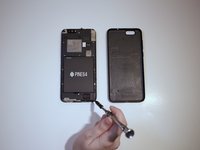
    • Using a Phillips #000 screwdriver, remove each of the screws around the perimeter of the PinePhone.

    • Remove the battery.

  4. Pine64 PinePhone Charging Port Replacement: crwdns2935265:04crwdnd2935265:01crwdnd2935265:01crwdne2935265:0
    • Remove the midframe from the phone.

  5. Pine64 PinePhone Charging Port Replacement: crwdns2935265:05crwdnd2935265:01crwdnd2935265:01crwdne2935265:0
    • Carefully lift up the vibrator, connected to the board by two wires.

  6. Pine64 PinePhone Charging Port Replacement: crwdns2935265:06crwdnd2935265:01crwdnd2935265:01crwdne2935265:0
    • Applying even pressure, lift up the board.

    • An adhesive is all that is keeping it to the frame of the phone, so there should be minimum resistance.

    • With a new adhesive strip, connect the replacement board to the frame. Make sure to secure the vibrator in the same place as the original.

crwdns2915888:0crwdne2915888:0

To reassemble your device, follow these instructions in reverse order.

crwdns2935229:03crwdne2935229:0

Chandler Marlow

crwdns2935283:009/17/21crwdne2935283:0

136 crwdns2915208:0crwdne2915208:0

crwdns2935295:0crwdne2935295:0

crwdns2915084:0crwdne2915084:0

Western Carolina University, Team 1-2, Virtue Fall 2021 crwdns2935289:0Western Carolina University, Team 1-2, Virtue Fall 2021crwdne2935289:0

WCU-VIRTUE-F21S1G2

crwdns2931471:04crwdne2931471:0

crwdns2935297:02crwdne2935297:0

crwdns2947412:00crwdne2947412:0

crwdns2917038:0crwdne2917038:0

crwdns2936625:0crwdne2936625:0:

crwdns2936751:024crwdne2936751:0 1

crwdns2936753:07crwdne2936753:0 3

crwdns2936753:030crwdne2936753:0 21

crwdns2942667:0crwdne2942667:0 1,247