crwdns2915892:0crwdne2915892:0
The Pimax 5K Plus is a VR headset developed by Pimax. The 5K Plus is a PCVR only headset, and features an ultra high field of view.
There are four variants of screws used in this headset. Be sure to keep track of them all as there are quite a few.
Note: You'll need a long PH00 bit or a dedicated PH00 screwdriver to remove some recessed screws.
crwdns2942213:0crwdne2942213:0
-
-
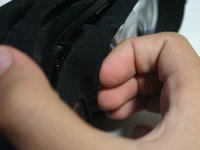
Carefully pull on the rubber surround.
-
-
-
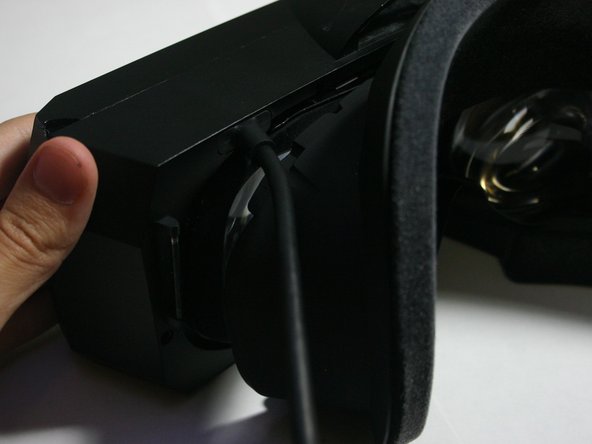
Gently but firmly pull on the cable. Rotate around as you pull and it should come out easily.
-
-
-
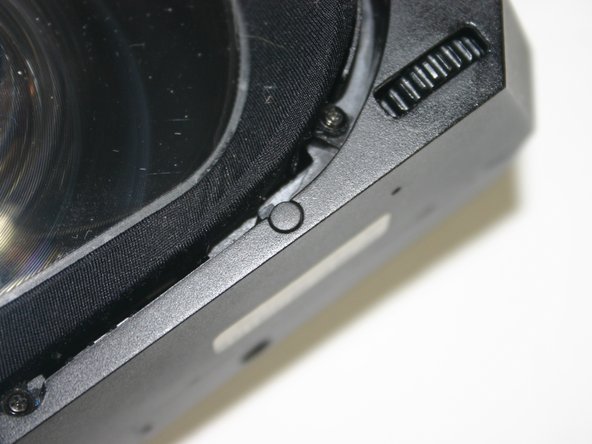
Pull out the four rubber pieces on the inside edge of the case screws.
-
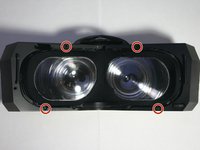
Use a Phillips screwdriver to remove the four 5mm‑long machine screws holding together the case.
-
-
-
Use a pry tool to carefully pry open and unclip the edges of the headset.
-
Work your way around the headset. Be mindful that the plastic cracks fairly easily so try not to put too much pressure in a way that would cause it to crack or for existing cracks to grow
-
-
-
Carefully separate the two plastic halves without pulling on the ribbon cable.
-
-
-
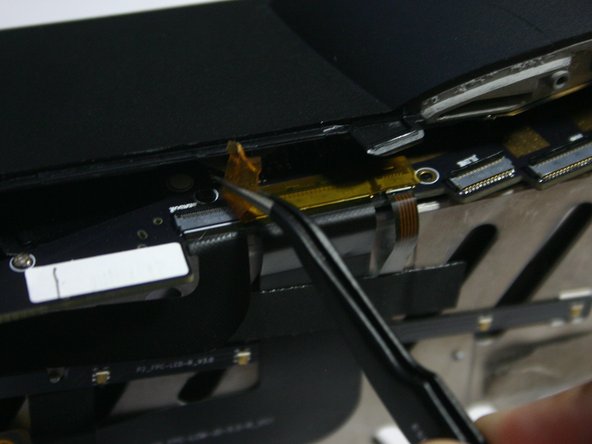
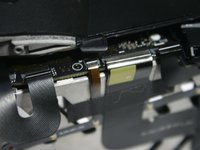
Use an angled tool to unlatch the ZIF connectors.
-
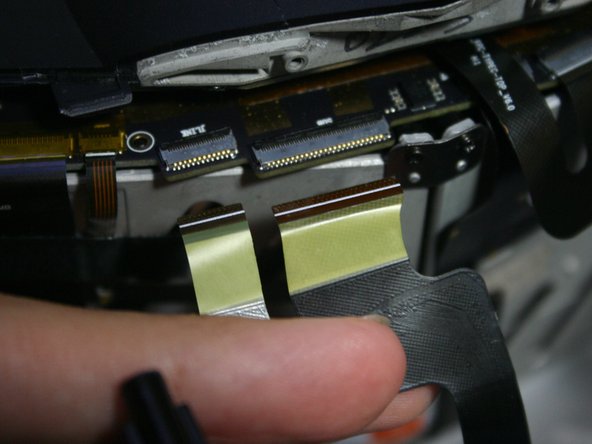
Gently pull out the ribbon cable. Due to the connectors being staggered you can't really have the cable out straight away from the headset.
-
-
-
-
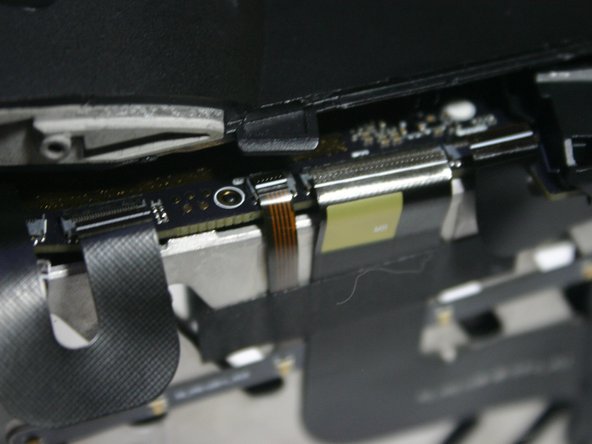
Remove the kapton tape from the ribbon cable connectors.
-
Disconnect the lightbar, display, and lighthouse ribbon connectors which the tape covered, and disconnect the top and bottom USB-C port ribbon cables.
-
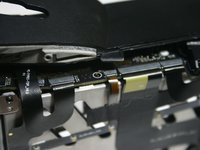
Carefully peel up the top and bottom USB-C ribbon cable ribbons from the metal display support, as they are glued on.
-
-
-
The right eye tube requires taking it apart significantly further as you have to remove the motherboard.
-
-
-
Use a Phillips screwdriver to remove the eight screws securing the metal display support.
-
Four 3mm-long silver plastic screws
-
Four 4mm-long black plastic screws (and metal bracket)
-
-
-
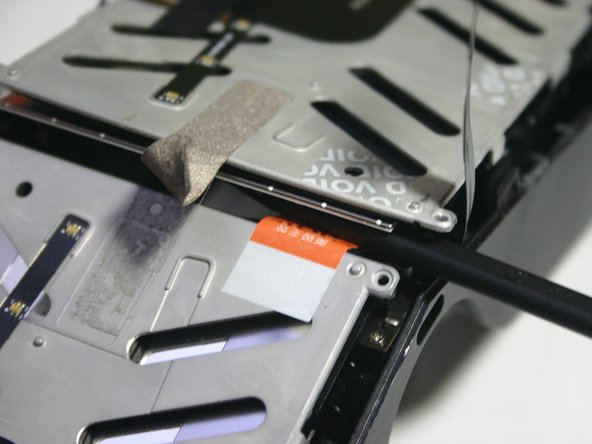
Remove the strong support tape.
-
Remove the warranty void tape.
-
-
-
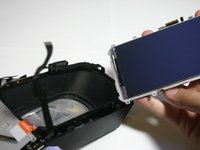
Lift up the metal display support bracket being mindful of the ribbon cable connecting to the display on the outer edge
-
Use a plastic spudger to lift up the on the display using the small hole near the corner
-
-
-
Lift out the display.
-
-
-
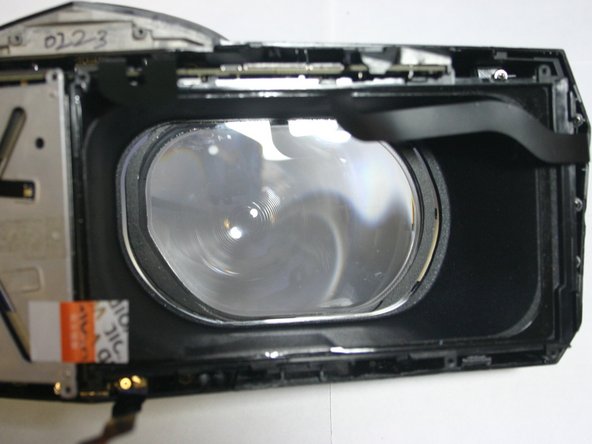
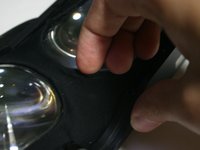
Use your fingernails or a tool to pull inward and outward on the top inner corner of the fabric-lined plastic around the lens to pull it off it's plastic clips.
-
Do the same on the bottom inner edge.
-
-
-
Keep the inner edge lifted, and use a fingernail or tool to pull outward on the outter edge of the fabric-lined plastic around the lens to free it from the longer outer plastic clips.
-
-
-
Use a Phillips screwdriver to remove the ten 4mm-long machine screws holding on the outer fabric support ring.
-
Remove the surround fabric.
-
-
-
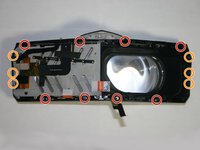
Use a Phillips screwdriver to remove the 14 screws securing the inner housing:
-
Eight recessed 4mm-long machine screws
-
Six 4mm-long plastic screws
-
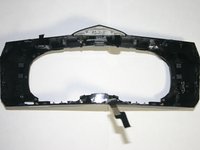
Carefully pull out the inner assembly.
-


To reassemble your device, follow these instructions in reverse order.
To reassemble your device, follow these instructions in reverse order.
crwdns2935221:0crwdne2935221:0
crwdns2935227:0crwdne2935227:0
