
Philips HD9252 Latch Button Replacement

crwdns2959932:0crwdnd2959932:0Rolando_Gonzalezcrwdnd2959932:0crwdnd2959932:0crwdnd2959932:02crwdnd2959932:0crwdne2959932:0
crwdns2959936:0Mud 14, 2024crwdne2959936:0
crwdns2869540:0crwdne2869540:0: 3572
crwdns2959988:0crwdne2959988:0
- crwdns2959990:0crwdne2959990:0
- 8
- crwdns2959992:0crwdne2959992:0
- 47
- crwdns2959994:0crwdne2959994:0
- 267
- crwdns2959996:0crwdne2959996:0
- 3,572
crwdns2955950:0crwdne2955950:0: 0
crwdns2959998:0crwdne2959998:0
crwdns2960000:0crwdne2960000:0crwdns2959984:0crwdne2959984:0: 1 2
crwdns2959972:01crwdne2959972:0
crwdns2959970:02crwdne2959970:0
crwdns2959986:0crwdne2959986:0: 0 1
crwdns2959958:0crwdne2959958:0
crwdns2959976:01crwdne2959976:0
crwdns2862633:0crwdne2862633:0
crwdns2862634:0crwdne2862634:0
crwdns2915892:0crwdne2915892:0
crwdns2959928:0crwdne2959928:0 ↓The latch button on the Philips HD9252 air fryer allows the user to open and close the device. A faulty latch button will not allow the Philips HD9252 air fryer to open properly.
crwdns2959930:0crwdne2959930:0
crwdns2943215:0crwdne2943215:0
-
Spudger4.9


-
-
-
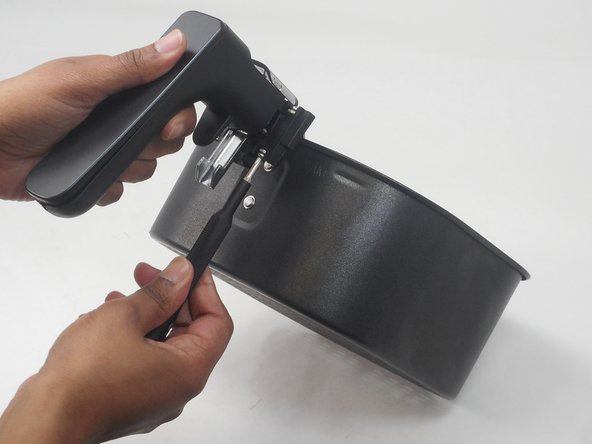
Remove the tray from the air fryer by pressing the latch button in, and pulling the handle away.
 crwdns2952109:0crwdne2952109:0
-
-
-
Pull the tray out of the basket.
-
-
-
-
-
Remove the two 14.8 mm screws placed in the top of the latch using a Phillips #00 screwdriver.
-
Remove the two 14.8 mm screws placed on the bottom of the latch using a Phillips #00 screwdriver.
-
-
-
Remove the four 14.8 mm screws placed on front of the latch button using a Phillips #00 screwdriver.
-
-
-
Pry off the back panel of the handle.
-
-
-
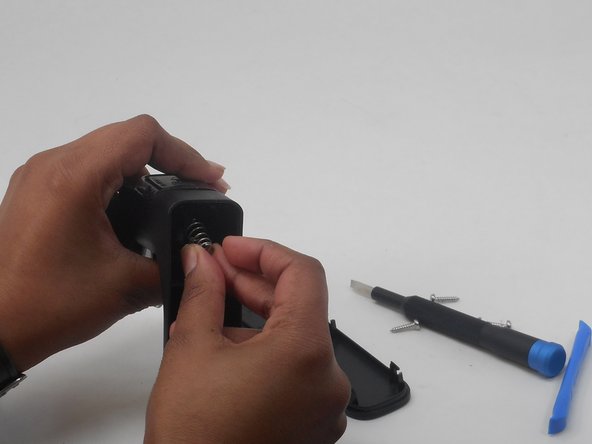
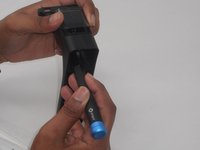
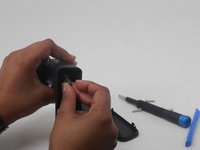
Push the spring down with a nylon spudger so that it is underneath the button.
-
Slide the spring out of the back of the handle.
-
-
-
-
Remove the front of the latch from the handle.
-
-
-
Remove the button through the back of the handle.
-
-






To reassemble your device, follow these instructions in reverse order.
crwdns2935221:0crwdne2935221:0
crwdns2935227:0crwdne2935227:0

crwdns2935287:0crwdne2935287:0

University of Memphis, Team 3-1, Sneed Spring 2024 crwdns2935289:0University of Memphis, Team 3-1, Sneed Spring 2024crwdne2935289:0
UM-SNEED-S24S3G1
crwdns2931471:04crwdne2931471:0
crwdns2935297:060crwdne2935297:0
