crwdns2915892:0crwdne2915892:0
Ensure to have your replacement parts lying next to you before you start disassembling your device.
You should also have a little bowl ready to set aside screws and other small parts.
crwdns2942213:0crwdne2942213:0
-
crwdns2935267:0crwdne2935267:0Anti-Static Wrist Strap$7.95
-
Put on the Anti-Static Wrist Strap and clamp the end of the band to an unpainted spot of a radiator.
-
-
-
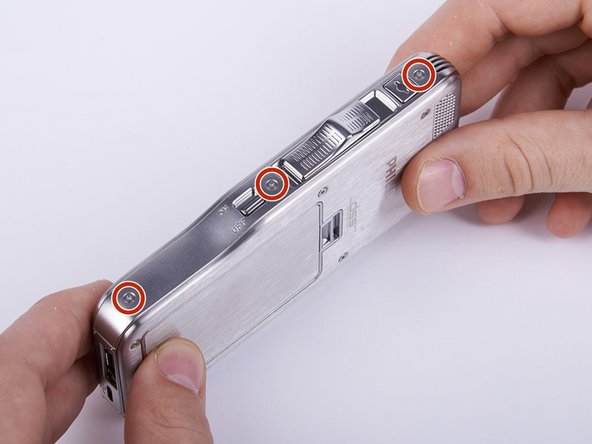
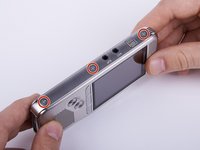
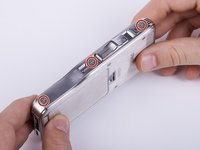
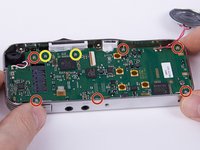
Unscrew the six Torx #4 (5,3 mm) screws from both sides of the device
-
-
-
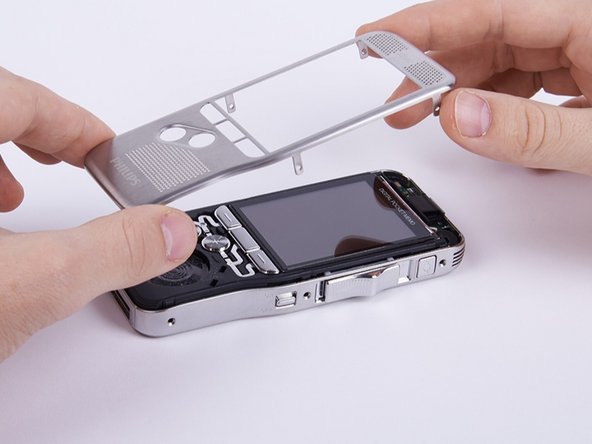
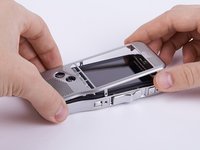
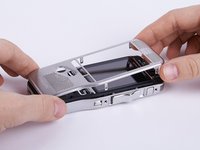
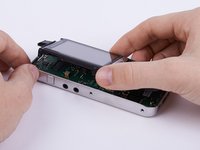
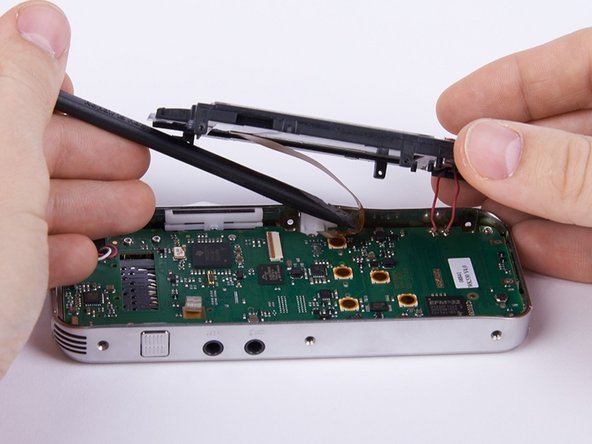
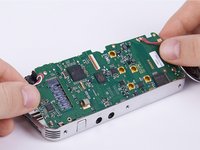
Remove the upper ornamental part from the housing.
-
-
-
-
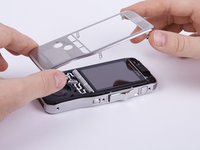
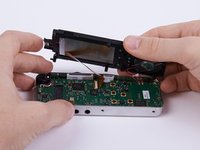
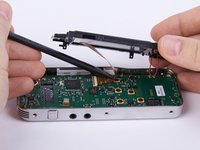
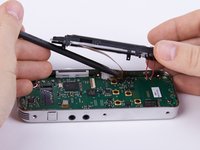
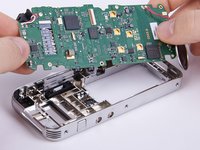
Unlock the connection between display and motherboard by pushing open the brown cleat.
-
-
-
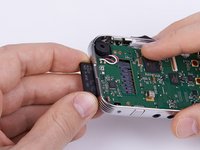
Separate the connection by pulling out the display cable.
-
-
crwdns2935267:0crwdne2935267:0Tweezers$4.99
-
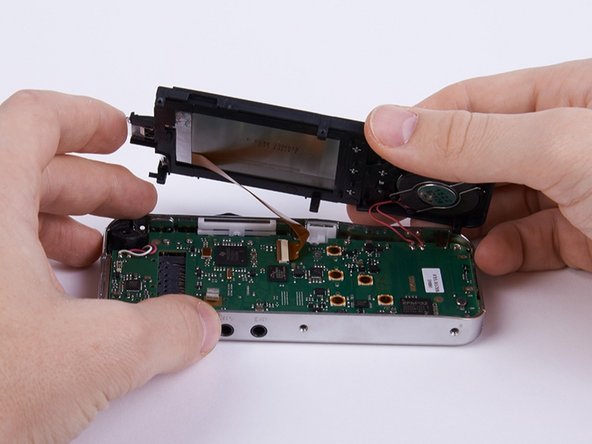
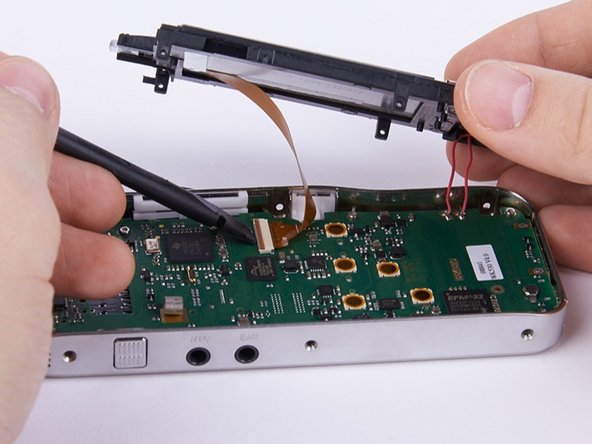
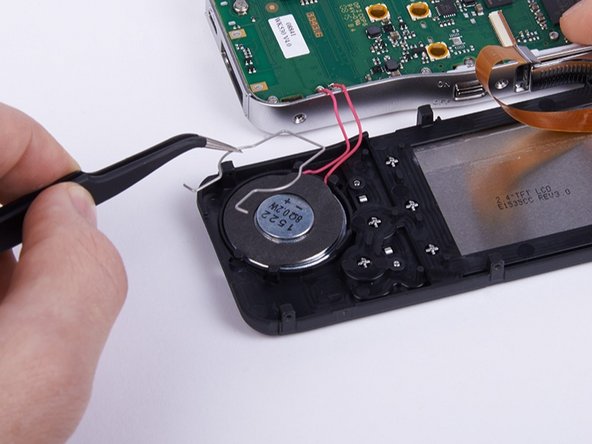
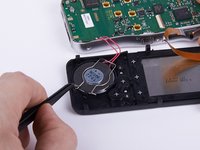
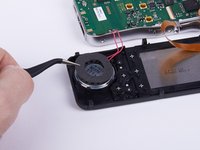
Remove the mounting spring from the speaker with a pair of tweezers.
-
-
-
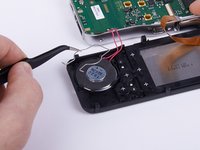
Take off the safety mat from the speaker.
-
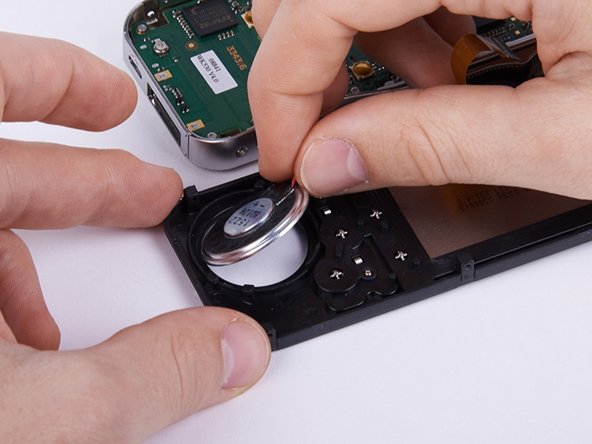
Remove the speaker from the housing.
-
-
-
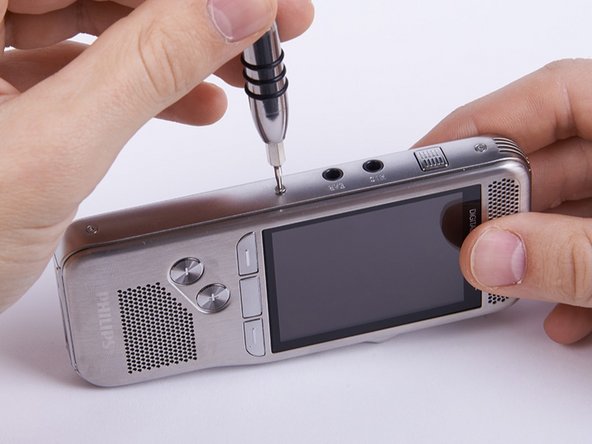
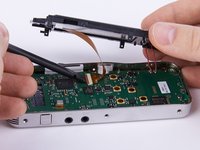
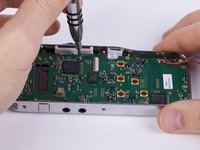
Unscrew the eight Torx #4 (5,0 mm) screws from the motherboard.
-
These two screws connect the motherboard with the sliding cage. In this guide they are removed as well. Hence this is not compulsory you can decide for yourself whether you want to remove them now or later.
-
-
crwdns2935267:0crwdne2935267:0Tweezers$4.99
-
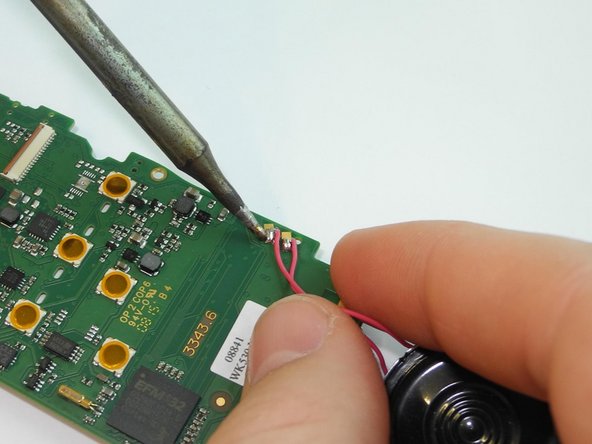
Preheat your soldering equipment.
-
Dissolve the soldering connection between motherboard and defective speaker.
-
-
-
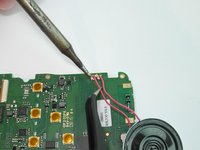
Solder the new speaker to the motherboard.
-


To reassemble your device, follow these instructions in reverse order beginning with step 13.
To reassemble your device, follow these instructions in reverse order beginning with step 13.
crwdns2915084:0crwdne2915084:0

Technische Universität Wien crwdns2935289:0Technische Universität Wiencrwdne2935289:0
Community
crwdns2931471:02crwdne2931471:0
crwdns2935297:06crwdne2935297:0