crwdns2933423:0crwdne2933423:0

Pentax Optio S4i Front and Back Cover Replacement

crwdns2942213:0crwdne2942213:0

  1. Pentax Optio S4i Front and Back Cover Replacement, Front and Back Cover: crwdns2935265:01crwdnd2935265:01crwdnd2935265:02crwdne2935265:0 Pentax Optio S4i Front and Back Cover Replacement, Front and Back Cover: crwdns2935265:01crwdnd2935265:02crwdnd2935265:02crwdne2935265:0
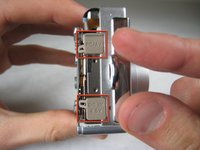
    • Remove the following screws:

    • Two silver 3.15mm Phillips #00 screws on the right side of the camera

    • Two silver 2.08mm Phillips #00 screws on the left side of the camera

  2. Pentax Optio S4i Front and Back Cover Replacement: crwdns2935265:02crwdnd2935265:01crwdnd2935265:01crwdne2935265:0
    • Remove the two indicated screws on the bottom of the camera:

    • The screw circled in red is a longer silver 3.15mm Phillips #00 screw

    • The screw circled in blue is a shorter silver 2.25mm Phillips #00 screw

  3. Pentax Optio S4i Front and Back Cover Replacement: crwdns2935265:03crwdnd2935265:01crwdnd2935265:02crwdne2935265:0 Pentax Optio S4i Front and Back Cover Replacement: crwdns2935265:03crwdnd2935265:02crwdnd2935265:02crwdne2935265:0
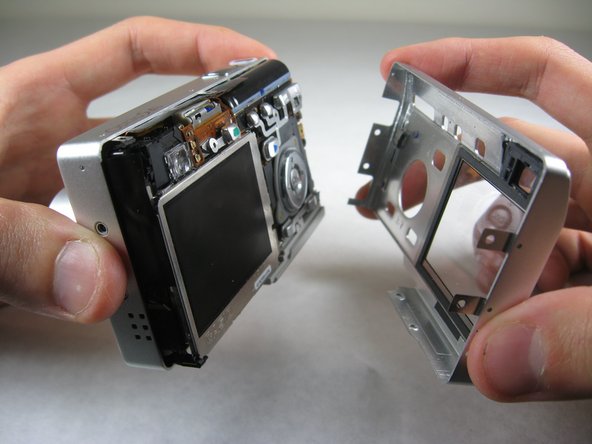
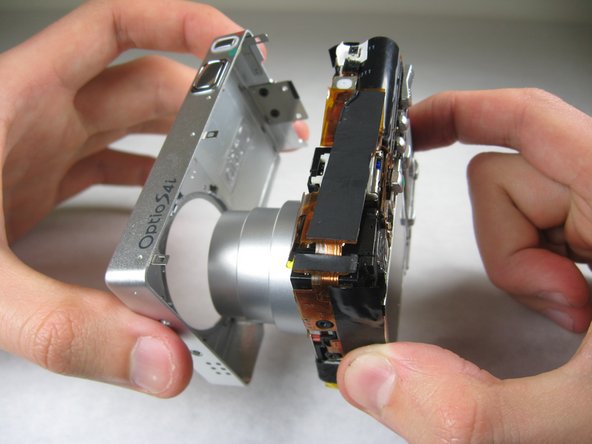
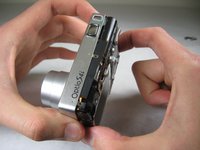
    • Carefully pull the back of casing away from the front.

  4. Pentax Optio S4i Front and Back Cover Replacement: crwdns2935265:04crwdnd2935265:01crwdnd2935265:03crwdne2935265:0 Pentax Optio S4i Front and Back Cover Replacement: crwdns2935265:04crwdnd2935265:02crwdnd2935265:03crwdne2935265:0 Pentax Optio S4i Front and Back Cover Replacement: crwdns2935265:04crwdnd2935265:03crwdnd2935265:03crwdne2935265:0
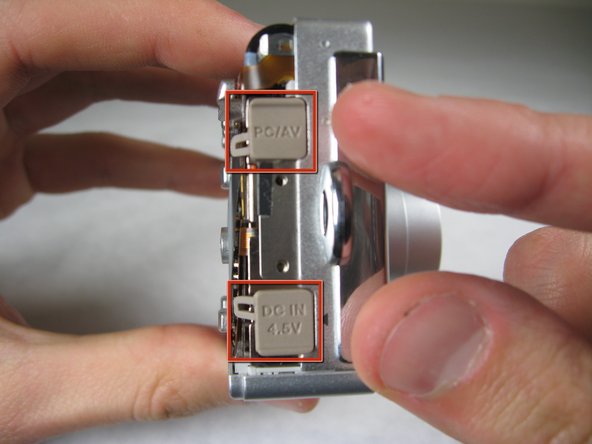
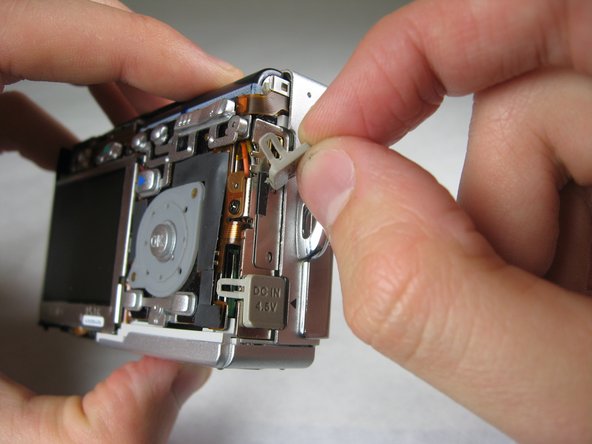
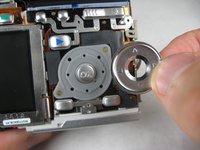
    • After removing the back cover, several things must be removed.

    • Silver donut-shaped button will fall off. Place separately. Remove the plug covers on the right side of camera, labeled “PC/AV” and “DC IN 4.5V”.

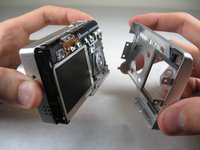
  5. Pentax Optio S4i Front and Back Cover Replacement: crwdns2935265:05crwdnd2935265:01crwdnd2935265:02crwdne2935265:0 Pentax Optio S4i Front and Back Cover Replacement: crwdns2935265:05crwdnd2935265:02crwdnd2935265:02crwdne2935265:0
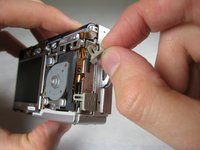
    • To remove the front cover, gently hold the inside structure of the camera and slowly pull the front cover off.

crwdns2915888:0crwdne2915888:0

To reassemble your device, follow these instructions in reverse order.

crwdns2935227:0crwdne2935227:0
Nicole Wong

crwdns2935283:001/30/11crwdne2935283:0

329 crwdns2915208:0crwdne2915208:0

crwdns2935297:03crwdne2935297:0

crwdns2915084:0crwdne2915084:0

Cal Poly, Team 4-29, Regan Winter 2011 crwdns2935289:0Cal Poly, Team 4-29, Regan Winter 2011crwdne2935289:0

CPSU-REGAN-W11S4G29

crwdns2931471:03crwdne2931471:0

crwdns2935297:010crwdne2935297:0

crwdns2944067:00crwdne2944067:0

crwdns2917038:0crwdne2917038:0

crwdns2936625:0crwdne2936625:0:

crwdns2936751:024crwdne2936751:0 0

crwdns2936753:07crwdne2936753:0 0

crwdns2936753:030crwdne2936753:0 3

crwdns2942667:0crwdne2942667:0 3,196