crwdns2933423:0crwdne2933423:0

Pentax ME Super Front Board and Mirror Box Removal

crwdns2942213:0crwdne2942213:0

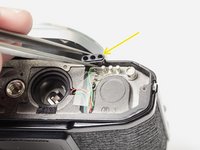
  1. Pentax ME Super Front Board and Mirror Box Removal, Remove wind lever: crwdns2935265:01crwdnd2935265:01crwdnd2935265:03crwdne2935265:0 Pentax ME Super Front Board and Mirror Box Removal, Remove wind lever: crwdns2935265:01crwdnd2935265:02crwdnd2935265:03crwdne2935265:0 Pentax ME Super Front Board and Mirror Box Removal, Remove wind lever: crwdns2935265:01crwdnd2935265:03crwdnd2935265:03crwdne2935265:0
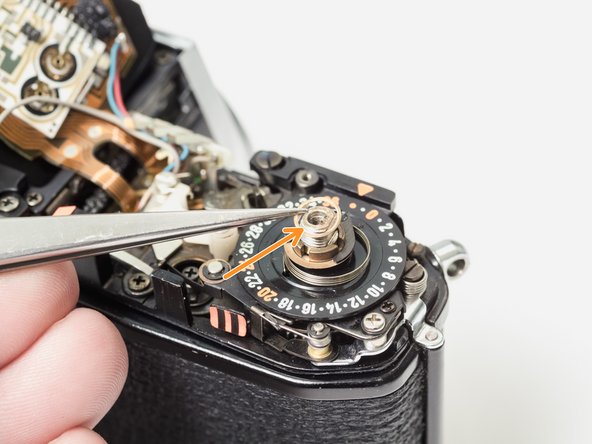
    • Wrap a piece of masking tape around your thumb, sticky side out.

    • Turn the wind lever cap clockwise to remove (it is reverse threaded).

    • Remove the wind lever lock ring (it is also reverse threaded).

    • Remove the brass spring washer.

    • A pair of fine tipped pliers or nippers can be used in place of a spanner wrench. Be careful!

  2. Pentax ME Super Front Board and Mirror Box Removal, Remove rewind lever: crwdns2935265:02crwdnd2935265:01crwdnd2935265:03crwdne2935265:0 Pentax ME Super Front Board and Mirror Box Removal, Remove rewind lever: crwdns2935265:02crwdnd2935265:02crwdnd2935265:03crwdne2935265:0 Pentax ME Super Front Board and Mirror Box Removal, Remove rewind lever: crwdns2935265:02crwdnd2935265:03crwdnd2935265:03crwdne2935265:0
    • Place a tool in the fork of the rewind spindle.

    • Unscrew the rewind lever.

    • Remove the lock ring with a spanner.

    • Lift off the ISO/Exposure Compensation dial.

  3. Pentax ME Super Front Board and Mirror Box Removal, Installation Notes: ISO dial: crwdns2935265:03crwdnd2935265:01crwdnd2935265:01crwdne2935265:0
    • Ensure that the ISO dial couples with the tab on the resistor.

    • Turn the Exposure Compensation to 1/4x then back to 4x while gently pushing down. This will help the dial engage with the detent mechanism properly.

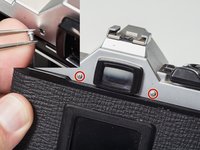
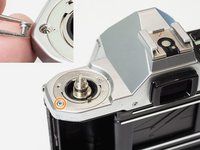
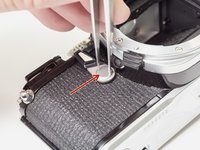
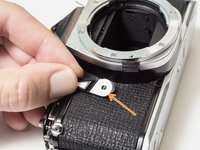
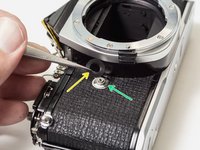
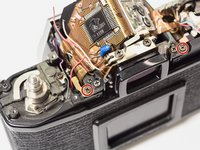
  4. Pentax ME Super Front Board and Mirror Box Removal, Unscrew top cover: crwdns2935265:04crwdnd2935265:01crwdnd2935265:03crwdne2935265:0 Pentax ME Super Front Board and Mirror Box Removal, Unscrew top cover: crwdns2935265:04crwdnd2935265:02crwdnd2935265:03crwdne2935265:0 Pentax ME Super Front Board and Mirror Box Removal, Unscrew top cover: crwdns2935265:04crwdnd2935265:03crwdnd2935265:03crwdne2935265:0
    • Remove two 3.3 mm #00 screws.

    • Remove one 3.2 mm #00 screw.

    • Remove one 2.6 mm #00 screw.

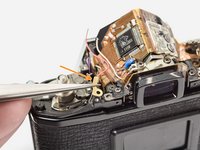
  5. Pentax ME Super Front Board and Mirror Box Removal, Unscrew top cover: crwdns2935265:05crwdnd2935265:01crwdnd2935265:02crwdne2935265:0 Pentax ME Super Front Board and Mirror Box Removal, Unscrew top cover: crwdns2935265:05crwdnd2935265:02crwdnd2935265:02crwdne2935265:0
    • Remove two 4.3 mm #00 screws.

  6. Pentax ME Super Front Board and Mirror Box Removal: crwdns2935265:06crwdnd2935265:01crwdnd2935265:02crwdne2935265:0 Pentax ME Super Front Board and Mirror Box Removal: crwdns2935265:06crwdnd2935265:02crwdnd2935265:02crwdne2935265:0
    • Lift off the top cover. The silver trim piece is loose and may fall away.

    • Remove loose washer.

  7. Pentax ME Super Front Board and Mirror Box Removal, Installation Notes: Top Cover: crwdns2935265:07crwdnd2935265:01crwdnd2935265:01crwdne2935265:0
    • The shutter pin is loose. Make sure it is in place before installing the top cover.

    • The mode dial pin must be properly coupled with the mechanisms in the camera for it to work.

    • Set the mode dial to 'M'. Place the top cover on the camera. Move the mode dial to 'B' then back to 'M' while gently pushing down.

    • The mode dial should click into place and work properly.

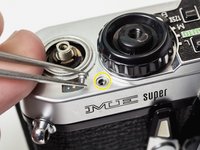
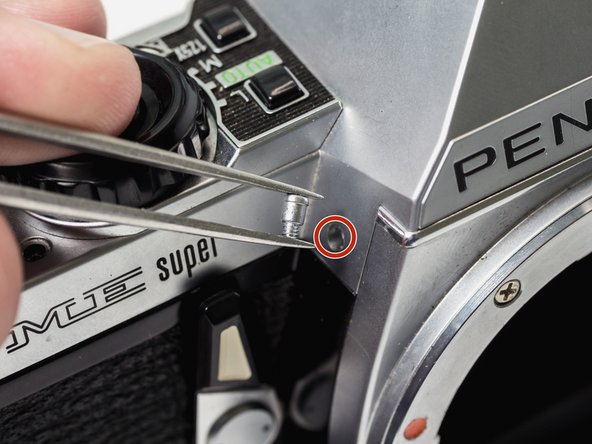
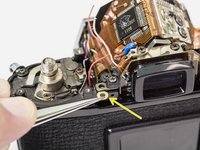
  8. Pentax ME Super Front Board and Mirror Box Removal, Remove self-timer lever: crwdns2935265:08crwdnd2935265:01crwdnd2935265:03crwdne2935265:0 Pentax ME Super Front Board and Mirror Box Removal, Remove self-timer lever: crwdns2935265:08crwdnd2935265:02crwdnd2935265:03crwdne2935265:0 Pentax ME Super Front Board and Mirror Box Removal, Remove self-timer lever: crwdns2935265:08crwdnd2935265:03crwdnd2935265:03crwdne2935265:0
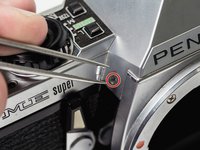
    • Use a spanner or tweezers to remove remove self-timer screw. It is reverse threaded.

    • Remove self-timer lever.

    • Remove black spacer.

    • Remove spring washer.

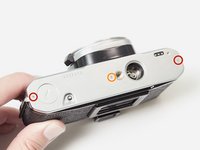
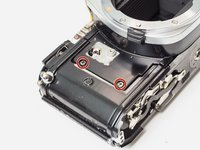
  9. Pentax ME Super Front Board and Mirror Box Removal, Remove bottom cover: crwdns2935265:09crwdnd2935265:01crwdnd2935265:02crwdne2935265:0 Pentax ME Super Front Board and Mirror Box Removal, Remove bottom cover: crwdns2935265:09crwdnd2935265:02crwdnd2935265:02crwdne2935265:0
    • Remove two 3.0 mm #00 screws.

    • Remove one 2.1 mm #00 screw.

    • Remove loose plastic cover for motor drive pins.

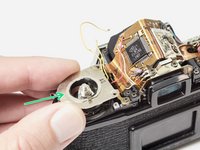
  10. Pentax ME Super Front Board and Mirror Box Removal, Remove ISO resistor: crwdns2935265:010crwdnd2935265:01crwdnd2935265:03crwdne2935265:0 Pentax ME Super Front Board and Mirror Box Removal, Remove ISO resistor: crwdns2935265:010crwdnd2935265:02crwdnd2935265:03crwdne2935265:0 Pentax ME Super Front Board and Mirror Box Removal, Remove ISO resistor: crwdns2935265:010crwdnd2935265:03crwdnd2935265:03crwdne2935265:0
    • Unsolder two yellow wires.

    • Remove one 3.0 mm #00 screw.

    • Remove one 5.9 mm flat head screw.

    • Lift off ISO resistor.

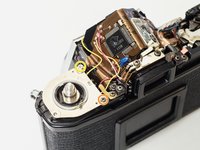
  11. Pentax ME Super Front Board and Mirror Box Removal, Unsolder left side connections: crwdns2935265:011crwdnd2935265:01crwdnd2935265:01crwdne2935265:0
    • Unsolder one red wire (positive battery).

    • Unsolder one pink wire.

    • Unsolder one purple wire.

  12. Pentax ME Super Front Board and Mirror Box Removal, Unsolder right side connections: crwdns2935265:012crwdnd2935265:01crwdnd2935265:02crwdne2935265:0 Pentax ME Super Front Board and Mirror Box Removal, Unsolder right side connections: crwdns2935265:012crwdnd2935265:02crwdnd2935265:02crwdne2935265:0
    • Unsolder the red and blue wires (positive battery). They may share a pad.

    • Unsolder one gray wire.

    • Unsolder one white wire.

    • Unsolder one brown wire.

    • Unsolder one metal contact.

    • Unsolder one pink wire.

    • The wiring in this area varies with ME Supers from different production years. You may need to document the wiring for your own camera separately.

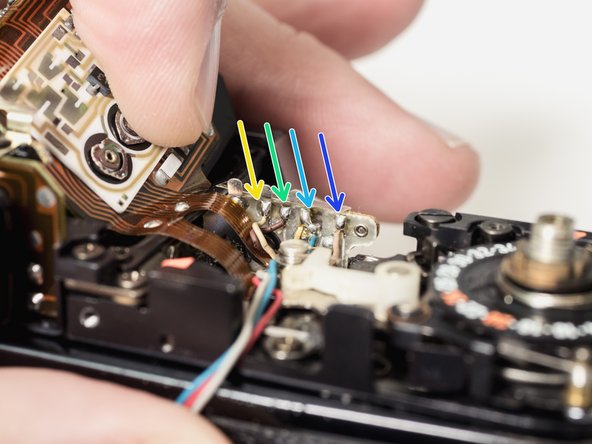
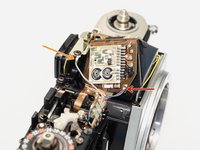
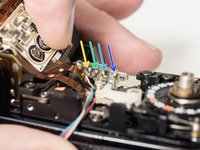
  13. Pentax ME Super Front Board and Mirror Box Removal, Unsolder motor winder connections: crwdns2935265:013crwdnd2935265:01crwdnd2935265:01crwdne2935265:0
    • Unsolder one green wire.

    • Unsolder one blue wire.

    • Unsolder one red wire.

    • On some cameras the wiring order may be green/red/blue.

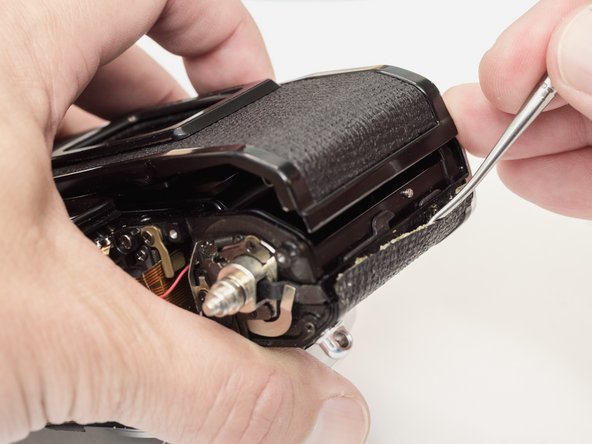
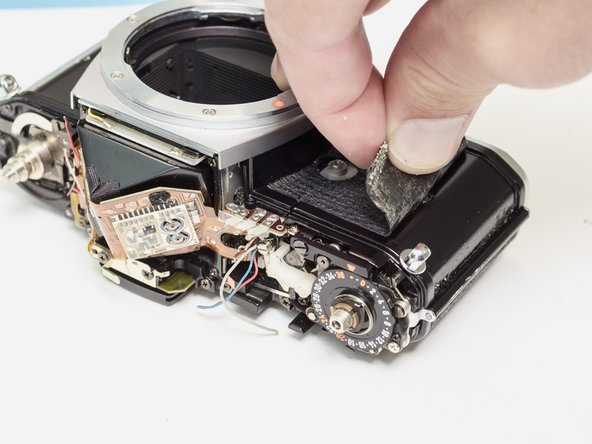
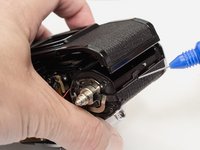
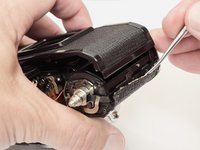
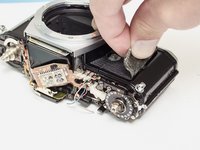
  14. Pentax ME Super Front Board and Mirror Box Removal, Remove front leatherette: crwdns2935265:014crwdnd2935265:01crwdnd2935265:03crwdne2935265:0 Pentax ME Super Front Board and Mirror Box Removal, Remove front leatherette: crwdns2935265:014crwdnd2935265:02crwdnd2935265:03crwdne2935265:0 Pentax ME Super Front Board and Mirror Box Removal, Remove front leatherette: crwdns2935265:014crwdnd2935265:03crwdnd2935265:03crwdne2935265:0
    • Apply isopropyl alcohol to soften the leatherette adhesive.

    • Use a dull scraper to left the edge of the covering.

    • Peel the leatherette away and remove it from both sides of the camera front.

    • Installation Notes: Use contact cement to reapply the leatherette. This should be the very last step in reassembly, after the camera is tested and functionality is confirmed.

  15. Pentax ME Super Front Board and Mirror Box Removal, Remove mirror box screws: crwdns2935265:015crwdnd2935265:01crwdnd2935265:03crwdne2935265:0 Pentax ME Super Front Board and Mirror Box Removal, Remove mirror box screws: crwdns2935265:015crwdnd2935265:02crwdnd2935265:03crwdne2935265:0 Pentax ME Super Front Board and Mirror Box Removal, Remove mirror box screws: crwdns2935265:015crwdnd2935265:03crwdnd2935265:03crwdne2935265:0
    • Remove two 3.4 mm #00 screws.

    • Remove flex PCB retainer.

    • Remove shim washers. Note the location (left or right) and install in the same positions during reassembly.

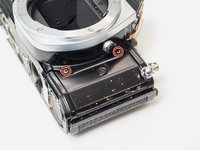
  16. Pentax ME Super Front Board and Mirror Box Removal, Unscrew front plate: crwdns2935265:016crwdnd2935265:01crwdnd2935265:02crwdne2935265:0 Pentax ME Super Front Board and Mirror Box Removal, Unscrew front plate: crwdns2935265:016crwdnd2935265:02crwdnd2935265:02crwdne2935265:0
    • Remove four 4.0 mm #0 screws.

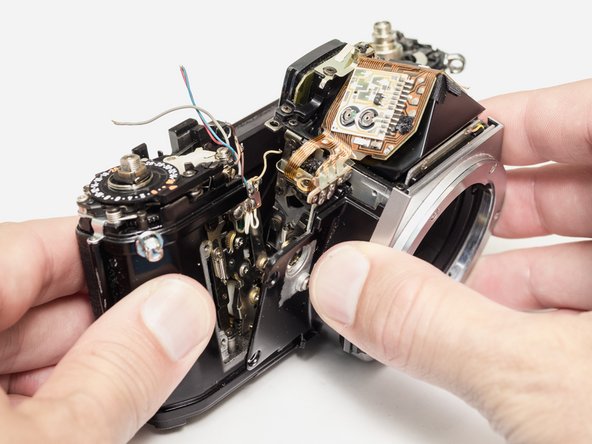
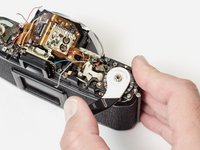
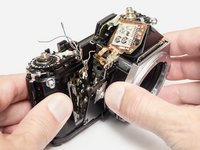
  17. Pentax ME Super Front Board and Mirror Box Removal, Remove front block assembly: crwdns2935265:017crwdnd2935265:01crwdnd2935265:02crwdne2935265:0 Pentax ME Super Front Board and Mirror Box Removal, Remove front block assembly: crwdns2935265:017crwdnd2935265:02crwdnd2935265:02crwdne2935265:0
    • Temporarily replace the advance lever and cock the shutter.

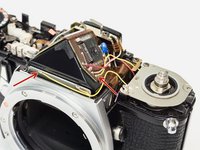
    • Gently lift the front block away from the camera body. Move slowly and look for wire snags.

  18. Pentax ME Super Front Board and Mirror Box Removal, Installation Notes: Front Block: crwdns2935265:018crwdnd2935265:01crwdnd2935265:01crwdne2935265:0
    • Cock the shutter on the camera body. The mirror box should be uncharged before installation.

    • Twist the three motor drive wires together to easily insert them through the bottom of the camera.

    • Carefully track wire routing during installation. Make sure nothing is getting pinched and that all wires are accessible for resoldering.

    • Once the front block is in place, check the mechanical speeds of the shutter before completing the reassembly. The mirror and shutter should function normally.

crwdns2915888:0crwdne2915888:0

To reassemble your device, follow these instructions in reverse order.

crwdns2935229:02crwdne2935229:0

Sam Gustafson

crwdns2935283:009/01/22crwdne2935283:0

7.712 crwdns2915208:0crwdne2915208:0

crwdns2935297:042crwdne2935297:0

crwdns2947410:01crwdne2947410:0

A perfect instruction, obviously based on personal experience and the official handbook. Logical, step-by-step marked with different colors, convincing pictures and comments for reassembling and testing steps. Thank you so much for all these efforts.

Wolf - crwdns2934203:0crwdne2934203:0

crwdns2917038:0crwdne2917038:0

crwdns2936625:0crwdne2936625:0:

crwdns2936751:024crwdne2936751:0 2

crwdns2936753:07crwdne2936753:0 16

crwdns2936753:030crwdne2936753:0 81

crwdns2942667:0crwdne2942667:0 597