crwdns2915892:0crwdne2915892:0
If you need to replace the HDD of your Panasonic SDR H-100, follow this guide. The HDD is where the memory is stored for the camcorder. Without this the videos and pictures that are taken cannot be saved.
crwdns2942213:0crwdne2942213:0
-
-
Remove the four 4-mm screws on the bottom of the camcorder.
-
-
-
Remove the three 6-mm screws on the hand-strap side of the camera.
-
-
-
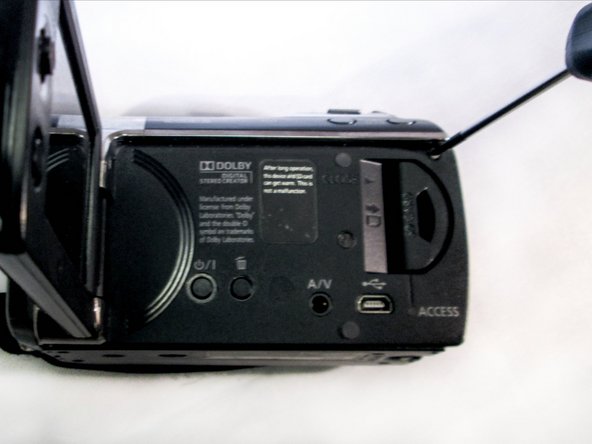
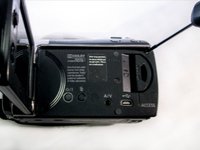
Pull out the charging port (DC input terminal) cover and remove the 4-mm screw located next to the input terminal.
-
-
-
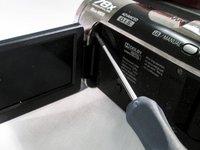
Flip out the LCD screen to expose the inner screws. Remove the two black 4-mm screws.
-
-
-
-
Using a firm hold on both sides of the camcorder, gently pull apart the casing under the hand strap.
-
-
crwdns2935267:0crwdne2935267:0Tweezers$4.99
-
Use tweezers to grab the ribbon cable at the connection point and slowly lift it away from the connector.
-
-
-
Remove the two 4 mm silver screws located on the HDD casing.
-
-
-
Gently pull the black plastic hard drive case away from the body of the camera. This will expose the hard drive (HDD).
-
-
-
Pry off the HDD gently from the casing with a plastic opening tool.
-
-
-
The HDD has been removed and ready to be replaced.
-


To reassemble your device, follow these instructions in reverse order.
crwdns2935221:0crwdne2935221:0
crwdns2935227:0crwdne2935227:0

crwdns2935287:0crwdne2935287:0

Eastern Washington University, Team 2-2, Matresse Spring 2015 crwdns2935289:0Eastern Washington University, Team 2-2, Matresse Spring 2015crwdne2935289:0
EWU-MATRESSE-S15S2G2
crwdns2931471:03crwdne2931471:0
crwdns2935297:016crwdne2935297:0