crwdns2933423:0crwdne2933423:0

Panasonic Lumix DMC-ZS8 Mounting Bracket Replacement

crwdns2942213:0crwdne2942213:0

  1. Panasonic Lumix DMC-ZS8 Mounting Bracket Replacement, Mounting Bracket: crwdns2935265:01crwdnd2935265:01crwdnd2935265:03crwdne2935265:0 Panasonic Lumix DMC-ZS8 Mounting Bracket Replacement, Mounting Bracket: crwdns2935265:01crwdnd2935265:02crwdnd2935265:03crwdne2935265:0 Panasonic Lumix DMC-ZS8 Mounting Bracket Replacement, Mounting Bracket: crwdns2935265:01crwdnd2935265:03crwdnd2935265:03crwdne2935265:0
    • Remove the side panels by unscrewing the Phillips head screws on both sides of the camera.

  2. Panasonic Lumix DMC-ZS8 Mounting Bracket Replacement: crwdns2935265:02crwdnd2935265:01crwdnd2935265:03crwdne2935265:0 Panasonic Lumix DMC-ZS8 Mounting Bracket Replacement: crwdns2935265:02crwdnd2935265:02crwdnd2935265:03crwdne2935265:0 Panasonic Lumix DMC-ZS8 Mounting Bracket Replacement: crwdns2935265:02crwdnd2935265:03crwdnd2935265:03crwdne2935265:0
    • Remove the back panel by unscrewing the two Phillips head screws on the bottom of the camera towards the back.

    • Lift the back panel from the camera and set it aside.

  3. Panasonic Lumix DMC-ZS8 Mounting Bracket Replacement: crwdns2935265:03crwdnd2935265:01crwdnd2935265:03crwdne2935265:0 Panasonic Lumix DMC-ZS8 Mounting Bracket Replacement: crwdns2935265:03crwdnd2935265:02crwdnd2935265:03crwdne2935265:0 Panasonic Lumix DMC-ZS8 Mounting Bracket Replacement: crwdns2935265:03crwdnd2935265:03crwdnd2935265:03crwdne2935265:0
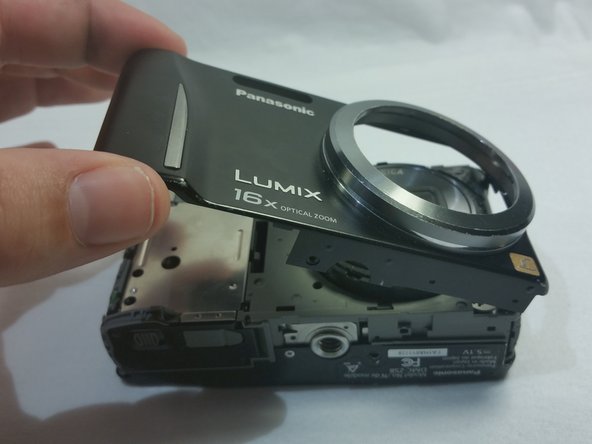
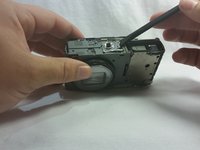
    • Unscrew the Phillips head screw shown in the picture to remove the front panel.

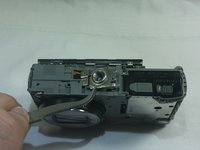
    • Remove the front panel to expose the bracket at the bottom of the camera.

  4. Panasonic Lumix DMC-ZS8 Mounting Bracket Replacement: crwdns2935265:04crwdnd2935265:01crwdnd2935265:03crwdne2935265:0 Panasonic Lumix DMC-ZS8 Mounting Bracket Replacement: crwdns2935265:04crwdnd2935265:02crwdnd2935265:03crwdne2935265:0 Panasonic Lumix DMC-ZS8 Mounting Bracket Replacement: crwdns2935265:04crwdnd2935265:03crwdnd2935265:03crwdne2935265:0
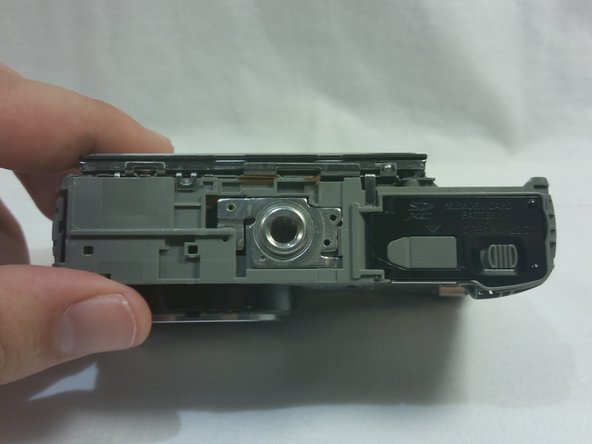
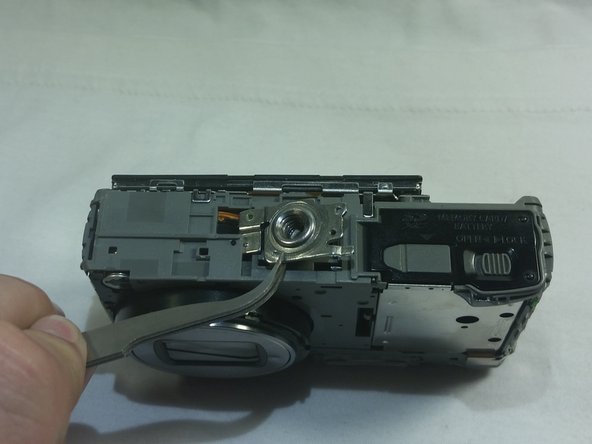
    • Pry the right side of the bracket up to allow you to grab the bracket with tweezers.

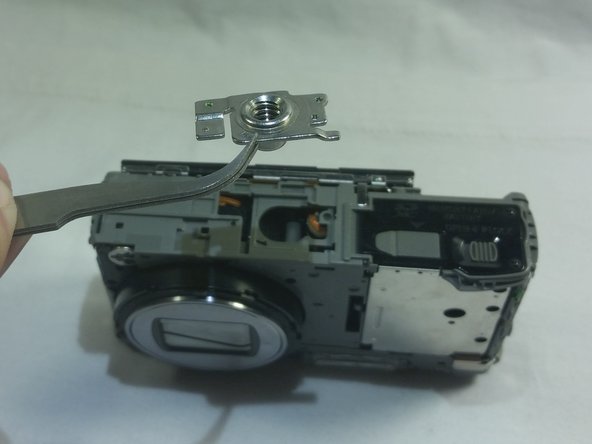
    • Grab the bracket with tweezers and slide it toward the battery door to remove it from the frame of the camera.

crwdns2915888:0crwdne2915888:0

To reassemble your device, follow these instructions in reverse order.

Trevor Meyers

crwdns2935283:003/03/15crwdne2935283:0

356 crwdns2915208:0crwdne2915208:0

crwdns2935297:02crwdne2935297:0

crwdns2915084:0crwdne2915084:0

Sam Houston State, Team 13-13, Blackburne Spring 2015 crwdns2935289:0Sam Houston State, Team 13-13, Blackburne Spring 2015crwdne2935289:0

SHSU-BLACKBURNE-S15S13G13

crwdns2931471:04crwdne2931471:0

crwdns2935297:010crwdne2935297:0

crwdns2944067:00crwdne2944067:0

crwdns2917038:0crwdne2917038:0

crwdns2936625:0crwdne2936625:0:

crwdns2936751:024crwdne2936751:0 3

crwdns2936753:07crwdne2936753:0 3

crwdns2936753:030crwdne2936753:0 4

crwdns2942667:0crwdne2942667:0 299