crwdns2933423:0crwdne2933423:0
crwdns2947577:0crwdnd2947577:0crwdne2947577:0

Panasonic Lumix DMC-ZS25 Lens Replacement

crwdns2942213:0crwdne2942213:0

    1. Panasonic Lumix DMC-ZS25  Lens  Replacement, Camera lens: crwdns2935265:01crwdnd2935265:01crwdnd2935265:03crwdne2935265:0 Panasonic Lumix DMC-ZS25  Lens  Replacement, Camera lens: crwdns2935265:01crwdnd2935265:02crwdnd2935265:03crwdne2935265:0 Panasonic Lumix DMC-ZS25  Lens  Replacement, Camera lens: crwdns2935265:01crwdnd2935265:03crwdnd2935265:03crwdne2935265:0
      • Open the four 3.40 mm screws from the right and left sides of your Panasonic Lumix Camera.

      • Remove the two 2.60 mm screws located next to the battery.

      crwdns2952109:0crwdne2952109:0

      crwdns2917038:0crwdne2917038:0

    2. Panasonic Lumix DMC-ZS25  Lens  Replacement: crwdns2935265:02crwdnd2935265:01crwdnd2935265:01crwdne2935265:0
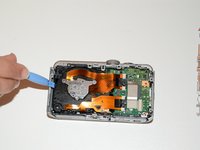
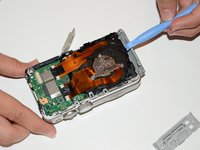
      • Use the iFixit opening tool to open the outer cover of your device.

      • The easiest place to open your device is from the HDMI port.

      • Gently open it to avoid breaking the cover.

      crwdns2952109:0crwdne2952109:0

      crwdns2917038:0crwdne2917038:0

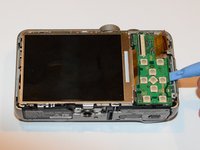
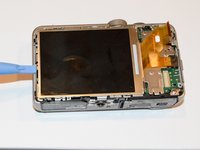
    3. Panasonic Lumix DMC-ZS25  Lens  Replacement: crwdns2935265:03crwdnd2935265:01crwdnd2935265:03crwdne2935265:0 Panasonic Lumix DMC-ZS25  Lens  Replacement: crwdns2935265:03crwdnd2935265:02crwdnd2935265:03crwdne2935265:0 Panasonic Lumix DMC-ZS25  Lens  Replacement: crwdns2935265:03crwdnd2935265:03crwdnd2935265:03crwdne2935265:0
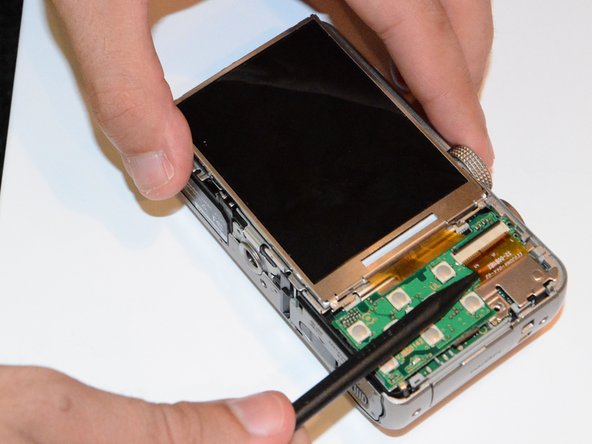
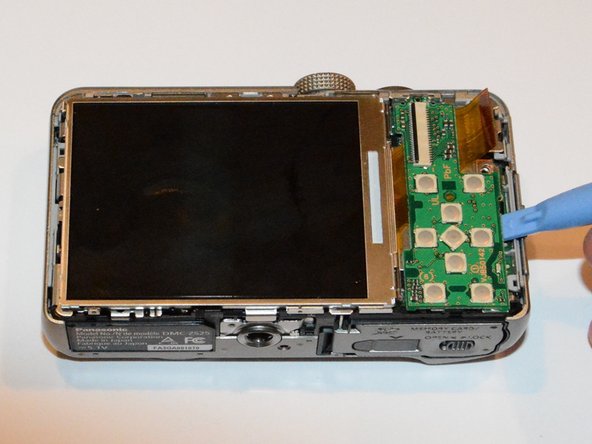
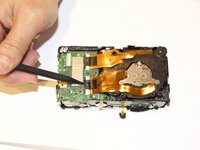
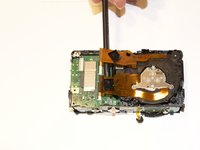
      • Use a spudger to detach the ribbon cable.

      • Be careful when using the spudger, as it can cause damage to the ribbon.

      • After releasing the screen cable, use the iFixit opening tool to lift the button board.

      • Once you hear a "click" sound, you have successfully opened the buttons board.

      crwdns2952109:0crwdne2952109:0

      crwdns2917038:0crwdne2917038:0

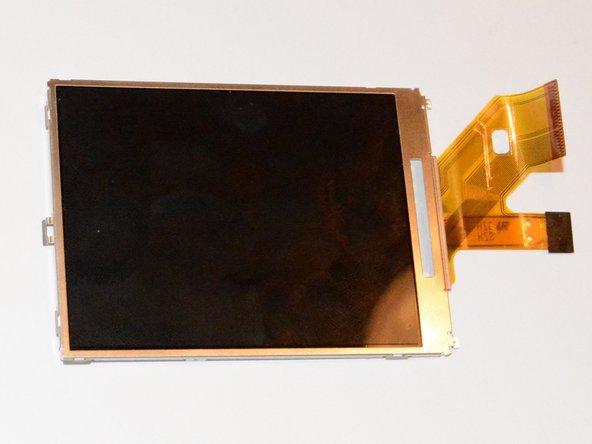
    4. Panasonic Lumix DMC-ZS25  Lens  Replacement: crwdns2935265:04crwdnd2935265:01crwdnd2935265:02crwdne2935265:0 Panasonic Lumix DMC-ZS25  Lens  Replacement: crwdns2935265:04crwdnd2935265:02crwdnd2935265:02crwdne2935265:0
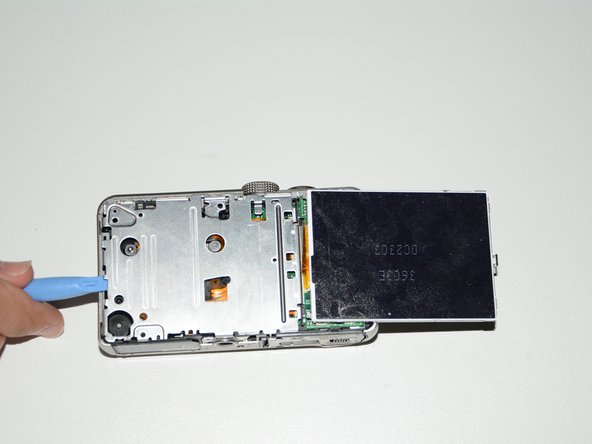
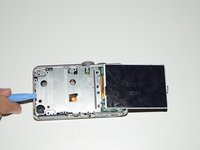
      • Remove the screen using the iFixit opening tool.

      crwdns2952109:0crwdne2952109:0

      crwdns2917038:0crwdne2917038:0

    5. Panasonic Lumix DMC-ZS25  Lens  Replacement: crwdns2935265:05crwdnd2935265:01crwdnd2935265:02crwdne2935265:0 Panasonic Lumix DMC-ZS25  Lens  Replacement: crwdns2935265:05crwdnd2935265:02crwdnd2935265:02crwdne2935265:0
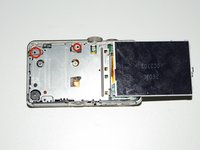
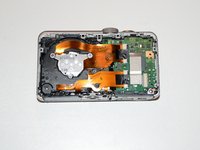
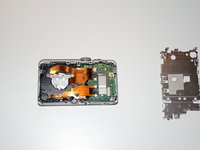
      • Open the two 4.20 mm screws to remove the inner cover located beneath the screen.

      • Use the iFixit opening tool to assist in safely removing the inner cover.

      crwdns2952109:0crwdne2952109:0

      crwdns2917038:0crwdne2917038:0

    6. Panasonic Lumix DMC-ZS25  Lens  Replacement: crwdns2935265:06crwdnd2935265:01crwdnd2935265:02crwdne2935265:0 Panasonic Lumix DMC-ZS25  Lens  Replacement: crwdns2935265:06crwdnd2935265:02crwdnd2935265:02crwdne2935265:0
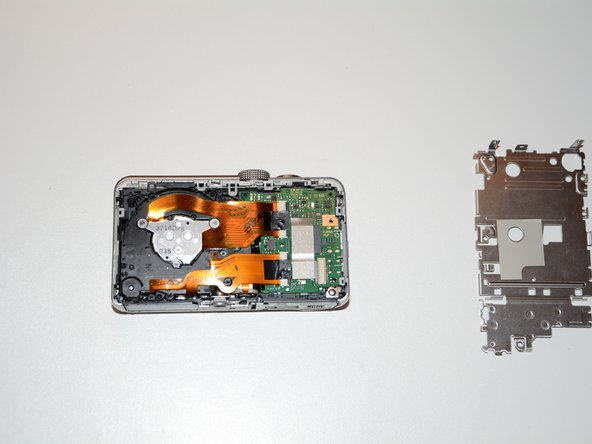
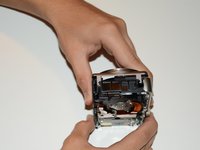
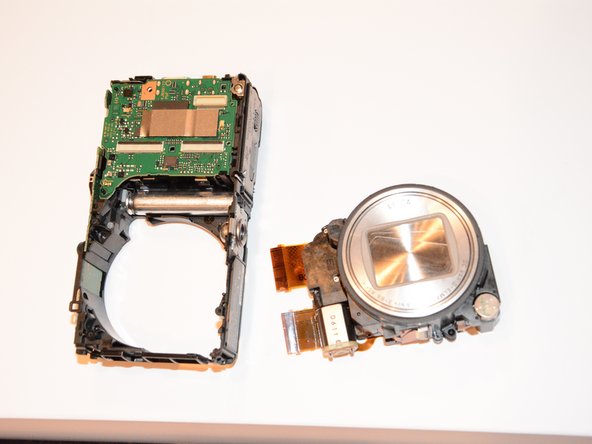
      • Separate the device into two pieces as shown.

      crwdns2952109:0crwdne2952109:0

      crwdns2917038:0crwdne2917038:0

    7. Panasonic Lumix DMC-ZS25  Lens  Replacement: crwdns2935265:07crwdnd2935265:01crwdnd2935265:03crwdne2935265:0 Panasonic Lumix DMC-ZS25  Lens  Replacement: crwdns2935265:07crwdnd2935265:02crwdnd2935265:03crwdne2935265:0 Panasonic Lumix DMC-ZS25  Lens  Replacement: crwdns2935265:07crwdnd2935265:03crwdnd2935265:03crwdne2935265:0
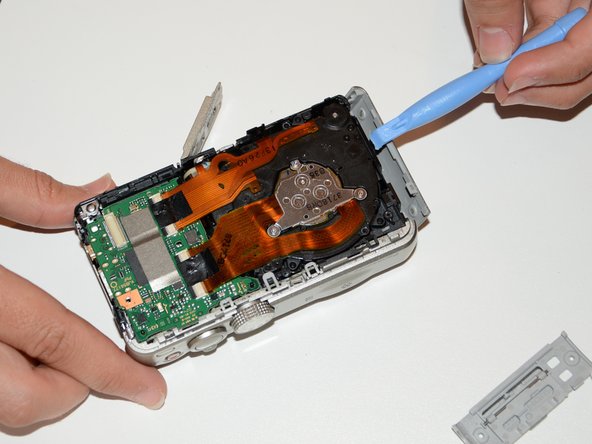
      • Remove the side cover using the iFixit opening tool.

      • Exercise caution when you remove the front cover as damage to the device can occur.

      crwdns2952109:0crwdne2952109:0

      crwdns2917038:0crwdne2917038:0

    8. Panasonic Lumix DMC-ZS25  Lens  Replacement: crwdns2935265:08crwdnd2935265:01crwdnd2935265:03crwdne2935265:0 Panasonic Lumix DMC-ZS25  Lens  Replacement: crwdns2935265:08crwdnd2935265:02crwdnd2935265:03crwdne2935265:0 Panasonic Lumix DMC-ZS25  Lens  Replacement: crwdns2935265:08crwdnd2935265:03crwdnd2935265:03crwdne2935265:0
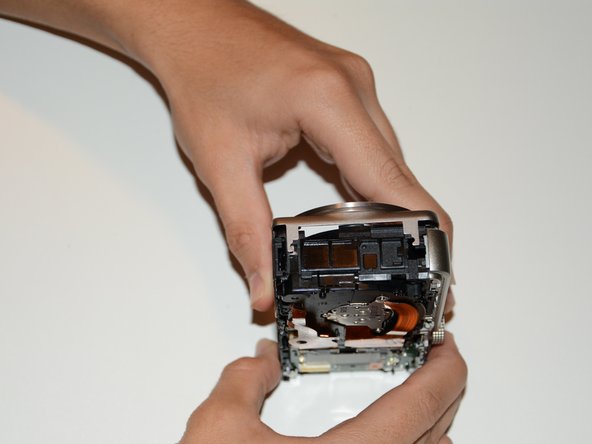
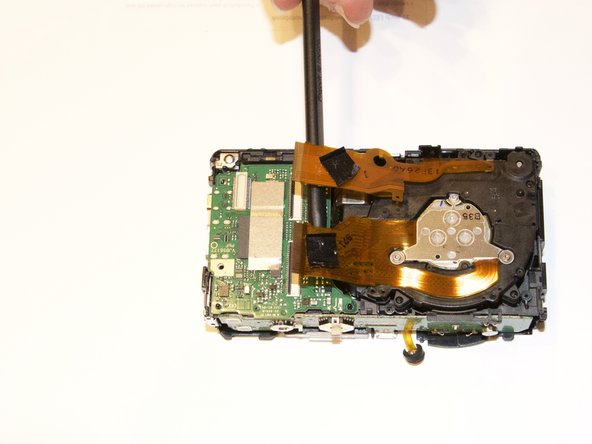
      • Use the spudger to unlock the screen cables from the circuit bored. Carefully, lift up the black clip up to release the cables.

      • Use your hands to remove the lens.

      crwdns2952109:0crwdne2952109:0

      crwdns2917038:0crwdne2917038:0

crwdns2915888:0crwdne2915888:0

To reassemble your device, follow these instructions in reverse order.

crwdns2935221:0crwdne2935221:0

crwdns2935229:02crwdne2935229:0

Abbas Khan

crwdns2935283:001/21/15crwdne2935283:0

482 crwdns2915208:0crwdne2915208:0

crwdns2935297:04crwdne2935297:0

crwdns2935287:0crwdne2935287:0

USF Tampa, Team 9-5, Brown Winter 2015 crwdns2935289:0USF Tampa, Team 9-5, Brown Winter 2015crwdne2935289:0

USFT-BROWN-W15S9G5

crwdns2931471:03crwdne2931471:0

crwdns2935297:060crwdne2935297:0

crwdns2947412:00crwdne2947412:0

crwdns2917038:0crwdne2917038:0

crwdns2936625:0crwdne2936625:0:

crwdns2936751:024crwdne2936751:0 1

crwdns2936753:07crwdne2936753:0 10

crwdns2936753:030crwdne2936753:0 46

crwdns2942667:0crwdne2942667:0 3,088