crwdns2915892:0crwdne2915892:0
If your digitizer cable has failed in your Panasonic Lumix DMC-FX9 camera, follow this guide to replace. By following this guide you should be able to continue using your camera.
A digitizer cable is important to the camera as it sends the display signals to the camera screen from the motherboard. It is vital for both camera operation and a live view of the lens.
Be sure to remove the batteries from your camera prior to beginning this guide.
crwdns2942213:0crwdne2942213:0
-
-
Power off your device by locating the on/off switch on top of camera.
-
-
-
Remove the screw located on the right side of the camera.
-
Remove the screw located on the bottom right of the camera, and remove the cover from the camera.
-
-
-
Remove the screw located on the base of the camera.
-
-
-
-
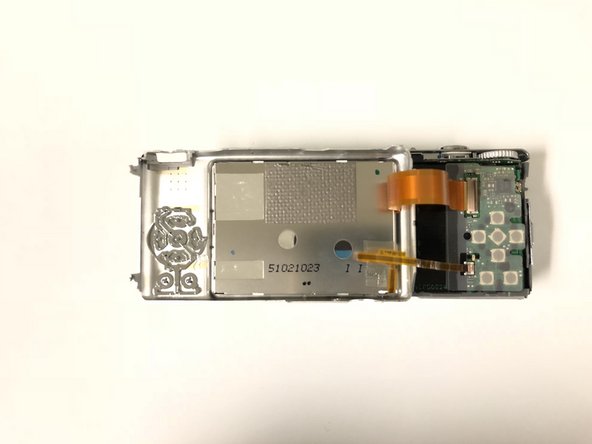
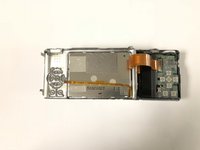
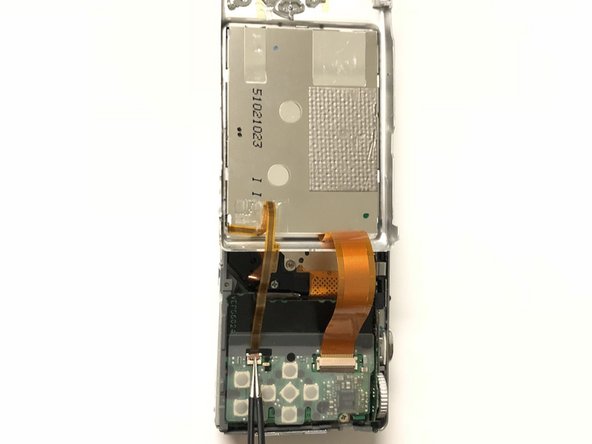
Pry the top part of the camera slowly. Be careful not to tear the digitizer cable.
-
-
-
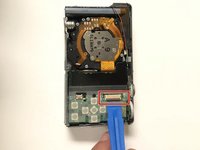
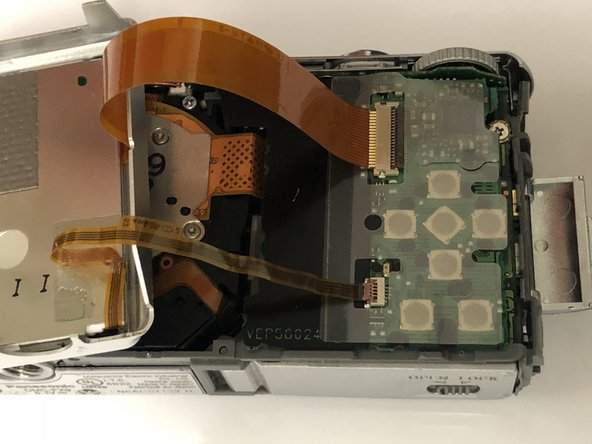
Open the bigger clamp using a spudger or other tools. Repeat for the smaller clamp.
-
-
-
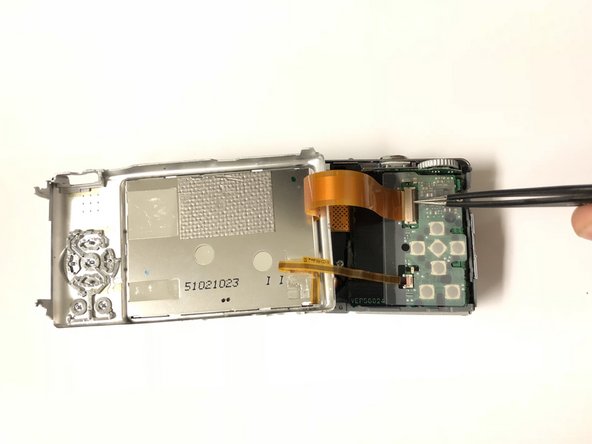
Carefully take the thin ribbon and insert cable end into the latch. Do this for both sides.
-
-
-
Once the ribbon is placed into the latch, carefully close the clamps by lowering the clamp into a down position. Repeat this step for both sides.
-


To reassemble your device, follow these instructions in reverse order.
To reassemble your device, follow these instructions in reverse order.
crwdns2915084:0crwdne2915084:0

University of North Texas, Team S6-G1, Thomas Spring 2018 crwdns2935289:0University of North Texas, Team S6-G1, Thomas Spring 2018crwdne2935289:0
UNT-THOMAS-S18S6G1
crwdns2931471:04crwdne2931471:0
crwdns2935297:09crwdne2935297:0