crwdns2915892:0crwdne2915892:0
The Palm Zire m150 may sometimes need a motherboard replacement depending on the diagnosis. This guide will teach you how to replace that motherboard if that is the remedy needed after going through the troubleshooting steps.
crwdns2942213:0crwdne2942213:0
-
-
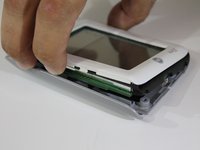
Lift up the flap on the Palm Zire M150.
-
If you wish to remove it, gently lift up and pull horizontally. It should come off without an issue.
-
-
-
Take the screwdriver from the IFixit toolkit and use the T6 bit. Unscrew the the top two 3mm screws above where the flap was connected to the device.
-
-
-
-
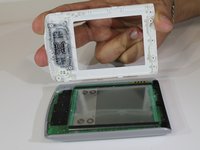
Gently pull the top cover off the device using both hands.
-
-
-
Remove the screen from the motherboard.
-
-
-
Carefully remove the battery by prying up away from the motherboard.
-
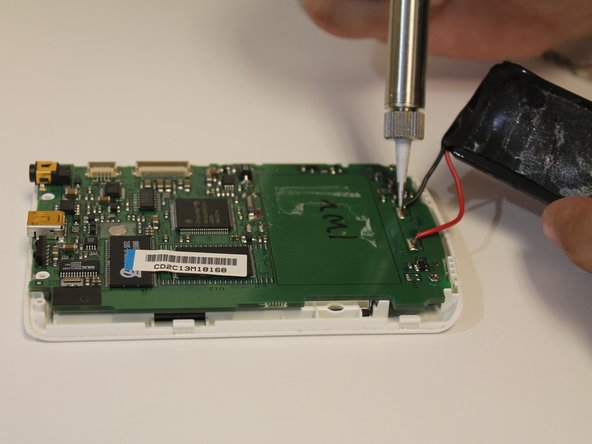
Remove the positive and negative terminals from the motherboard.
-
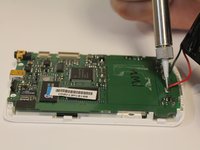
Slowly remove the motherboard by lifting upward and out of the bottom case housing.
-
-
-
Insert NEW motherboard into the bottom case housing.
-
On the NEW motherboard, use a soldering iron to solder the positive and negative terminals to the new motherboard.
-


To reassemble your device, follow these instructions in reverse order.
crwdns2935221:0crwdne2935221:0
crwdns2935227:0crwdne2935227:0

crwdns2935287:0crwdne2935287:0

USF Sarasota-Manatee, Team 1-3, Stewart Spring 2016 crwdns2935289:0USF Sarasota-Manatee, Team 1-3, Stewart Spring 2016crwdne2935289:0
USFSM-STEWART-S16S1G3
crwdns2931471:05crwdne2931471:0
crwdns2935297:07crwdne2935297:0