
Palm IIIc Screen Replacement

crwdns2959932:0crwdnd2959932:0Paulina Trujillocrwdnd2959932:0crwdnd2959932:0crwdnd2959932:06crwdnd2959932:0crwdne2959932:0
crwdns2959936:0Sun 20, 2025crwdne2959936:0
crwdns2869540:0crwdne2869540:0: 1.6 k
crwdns2959988:0crwdne2959988:0
- crwdns2959990:0crwdne2959990:0
- 2
- crwdns2959992:0crwdne2959992:0
- 16
- crwdns2959994:0crwdne2959994:0
- 75
- crwdns2959996:0crwdne2959996:0
- 1,598
crwdns2955950:0crwdne2955950:0: 0
crwdns2959998:0crwdne2959998:0
crwdns2960000:0crwdne2960000:0crwdns2959984:0crwdne2959984:0: 1 2
crwdns2959972:01crwdne2959972:0
crwdns2959970:02crwdne2959970:0
crwdns2959986:0crwdne2959986:0: 0 1
crwdns2959958:0crwdne2959958:0
crwdns2959976:01crwdne2959976:0
crwdns2869444:0crwdne2869444:0
crwdns2869445:0crwdne2869445:0
crwdns2862605:0crwdne2862605:0
crwdns2862606:0crwdne2862606:0
crwdns2862611:0crwdne2862611:0
crwdns2862612:0crwdne2862612:0
crwdns2862633:0crwdne2862633:0
crwdns2862634:0crwdne2862634:0
crwdns2915892:0crwdne2915892:0
crwdns2959928:0crwdne2959928:0 ↓Follow this guide to remove and replace the screen on your Palm IIIc.
crwdns2959930:0crwdne2959930:0
crwdns2943215:0crwdne2943215:0
-
Spudger4.9


-
-
-
Keep track of all pieces removed from the device.
-
Gently pull off the device cover. The cover snaps on and off easily where the cover attaches to the Palm IIIc device
 crwdns2952109:0crwdne2952109:0
-
-
-
Using a Phillips head screwdriver, take out the four screws on the back of the device. You may have to pull them out with your hands once they are unscrewed.
-
-
-
-
-
Using a spudger, carefully pry open the front and back covers along the side seam.
-
-
-
-
-
-
Unhook the battery cable from the motherboard and remove the battery.
-
-
crwdns2935267:0crwdne2935267:0Tweezers$4.99
-
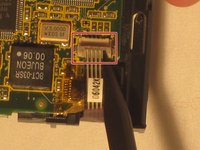
On the back of the motherboard use tweezers to pull up the ZIF connector which looks like a brown plastic tab.
-
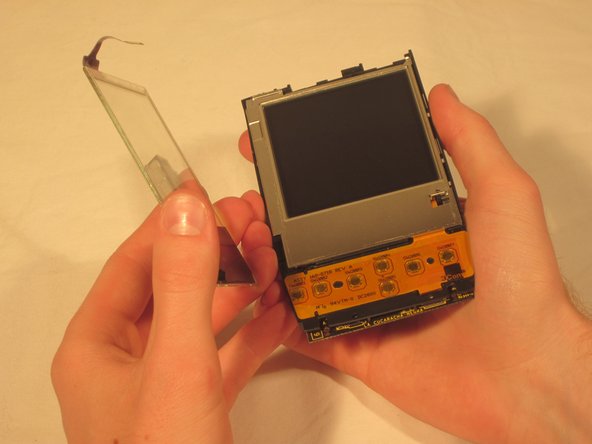
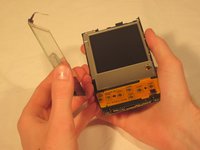
Once the ZIF connector is unattached, remove the clear screen cover.
-
-
-
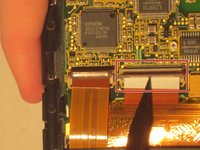
Using tweezers unhook the blue and red screen cables where they connect to the motherboard.
-
-
-
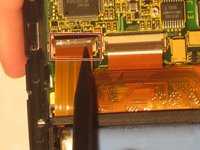
Using tweezers, pull up the other two ZIF connector tabs.
-
-
-
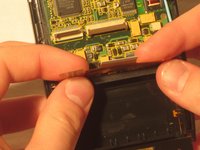
Gently pull the black clips on the inside case to detach the motherboard from the device. Pull the motherboard out towards the bottom left corner.
-
-
-
Pull the screen out from the front.
-
-







To reassemble your device, follow these instructions in reverse order.
crwdns2935221:0crwdne2935221:0
crwdns2935227:0crwdne2935227:0

crwdns2935287:0crwdne2935287:0

Cal Poly, Team 20-69, Walters Spring 2011 crwdns2935289:0Cal Poly, Team 20-69, Walters Spring 2011crwdne2935289:0
CPSU-WALTERS-S11S20G69
crwdns2931471:05crwdne2931471:0
crwdns2935297:096crwdne2935297:0
