
PDP Rematch Faceplate Replacement

crwdns2959932:0crwdnd2959932:0Amina Begumcrwdnd2959932:0crwdnd2959932:0crwdnd2959932:03crwdnd2959932:0crwdne2959932:0
crwdns2959936:0Mud 20, 2024crwdne2959936:0
crwdns2869540:0crwdne2869540:0: 982
crwdns2959988:0crwdne2959988:0
- crwdns2959990:0crwdne2959990:0
- 1
- crwdns2959992:0crwdne2959992:0
- 18
- crwdns2959994:0crwdne2959994:0
- 75
- crwdns2959996:0crwdne2959996:0
- 982
crwdns2955950:0crwdne2955950:0: 0
crwdns2959998:0crwdne2959998:0
crwdns2960000:0crwdne2960000:0crwdns2959984:0crwdne2959984:0: 1 2
crwdns2959972:01crwdne2959972:0
crwdns2959970:02crwdne2959970:0
crwdns2959986:0crwdne2959986:0: 0 1
crwdns2959958:0crwdne2959958:0
crwdns2959976:01crwdne2959976:0
crwdns2915892:0crwdne2915892:0
crwdns2959928:0crwdne2959928:0 ↓If your faceplate is cracked or broken, this guide will help you replace the faceplate for the PDP Rematch controller (model 500-134-1).
The faceplate serves as a protective cover for the controller.
Before beginning, make sure to disconnect the controller's wire from any external power source.
crwdns2959930:0crwdne2959930:0
crwdns2943213:0crwdne2943213:0
crwdns2943215:0crwdne2943215:0


-
-
-
Grip one side of the controller firmly.
-
Insert an opening pick into the crease between the faceplate and the body of the controller.
-
Once the pick creates a gap in the crease, gently insert another pick into a different section of the crease.
-
Carefully move the picks along the controller's crease line until you hear a popping sound.
-
Gently lift off the faceplate by hand.
 crwdns2952109:0crwdne2952109:0
-
-
-
Remove the 8 mm screws from the hard cover using a JIS #00 screwdriver.
-
-
-
-
Gently lift off the hard cover with your hand; it should not need much force.
-
-


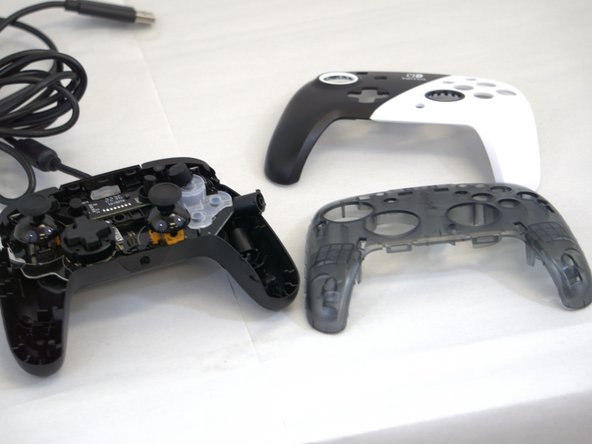
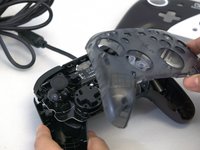
To reassemble your device, follow these instructions in reverse order.
crwdns2935221:0crwdne2935221:0
crwdns2935227:0crwdne2935227:0

crwdns2935287:0crwdne2935287:0

Tennessee Tech University, Team 1-3, Pickering Spring 2024 crwdns2935289:0Tennessee Tech University, Team 1-3, Pickering Spring 2024crwdne2935289:0
TNTECH-PICKERING-S24S1G3
crwdns2931471:04crwdne2931471:0
crwdns2935297:060crwdne2935297:0
