
P-Tex Repair

crwdns2959932:0crwdnd2959932:0Robert Torrescrwdnd2959932:0crwdnd2959932:0crwdnd2959932:05crwdnd2959932:0crwdne2959932:0
crwdns2959936:0Yan 19, 2016crwdne2959936:0
crwdns2869540:0crwdne2869540:0: 4,4 mil
crwdns2959988:0crwdne2959988:0
- crwdns2959990:0crwdne2959990:0
- 6
- crwdns2959992:0crwdne2959992:0
- 36
- crwdns2959994:0crwdne2959994:0
- 127
- crwdns2959996:0crwdne2959996:0
- 4.399
crwdns2955950:0crwdne2955950:0: 1
crwdns2960002:01crwdne2960002:0.
crwdns2959984:0crwdne2959984:0: 2 3
crwdns2959974:02crwdne2959974:0
crwdns2959970:03crwdne2959970:0
crwdns2959986:0crwdne2959986:0: 1 2
crwdns2959980:01crwdne2959980:0
crwdns2959978:02crwdne2959978:0
crwdns2862627:0crwdne2862627:0
crwdns2862628:0crwdne2862628:0
crwdns2862591:0crwdne2862591:0
crwdns2862592:0crwdne2862592:0
crwdns2915892:0crwdne2915892:0
crwdns2959928:0crwdne2959928:0 ↓Running over rocks or hard pieces of debris can cause deep or wide scratches that create unwanted friction between the board and the snow. Gouges that are too large to be filled in with a normal wax job will need to be patched with a plastic filler known as P-Tex.
If the gouge is deep enough that the core material is exposed, you should bring these repairs to a snowboard shop.
crwdns2959930:0crwdne2959930:0
crwdns2943213:0crwdne2943213:0
crwdns2943215:0crwdne2943215:0


-
-
-
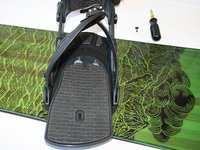
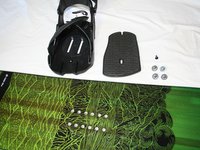
Release the binding straps by lifting up on the buckle and pulling towards the direction of the end of the ladder.
 crwdns2952109:0crwdne2952109:0
-
-
-
Move the straps and the highback plate out of the way in order to have clear access to the foot pad screw.
-
-
-
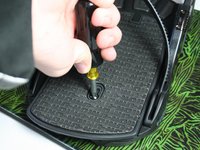
Use a #2 Phillips screwdriver to remove the panhead, 10mm wide, M4 x 12mm screw located in the middle of the foot pad.
-
-
-
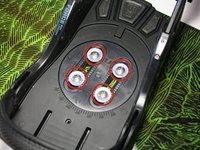
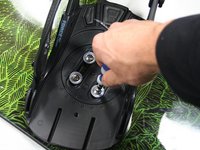
Use a #2 Phillips screwdriver to remove the four ovalhead M6 x 12mm screws that attach the base plate of the binding to the board.
-
Lift or slide the binding off the board and set the screws aside.
-
-
-
-
-
Turn the snowboard over so the bottom of the board is facing up.
-
Set the snowboard down on a stable work surface so that it does not rock or move.
-
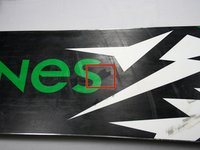
Assess the damage. If there are loose strands of material around the hole, slice them off carefully with a razor blade.
-
Remove any extra wax with a metal scraper.
-
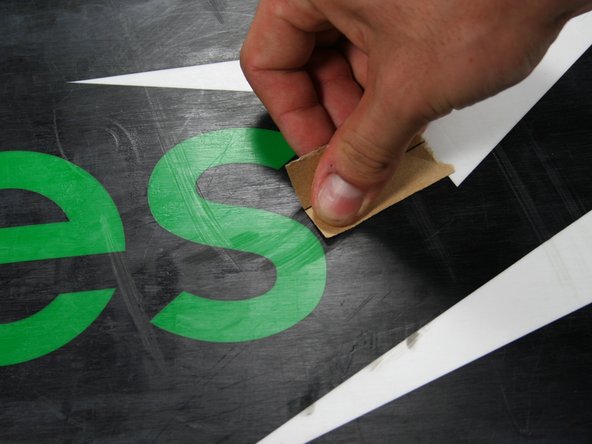
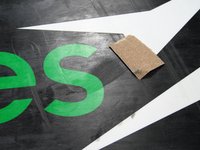
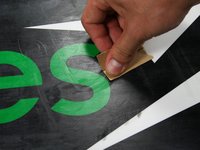
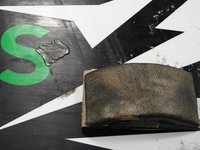
Use 150 grit sandpaper to roughen up the inside of the gouge.
-
-
-
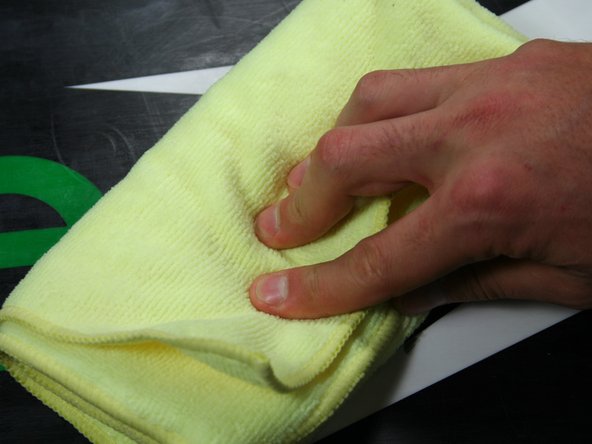
Clean the gouge with a few drops of citrus based cleaner such as Orange-Sol (rubbing alcohol will also work), and a small wire brush to get rid of any dirt or rocks. Let the cleaner dry completely—about 20 minutes to an hour.
-
-
-
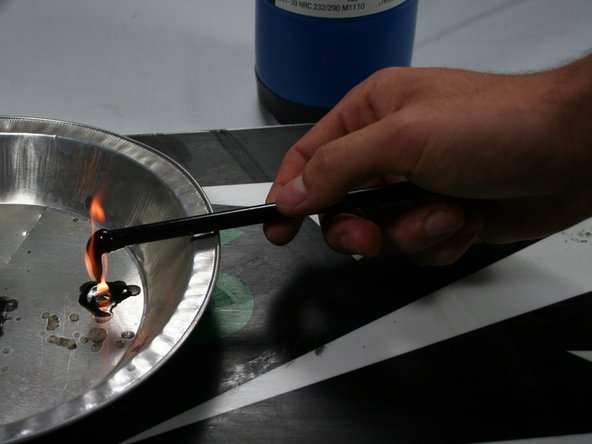
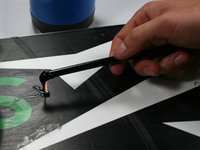
Using a propane torch or a butane lighter, heat up one tip of the P-Tex candle over a metal pan.
-
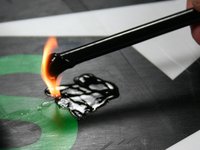
Wait until the candle is flaming, which may take a couple of seconds.
-
Let the candle drip onto a metal pan and roll the molton tip around until the candle is carbon free.
-
-
-
-
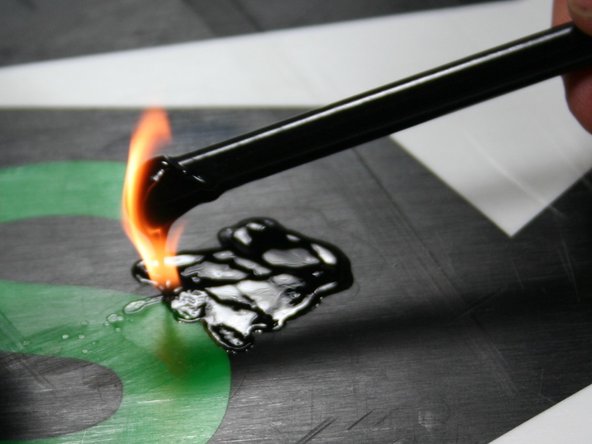
Move the molten P-Tex candle to the gouge. Hold it close to the surface and let it flow continuously into the gouge surface.
-
The P-Tex will shrink as it cools, so overfill the gouge.
-
Let the P-Tex cool for about 15 minutes.
-
-
-
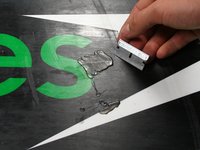
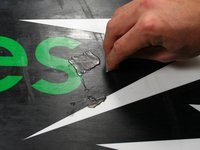
Take a sharpened metal scraper or razor blade and hold it at a 45° angle. Pull the razor using short, overlapping strokes (about a half inch at a time) to remove all material that is protruding above the base of the snowboard. Use whatever direction works best.
-
-
-
When the P-Tex is smooth and flush with the base, your repair is finished. Take a couple of seconds to admire your work.
-
Wax your board before use.
-
-












crwdns2935221:0crwdne2935221:0
crwdns2935229:02crwdne2935229:0

crwdns2935287:0crwdne2935287:0

Cal Poly, Team 17-4, Forte Winter 2014 crwdns2935289:0Cal Poly, Team 17-4, Forte Winter 2014crwdne2935289:0
CPSU-FORTE-W14S17G4
crwdns2931471:05crwdne2931471:0
crwdns2935297:060crwdne2935297:0
