crwdns2915892:0crwdne2915892:0
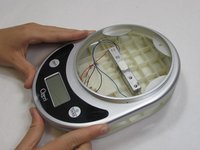
This guide explains how to expose the LCD screen of the Ozeri Pronto ZK14-S. The detachment of the LCD motherboard is necessary to reveal the actual screen.
crwdns2942213:0crwdne2942213:0
-
-
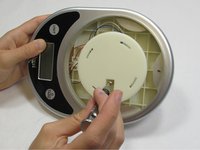
Twist the plastic plate slowly to the left to pull it away.
-
-
-
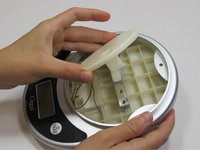
Lift up the sticker at the bottom where the “Ozeri” logo is to reveal a screw.
-
-
-
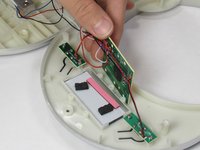
Using a 2.0 Flathead screwdriver, remove the 9.50 mm Phillips head screw under the sticker.
-
-
-
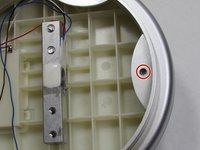
Using a 2.0 Flathead screwdriver, remove the two 18.76 mm Phillips head screws in the plate stand.
-
-
-
-
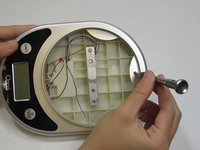
Using a 2.0 Flathead screwdriver, remove the 9.44 mm Phillips head screw on the edge opposite to the LCD screen.
-
-
-
Turn the device over so the back panel is facing up.
-
-
-
Using the iFixit opening tool, pry off the two rubber stubs on the right side and the two rubber stubs on the left side of the bottom of the device.
-
-
-
Using a 2.0 Flathead screwdriver, remove the four 9.46 mm Phillips head screws that were under the rubber stubs.
-
-
-
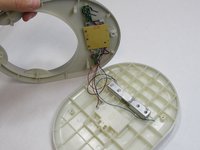
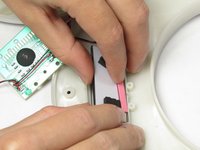
Pry apart the two panels to separate them from each other.
-
Flip the device over so the LCD is facing up. Flip the front panel over on its side.
-
-
crwdns2935267:0crwdne2935267:0Flathead 3/32" or 2.5 mm Screwdriver$5.49
-
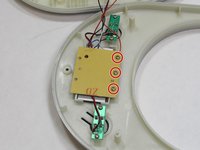
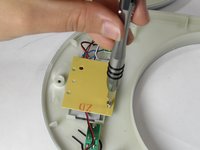
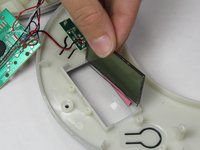
Using the 2.0 Flathead screwdriver, remove the three 7.20 mm screw on the back of the center LCD motherboard.
-
-
-
Stand the center motherboard up to expose the LCD screen
-
Remove the LCD screen.
-


To reassemble your device, follow these instructions in reverse order.
crwdns2935221:0crwdne2935221:0
crwdns2935229:03crwdne2935229:0

crwdns2935287:0crwdne2935287:0

USF Tampa, Team 1-4, Leahy Fall 2015 crwdns2935289:0USF Tampa, Team 1-4, Leahy Fall 2015crwdne2935289:0
USFT-LEAHY-F15S1G4
crwdns2931471:04crwdne2931471:0
crwdns2935297:05crwdne2935297:0
crwdns2947410:01crwdne2947410:0
I had a similar model, it was different to open but the LCD was showing all 8's, I just reset the same LCD and it worked like new.