crwdns2915892:0crwdne2915892:0
This guide will walk you through the screen replacement steps for the Oukitel WP5 Pro. As both the WP5 and the WP5 Pro use the same replacement screen model (see also iPhone 12/iPhone 12 Pro), the repair procedure is likely similar on the WP5, but take extra precautions if repairing that device as it may have repair needs that this one does not have.
crwdns2942213:0crwdne2942213:0
-
crwdns2935267:0crwdne2935267:0T5 Torx Screwdriver$5.49
-
Using your Torx T5 Screwdriver, unscrew the three screws in the left side support panel.
-
Remove the left side support panel.
 crwdns2952109:0crwdne2952109:0
-
-
crwdns2935267:0crwdne2935267:0T5 Torx Screwdriver$5.49
-
Using your Torx T5 Screwdriver, unscrew the three screws in the right side support panel.
-
Remove the right side support panel.
-
-
crwdns2935267:0crwdne2935267:0iFixit Opening Tool$1.99
-
With the side support panels removed, you should have enough flexibility in the rubberized sides of the built-in case to safely pry the screen out.
-
Begin prying at either side, and when you have a gap big enough, slide in a plastic card and remove your pry tool.
-
-
-
crwdns2935267:0crwdne2935267:0Plastic Cards$2.99
-
From the side you inserted it, work your plastic card around the top.
-
Continue along the other side towards the bottom.
-
-
-
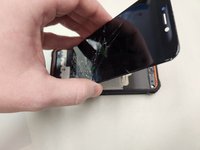
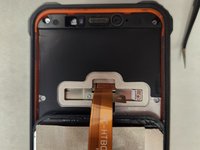
When the screen comes loose, gently lift it up.
-
Fold it over onto itself to access the connection point.
-
-
-
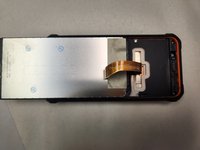
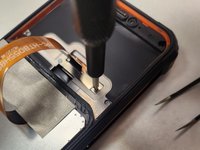
Using your PH0 Screwdriver, remove the long screw from the bracket securing the LCD cable in place.
-
Using your PH0 Screwriver, remove the short screw from the bracket securing the LCD cable in place.
-
-
crwdns2935267:0crwdne2935267:0Tweezers$4.99
-
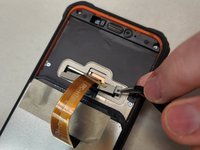
Using your tweezers, gently remove the bracket securing the LCD ribbon cable in place.
-
-
-
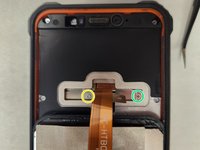
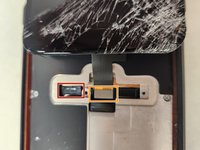
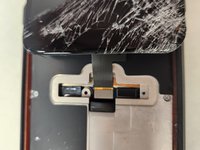
Gently flip the screen over the other direction to get better access to the ribbon cable connectors.
-
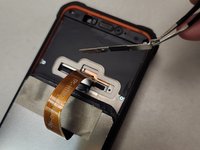
Using your opening pick, gently disconnect the battery connector.
-
Using your opening pick, gently disconnect the LCD connector.
-
-
-
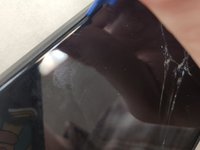
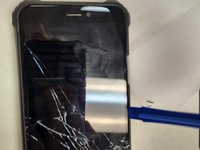
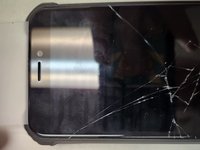
Take special care that any glass shards are removed from the edges of the screen fitting. The WP5 Pro fits it's screen with pressure, not adhesive, so a small shard of glass could damage the new screen if it is in the groove the new screen must go into.
-
Take extra care when installing the new screen to flex the rubber side panels out to give the screen room to slip into it's spot.
-


To reassemble your device, follow these instructions in reverse order. When pushing the new screen into place, take it slow and pay attention to the corners, as a bit too much pressure can destroy the new screen.
crwdns2935221:0crwdne2935221:0
crwdns2935229:04crwdne2935229:0

crwdns2947412:02crwdne2947412:0
Ciol danke. Und wie wechselt man den usb port
Chaos “stimpy” Stimpy - crwdns2934203:0crwdne2934203:0 crwdns2950251:0crwdne2950251:0
Cool danke. Und wie wechsel ich den usb port komme da nicht ran, weil ich die gummi ecken nicht abbekommen
Chaos “stimpy” Stimpy - crwdns2934203:0crwdne2934203:0 crwdns2950251:0crwdne2950251:0