crwdns2915892:0crwdne2915892:0
Looking to troubleshoot an issue with your device? Start here with a comprehensive disassembly guide for the Oster BVST-EK5967 Digital Electric Kettle. This guide focuses on disassembling the heating and electrical components of the kettle.
Before beginning, make sure the kettle is not plugged in and does not have any liquid inside. Finally, wipe down the inside to avoid harmful bacteria during the disassembly process.
crwdns2942213:0crwdne2942213:0
-
-
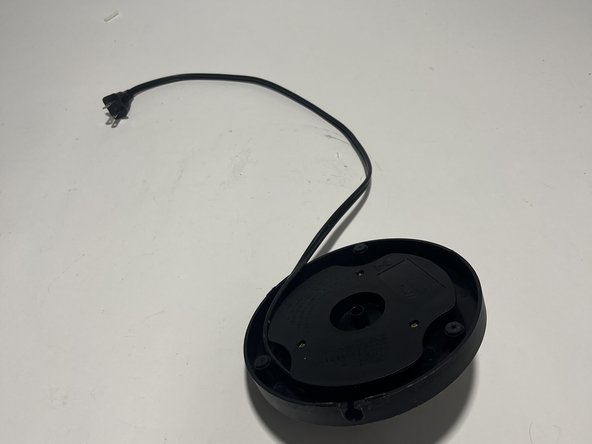
Make sure the device is unplugged and free of any liquid.
-
Remove the plastic base at the bottom of the kettle.
-
-
-
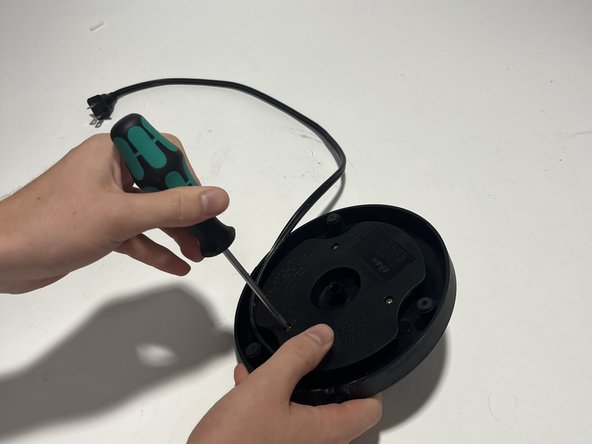
Remove the four 3 mm screws at the base of the kettle by using the screwdriver.
-
-
-
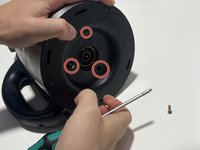
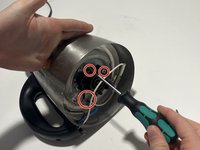
Remove the three 3 mm screws near the circular part of the kettle.
-
-
-
-
Use a spudger to remove the lid from the top of the kettle.
-
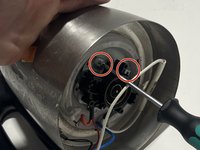
Remove the two 12 mm screws near the temperature reader.
-
-
-
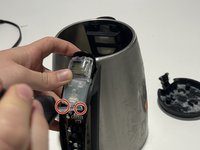
Remove the two 10 mm screws from the inner layer of the handle.
-
-
-
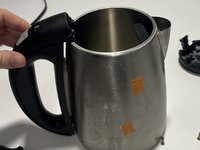
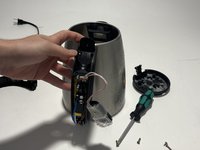
Remove the outer layer from the handle using a spudger.
-
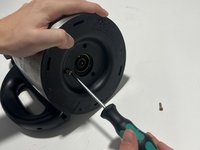
Remove the bottom 3 mm screw.
-
-
-
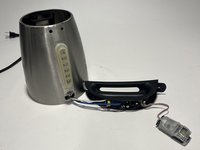
Separate the parts of the kettle to see its wiring.
-


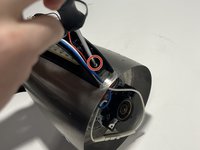


Here is some general information about the kettle's use and electric components:
The kettle is always connected to a power source when plugged in, but the electrical circuit remains open until the user activates it by pressing the power button. Once pressed, the circuit is closed, allowing electricity to flow through the system and start heating the water.
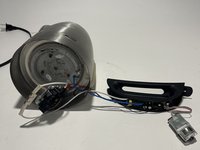
Inside the base, a heating element converts electrical energy into heat. This element is in direct contact with the bottom of the kettle, where it heats the water. The temperature is monitored by a built-in thermostat. When the water reaches the pre-set temperature, the thermostat detects this change and automatically cuts off power to the heating element, stopping the heating process.
The kettle also has a boil-dry protection mechanism. If the kettle is turned on without sufficient water inside, the heating element heats up too quickly. The thermostat recognizes this abnormal temperature rise and immediately cuts off the power to prevent damage or hazards.
Here is some general information about the kettle's use and electric components:
The kettle is always connected to a power source when plugged in, but the electrical circuit remains open until the user activates it by pressing the power button. Once pressed, the circuit is closed, allowing electricity to flow through the system and start heating the water.
Inside the base, a heating element converts electrical energy into heat. This element is in direct contact with the bottom of the kettle, where it heats the water. The temperature is monitored by a built-in thermostat. When the water reaches the pre-set temperature, the thermostat detects this change and automatically cuts off power to the heating element, stopping the heating process.
The kettle also has a boil-dry protection mechanism. If the kettle is turned on without sufficient water inside, the heating element heats up too quickly. The thermostat recognizes this abnormal temperature rise and immediately cuts off the power to prevent damage or hazards.
crwdns2915084:0crwdne2915084:0

Tufts University School of Engineering, Team 1-11, Carlson Fall 2024 crwdns2935289:0Tufts University School of Engineering, Team 1-11, Carlson Fall 2024crwdne2935289:0
TUFTS-CARLSON-F24S1G11
crwdns2931471:02crwdne2931471:0
crwdns2935303:01crwdne2935303:0