crwdns2942213:0crwdne2942213:0
-
-
Firmly grip the knob of the toaster, and pull it away from the body.
-
-
-
Turn the toaster to the other side, and remove the tray from the bottom of the toaster.
-
-
-
Rotate the toaster to the back.
-
Remove six screws from the bottom of the toaster with a Phillips #0 screwdriver.
-
-
-
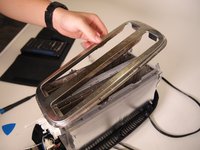
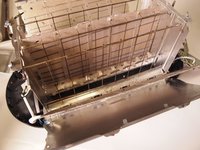
Use a plastic opening pick to pry the plastic cover from the bottom.
-
Once the top has been pried off, you can lift the plastic cover off.
-
-
-
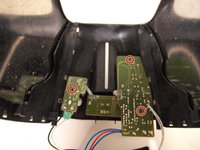
Remove the three screws holding the top two circuit boards.
-
-
-
Remove the two screws holding the bottom circuit board.
-
-
-
-
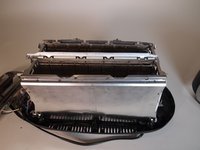
Once we remove the circuit boards, we can start to see how the toaster operates.
-
-
-
Remove them by either pulling them out or pushing them in from the outside.
-
-
-
Use a Jimmy to pry the metal tabs on top of the toaster.
-
-
-
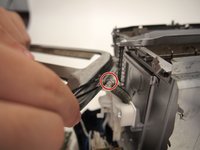
Detach the spring from the metal tabs by pulling the hook out with pliers.
-
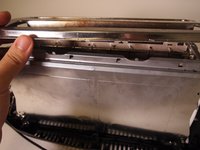
Remove the metal top from the toaster.
-
-
-
Unfold the tabs holding the side covers on both sides.
-
-
-
Pry the metal side covers from the toaster.
-
-
-
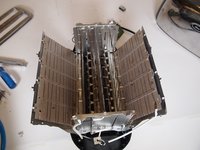
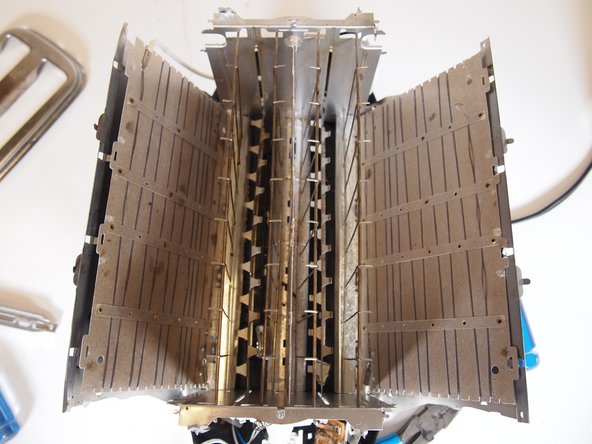
The current will run through the left, center, and right heating elements in parallel. The resistance within the elements create heat that is expelled onto the toast.
-
-
-
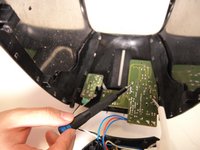
Now turn the toaster to the front, where the last circuit board is still attached.
-
Remove the circuit board by snapping the plastic holders keeping it in place. The plastic holders are attached to the bottom of the circuit board, on opposite sides.
-
-
-
The schematic shows an alternating 120 Volt current that enters the heating elements only when the switch is pushed down. Once it is down, the heating elements, each 35 ohms of resistance, receive the current and produce heat.
-
-
-
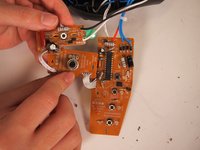
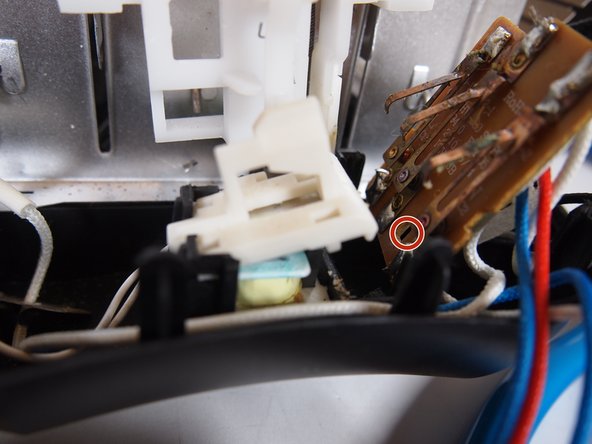
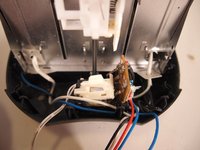
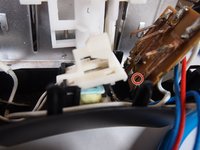
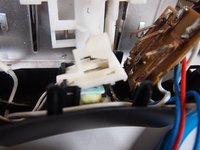
Remove the fourth circuit board from the toaster. This circuit board contains switch that connects the current with the user interface and the heating elements.
-
-
-
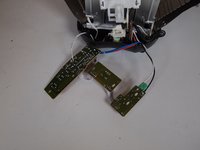
The three circuit boards all take in user input from buttons or a dial. The button inputs affect the volume of current flowing through the heating elements. The dial controls the time that the heating elements are receiving current. The cancel button releases the mechanical switch.
-
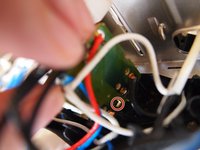
The switch in picture 2 is pressed down by the user, then held down mechanically. The time it is down is determined by the dial or whether the cancel button is pressed. The switch connects the current to the heating elements.
-
The heating elements are each 35 ohms. When the switch is connected, they convert the electrical current within them into heat projected outward toward the toast.
-


To reassemble your device, follow these instructions in reverse order.
To reassemble your device, follow these instructions in reverse order.
crwdns2935221:0crwdne2935221:0
crwdns2935227:0crwdne2935227:0

crwdns2915084:0crwdne2915084:0

Tufts University School of Engineering, Team 1-8, Bell Fall 2022 crwdns2935289:0Tufts University School of Engineering, Team 1-8, Bell Fall 2022crwdne2935289:0
TUFTS-BELL-F22S1G8
crwdns2931471:02crwdne2931471:0
crwdns2935303:01crwdne2935303:0